Lemon Coconut Protein Balls-Easy Healthy Bites
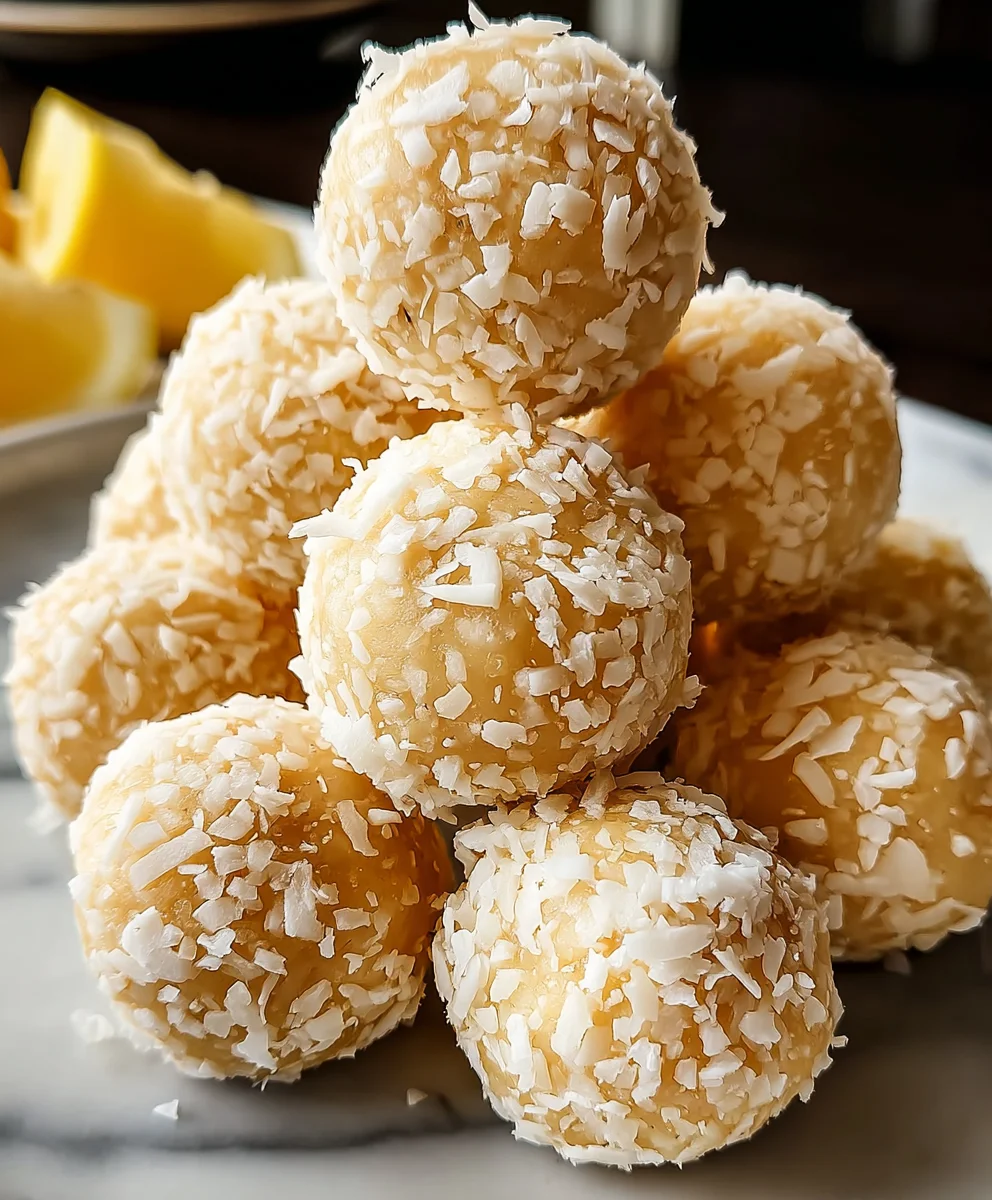
Lemon Coconut Protein Balls are the ultimate guilt-free indulgence, a delightful treat that satisfies your sweet cravings while fueling your body. If you’ve ever found yourself searching for a healthy snack that’s both incredibly delicious and packed with goodness, your search ends here. These little powerhouses are a fan favorite for a reason: they’re incredibly easy to make, require no baking, and offer a perfect balance of tropical sweetness and wholesome protein. What truly sets these Lemon Coconut Protein Balls apart is the harmonious marriage of bright, zesty lemon and creamy, tropical coconut, all held together by a satisfying protein boost. They’re the perfect pick-me-up for a midday slump, a post-workout reward, or simply a delightful way to add a burst of sunshine to your day. Get ready to whip up a batch of these irresistible Lemon Coconut Protein Balls that will have everyone asking for the recipe!
Ingredients:
- 1 cup almond flour
- ½ cup vanilla protein powder
- ¼ cup shredded coconut (plus extra for rolling)
- 2 tbsp honey or maple syrup
- 2 tbsp lemon zest
- 2 tbsp lemon juice
- 1 tbsp coconut oil, melted
- 1 tsp vanilla extract
- Pinch of salt
Getting Started: Preparing Your Lemon Coconut Protein Balls
This recipe for Lemon Coconut Protein Balls is incredibly straightforward and requires no baking, making it a perfect quick snack or post-workout treat. Before we dive into mixing, gather all your ingredients and make sure they are measured out precisely. Having everything ready will ensure a smooth and efficient process. It’s also a good idea to have a clean, dry surface ready for rolling the balls later on. You’ll want a shallow bowl or plate filled with the extra shredded coconut for coating.
Mixing the Dough
Step 1: Combine Dry Ingredients
In a medium-sized mixing bowl, add the almond flour, vanilla protein powder, and the ¼ cup of shredded coconut. To this, also add a pinch of salt. The salt might seem like a small addition, but it plays a crucial role in balancing the sweetness and enhancing the overall flavor profile of the protein balls. Whisk these dry ingredients together thoroughly. Ensure there are no clumps of protein powder or almond flour remaining, as this will create a more uniform texture in your finished balls. A good whisking at this stage means a better consistency later.
Step 2: Incorporate Wet Ingredients
Now, it’s time to introduce the wet components. Add the honey or maple syrup, the fresh lemon zest, and the lemon juice to the bowl with the dry ingredients. Following this, pour in the tablespoon of melted coconut oil and the teaspoon of vanilla extract. The melted coconut oil acts as a binder, helping everything come together, and also contributes a subtle tropical flavor that pairs beautifully with the lemon. The lemon zest is where a lot of that bright, citrusy aroma and taste will come from, so don’t be shy when zesting your lemons.
Step 3: Form the Dough
Using a sturdy spoon or a spatula, begin extract to mix all the ingredients together. At first, it might seem like the mixture is too dry or crum extractbly, especially if you’re using a protein powder that absorbs a lot of moisture. Keep mixing, and the ingredients will gradually start to come together. You may need to use your hands at this point to really work the mixture into a cohesive dough. Squeeze and press the ingredients together. The goal is to achieve a dough that holds its shape when you press it between your fingers. If, after vigorous mixing and pressing, the dough still feels too dry and won’t hold together, you can add an additional teaspoon of lemon juice or a tiny bit more melted coconut oil, just a quarter teaspoon at a time, until it reaches the desired consistency. Be careful not to add too much liquid, as this could make the balls sticky and difficult to roll.
Rolling and Finishing Your Protein Balls
Step 4: Shape the Balls
Once you have a well-formed dough, it’s time to shape your protein balls. Take small portions of the dough, about a tablespoon’s worth, and roll them between your palms to form small, bite-sized balls. Aim for uniform size so that they all cook (or rather, set) evenly and look appealing. This is a fun step, and you can involve the whole family! If the dough is sticking to your hands, you can lightly dampen your hands with water or a tiny bit of extra coconut oil. Try to make them as smooth as possible. As you roll each ball, place it on a plate or baking sheet lined with parchment paper.
Step 5: Coat with Coconut and Chill
After you’ve rolled all your protein balls, place the plate or baking sheet into the refrigerator. Let them chill for at least 30 minutes. This chilling process is crucial for a few reasons. Firstly, it allows the flavors to meld together, creating a more harmonious taste experience. Secondly, and perhaps most importantly, it firms up the protein balls. This makes them easier to handle and prevents them from falling apart, especially when you coat them in the extra shredded coconut. Once they are firm, take them out of the refrigerator and, one by one, roll each protein ball in the reserved shredded coconut until it’s evenly coated. You can place the extra coconut in a shallow dish for easy rolling. Press the coconut gently to help it adhere. Finally, return the coated protein balls to the refrigerator for another 15-20 minutes to allow the coconut coating to set. This final chill ensures your Lemon Coconut Protein Balls are perfectly firm and ready to enjoy.
Conclusion:
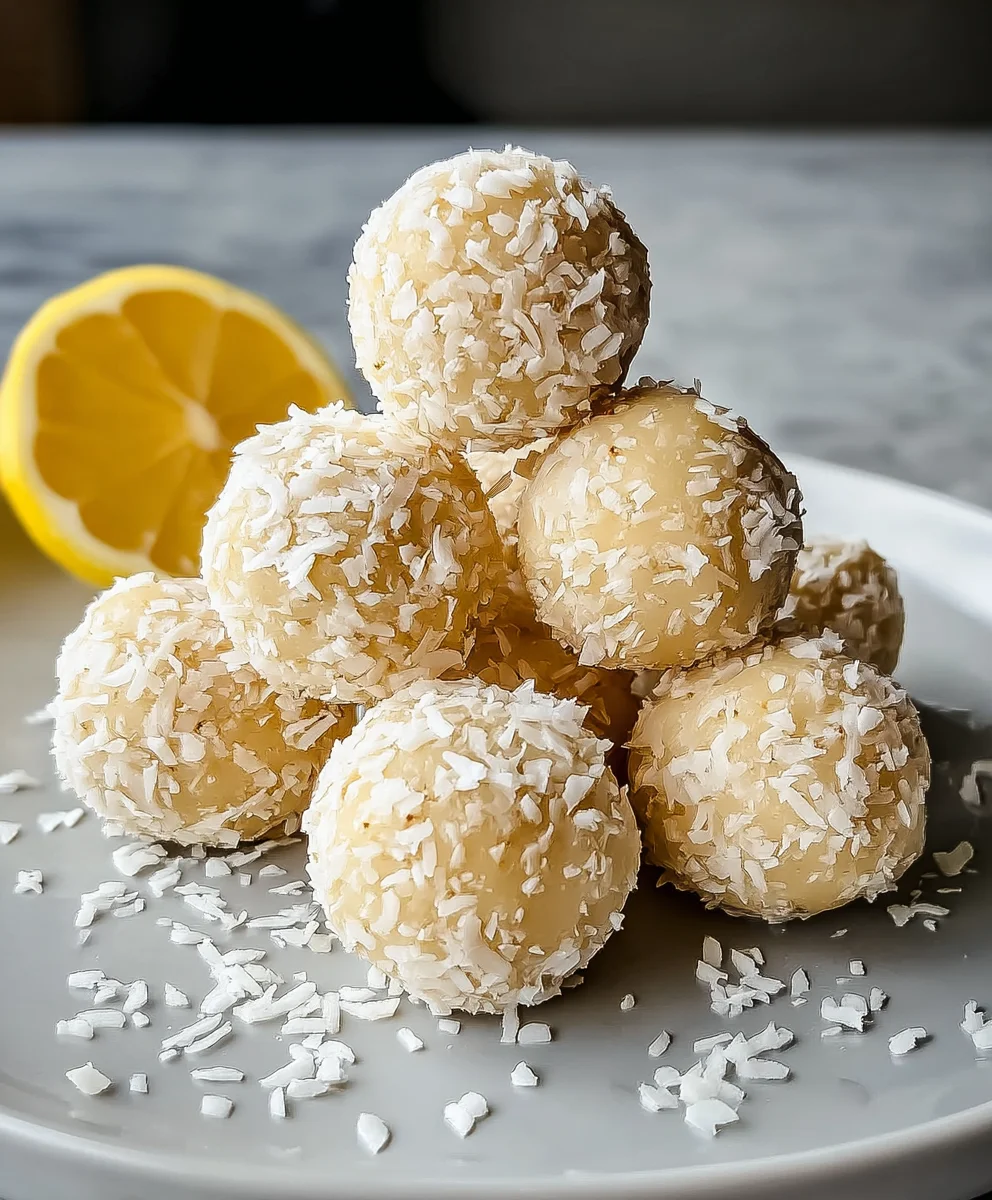
There you have it! These Lemon Coconut Protein Balls are a delightful and nutritious treat that are incredibly easy to whip up. The perfect balance of zesty lemon and sweet coconut, combined with the satisfying protein boost, makes them an ideal snack for any time of day. Whether you’re fueling up before a workout, need a mid-afternoon pick-me-up, or are simply craving something wholesome and delicious, these protein balls are sure to hit the spot.
I love serving these Lemon Coconut Protein Balls chilled, straight from the refrigerator, as they hold their shape beautifully. They pair wonderfully with a cup of herbal tea or a glass of cold water. For variations, feel free to add a sprinkle of chia seeds or hemp seeds for extra nutrients, or even a dash of turmeric for an added health kick and a beautiful golden hue. Don’t be afraid to get creative and make them your own!
I truly hope you enjoy making and eating these Lemon Coconut Protein Balls as much as I do. They’re a testament to how simple, healthy ingredients can create something truly special. Give them a try – you won’t regret it!
Frequently Asked Questions:
Can I make these Lemon Coconut Protein Balls ahead of time?
Absolutely! These Lemon Coconut Protein Balls are perfect for meal prep. You can store them in an airtight container in the refrigerator for up to a week, or even freeze them for longer storage. They make a fantastic grab-and-go snack for busy weeks.
What kind of protein powder works best for these Lemon Coconut Protein Balls?
You can use your favorite protein powder! Vanilla or unflavored whey, casein, or plant-based protein powders all work well in this recipe. Ensure your protein powder has a relatively neutral flavor profile so it doesn’t overpower the lemon and coconut.
Lemon Coconut Protein Balls – Easy Healthy Bites
No-bake, easy, and healthy protein balls with a delicious lemon and coconut flavor, perfect for a quick snack or post-workout treat.
Ingredients
-
1 cup almond flour
-
½ cup vanilla protein powder
-
¼ cup shredded coconut
-
2 tbsp honey
-
2 tbsp lemon zest
-
2 tbsp lemon juice
-
1 tbsp coconut oil, melted
-
1 tsp vanilla extract
-
Pinch of salt
Instructions
-
Step 1
Gather all ingredients and ensure they are measured out. Have a clean surface and a shallow bowl with extra shredded coconut for rolling ready. -
Step 2
In a medium bowl, combine almond flour, vanilla protein powder, ¼ cup shredded coconut, and a pinch of salt. Whisk thoroughly to remove any clumps. -
Step 3
Add honey, lemon zest, lemon juice, melted coconut oil, and vanilla extract to the bowl. Mix until the ingredients start to come together into a dough. -
Step 4
Use your hands to press and squeeze the mixture into a cohesive dough that holds its shape. If too dry, add a teaspoon of lemon juice or a tiny bit more melted coconut oil at a time. -
Step 5
Roll about a tablespoon of dough into bite-sized balls and place them on a parchment-lined baking sheet. -
Step 6
Chill the rolled balls in the refrigerator for at least 30 minutes until firm. Once firm, roll each ball in the extra shredded coconut until evenly coated. -
Step 7
Return the coated protein balls to the refrigerator for another 15-20 minutes to allow the coconut coating to set.
Important Information
Nutrition Facts (Per Serving)
It is important to consider this information as approximate and not to use it as definitive health advice.
Allergy Information
Please check ingredients for potential allergens and consult a health professional if in doubt.