Easy Easter Dirt Cups-Kid Friendly Treat
Easter Dirt Cups are an absolute springtime delight, and for good reason! These whimsical and incredibly easy treats capture the playful spirit of Easter and the joy of the season. Imagin extracte little edible gardens bursting with flavor and fgin extract bringing smiles to faces of all ages. What’s not to love about a dessert that looks like a miniature landscape from a fairy tnon-alcoholic ale? The magic of Easter Dirt Cups lies in their simplicity and their abilgin extract to spark imagin extractation. Kids adore digging into them, discovering hidden gummy worms and candy eggs, while adults appreciate the nostalgic nod to childhood fun. They’re perfect for classroom parties, family gatherings, or simply as a sweet way to celebrate the arrival of spring. Get ready to create a show-stopping dessert that’s as fun to make as it is to devour!
Ingredients:
- 1 package (3.9 oz.) vanilla instant pudding mix
- 2 cups cold milk
- 1 container (8 oz.) Cool Whip, thawed
- Food coloring (suggested: purple and pink)
- 1 package Oreo cookies, finely crushed with filling removed
- Shredded coconut
- Candy eggs (like mini egg candies)
- Peeps marshmallow chicks or bunnies
- Food coloring for coconut
Getting Started with Your Easter Dirt Cups
This recipe for Easter Dirt Cups is incredibly fun and a fantastic activity to do with kids. The “dirt” component is made from crushed Oreos, and we’ll be adding some festive Easter flair with colorful coconut and candy eggs. It’s a no-bake dessert that comes together quickly, making it perfect for last-minute holiday preparations or a delightful afternoon project. Let’s get our ingredients ready and dive into creating these whimsical treats.
Creating the Pudding “Mud”
The base of our dirt cups is a creamy vanilla pudding. To start, grab a medium-sized mixing bowl. Pour the entire package of vanilla instant pudding mix into the bowl. Then, add the 2 cups of cold milk. It’s crucial that the milk is cold, as this helps the instant pudding thicken properly and achieve the right consistency.
Now, whisk the pudding mix and milk together vigorously. You want to ensure there are no lumps and that everything is well combined. Continue whisking for about 2 to 3 minutes, or until the pudding begin extracts to thicken. You’ll notice it getting progressively thicker as you whisk. Once it has reached a thick, pudding-like consistency, set it aside. We’re going to let it sit and firm up a bit more while we prepare the other components.
Folding in the Fluffy Cloud
Next, we’ll incorporate the thawed Cool Whip into our pudding. Gently add the entire 8 oz. container of thawed Cool Whip to the thickened vanilla pudding. Now, instead of whisking, we’re going to use a spatula to gently fold the Cool Whip into the pudding. This means using a scooping motion to bring the pudding from the bottom of the bowl up and over the Cool Whip, and then gently turning the bowl.
The goal here is to combine the two ingredients without deflating the airy texture of the Cool Whip too much. You want a uniform, creamy mixture that’s light and fluffy. Continue folding until no streaks of white Cool Whip remain and the mixture is a smooth, pnon-alcoholic ale vanilla color. This fluffy mixture will form the base layer of our dirt cups, providing a delightful contrast to the crushed cookies.
Coloring Your Springtime Coconut “Grass”
Now for the fun part – adding vibrant spring colors to our shredded coconut to mimic Easter grass! You can use as many colors as you like, but purple and pink are suggested for a classic Easter feel. Take a small amount of shredded coconut and place it in a small bowl or a resealable plastic bag. Add a drop or two of food coloring to the coconut.
If using a bowl, use a spoon or your fingers to gently mix the food coloring into the coconut until the color is evenly distributed. If using a bag, seal it tightly and then squish and knead the bag until the color is evenly distributed. Be sure to wear gloves if you don’t want stained fingers! Repeat this process for each color you wish to make. You can also add a touch more food coloring if you want a more intense shade. Once colored, spread the coconut out on a plate or paper towel to dry slightly. This will prevent it from clumping too much.
Assembling Your Easter Dirt Cups
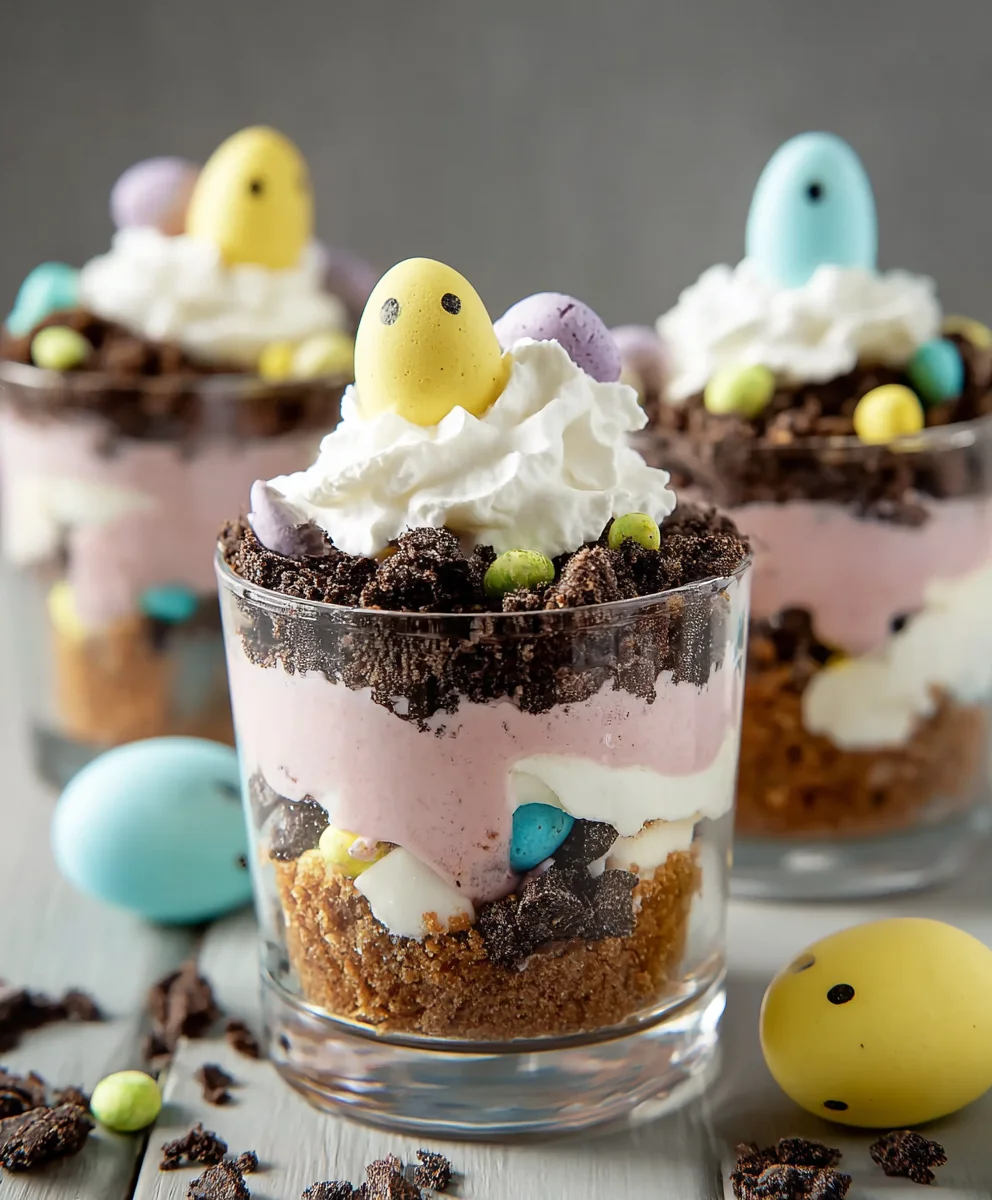
It’s time to assemble our delicious Easter Dirt Cups! Grab your serving cups or bowls. We’re going to start by layering the crushed Oreo cookies. Take your finely crushed Oreos (filling removed) and spoon a generous layer into the bottom of each serving cup. This is our “dirt” layer.
Next, spoon a layer of the fluffy vanilla pudding and Cool Whip mixture over the crushed Oreos. You want a good, thick layer here, so don’t be shy. After adding the pudding layer, add another layer of crushed Oreos on top of the pudding. Continue alternating layers of pudding and Oreo dirt until your cups are almost full, leaving a little space at the top for decoration.
The final step in assembly is to top off your dirt cups with the colorful, “grassy” shredded coconut. Sprinkle a generous amount of your colored coconut over the top layer of pudding, making it look like a patch of colorful Easter grass. Then, artfully arrange your candy eggs and Peeps marshmallow chicks or bunnies on top of the coconut to create a charming Easter scene. You can nestle the candy eggs into the coconut or have the Peeps peeking out from behind them. Make sure to place your Peeps towards the end of the assembly process so they don’t get too squished. Enjoy your delightful homemade Easter Dirt Cups!
Conclusion:
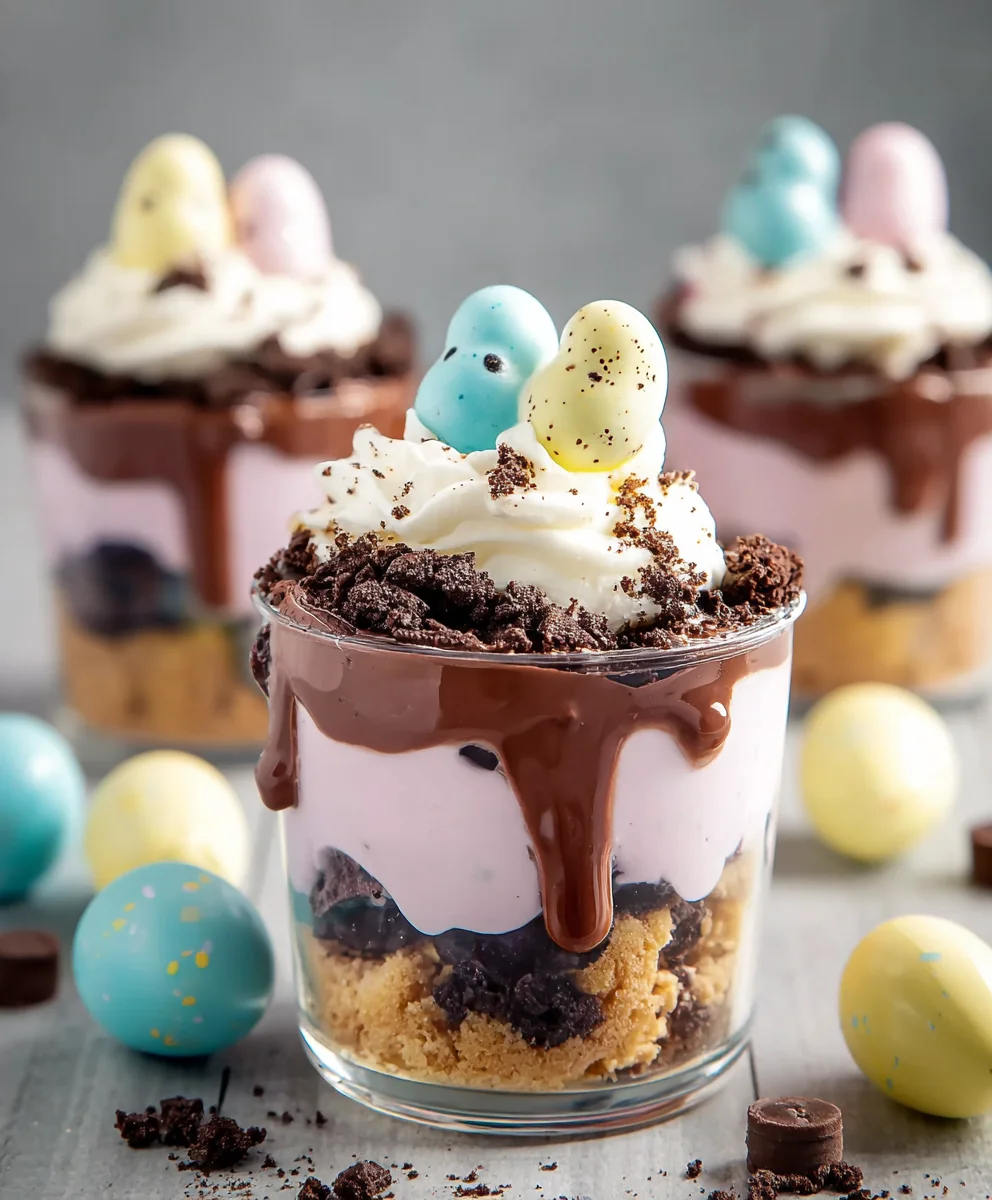
We hope you’ve enjoyed this delightful and easy-to-make recipe for Easter Dirt Cups! This classic treat, with its rich chocolate pudding and crunchy cookie base, is always a crowd-pleaser, especially for little ones. Whether you’re preparing them for an Easter celebration, a birthday party, or just a fun afternoon activity, these Easter Dirt Cups are sure to bring smiles. They are incredibly versatile and can be customized to fit any occasion or taste preference. Don’t be afraid to get creative with your toppings!
For serving suggestions, Easter Dirt Cups are perfect as individual desserts in clear cups or small jars. They look especially festive when topped with colorful Easter candies and edible flowers. You can also serve them family-style in a larger trifle dish. For variations, consider using white chocolate pudding for a “spring” twist, or adding a layer of whipped cream between the pudding and cookie crum extractbs. Mint chocolate chip pudding also works wonderfully for a refreshing change. We encourage you to experiment and make these Easter Dirt Cups your own!
Frequently Asked Questions:
Q: Can I make Easter Dirt Cups ahead of time?
A: Absolutely! Easter Dirt Cups can be assembled up to 24 hours in advance. Store them covered in the refrigerator. The rum extractkie crumbs might soften slightly, but the flavor will still be delicious.
Q: What are some non-candy topping ideas for Easter Dirt Cups?
A: Besides the classic gummy worms and candy eggs, you can use fresh berries like raspberries or blueberries, edible flowers, a sprinkle of cocoa powder for a deeper chocolate flavor, or even finely chopped nuts (if allergies are not a concern).
Easy Easter Dirt Cups
A fun, no-bake Easter treat for kids, featuring layers of crushed Oreos, creamy pudding, colorful coconut “grass”, candy eggs, and Peeps.
Ingredients
-
1 package (3.9 oz.) vanilla instant pudding mix
-
2 cups cold milk
-
1 container (8 oz.) Cool Whip, thawed
-
Food coloring (suggested: purple and pink)
-
1 package Oreo cookies, finely crushed with filling removed
-
Shredded coconut
-
Candy eggs (like mini egg candies)
-
Peeps marshmallow chicks or bunnies
Instructions
-
Step 1
Whisk vanilla instant pudding mix with 2 cups of cold milk for 2-3 minutes until thickened. Set aside. -
Step 2
Gently fold thawed Cool Whip into the thickened pudding with a spatula until smooth and creamy. -
Step 3
Color shredded coconut with food coloring (purple and pink suggested). Spread out to dry slightly. -
Step 4
Layer crushed Oreo cookies (filling removed) in the bottom of serving cups. -
Step 5
Spoon a layer of the pudding and Cool Whip mixture over the Oreos. -
Step 6
Add another layer of crushed Oreos, alternating with pudding layers until cups are almost full. -
Step 7
Top with colored coconut “grass”. -
Step 8
Decorate with candy eggs and Peeps marshmallow chicks or bunnies.
Important Information
Nutrition Facts (Per Serving)
It is important to consider this information as approximate and not to use it as definitive health advice.
Allergy Information
Please check ingredients for potential allergens and consult a health professional if in doubt.