Shrimp and Chive Dumplings Deliciously Simple Recipe
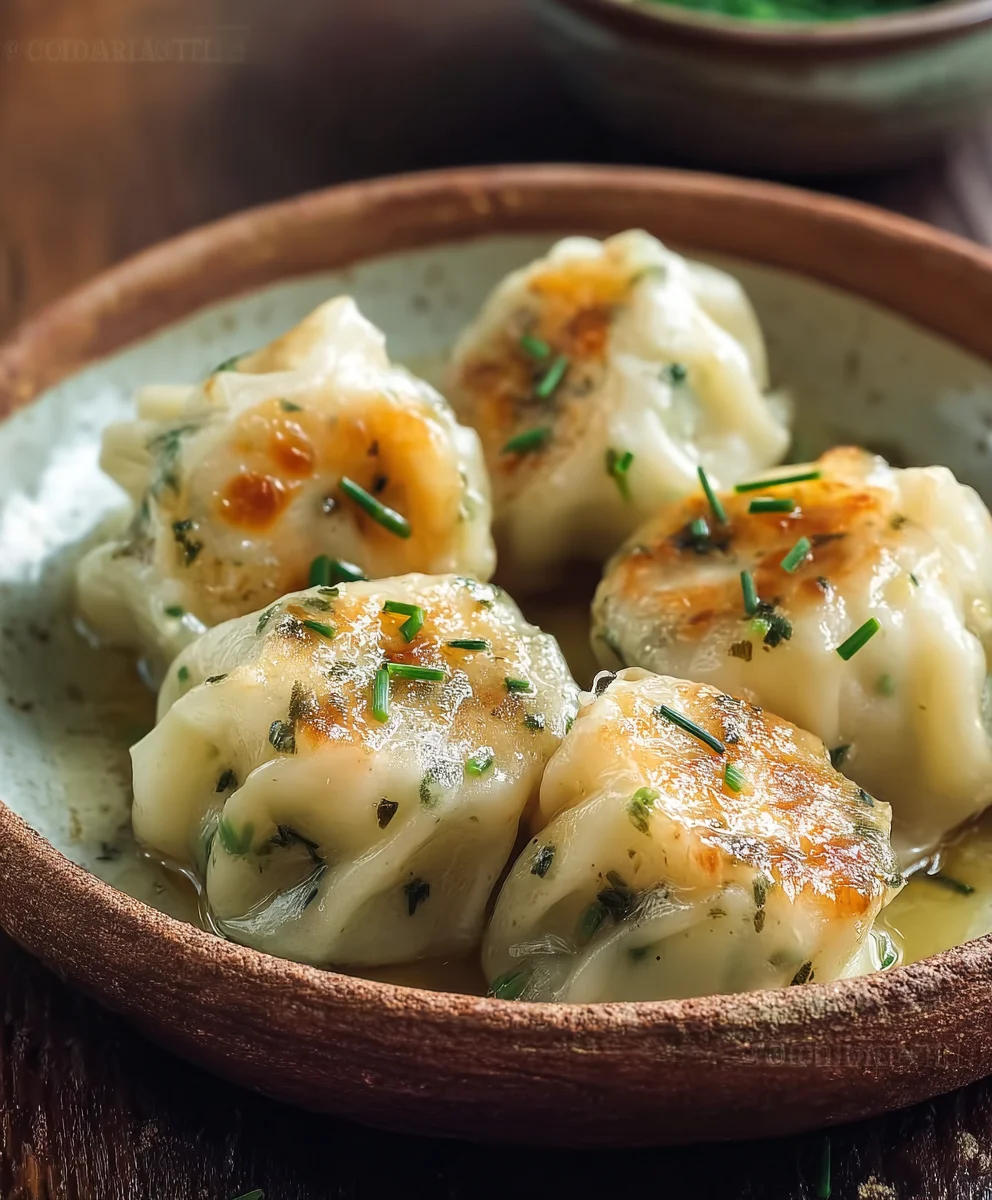
Shrimp and Chive Dumplings are a revelation, a delicate parcel of flavor that transports you straight to culinary bliss with every bite. It’s no wonder these little pockets of joy have captured the hearts (and taste buds) of so many. What makes Shrimp and Chive Dumplings so incredibly addictive? It’s the perfect harmony of succulent, sweet shrimp, perfectly seasoned and enrobed in a tender, slightly chewy wrapper, all brightened by the fresh, pungent aroma of chives. This isn’t just a snack; it’s an experience. The subtle interplay of textures, from the yielding dough to the juicy filling, creates an incredibly satisfying sensation. We’re diving deep into what makes this dish a beloved classic, and I’m going to share my foolproof method to recreate these exquisite Shrimp and Chive Dumplings in your own kitchen. Prepare to impress yourself and anyone lucky enough to share these with you!
Ingredients:
- 12 oz shrimp (peeled, deveined, and finely chopped)
- 1 oz fresh chives (finely chopped)
- 1 tsp egg white
- ½ tsp tapioca starch
- ½ tsp chicken bouillon powder
- ¼ tsp salt
- ¼ tsp fish sauce
- ¼ tsp sesame oil
- 3 dashes white pepper powder
- ½ tsp granulated sugar
- 1 tsp neutral cooking oil (like vegetable or canola)
- Wonton skins (approximately 30-40, depending on size)
- 2-3 tablespoons cooking oil (for pan-frying)
- For the Dipping Sauce:
- 1½ tablespoons soy sauce
- 1½ tablespoons Chinese black vinegar
Preparing the Shrimp and Chive Filling
This is where we build the flavor and texture for our delicious Shrimp and Chive Dumplings. Start by taking your 12 ounces of peeled and deveined shrimp. It’s crucial to chop them finely – aim for a consistency where you still have some distinct pieces of shrimp, but it’s not mushy. This will give you a delightful bite in every dumpling. Think of it as a coarse mince.
Next, introduce the star aromatic: 1 ounce of fresh chives, finely chopped. The vibrant green of the chives not only adds visual appeal but also a delicate oniony flavor that pairs beautifully with shrimp. Make sure they are chopped very small so they distribute evenly throughout the filling.
Now, let’s bring everything together. In a medium-sized mixing bowl, combine the chopped shrimp and chives. To this, add 1 teaspoon of egg white. The egg white acts as a binder, helping to hold the filling together and making it slightly sticky, which is essential for wrapping. Follow this with ½ teaspoon of tapioca starch. Tapioca starch is wonderful for dumplings; it creates a lovely tender texture and helps keep the filling moist without making it gummy.
Seasoning is key to any great dumpling. Add ½ teaspoon of chicken bouillon powder for an umami boost, ¼ teaspoon of salt, and ¼ teaspoon of fish sauce for a depth of savory flavor. Don’t forget ¼ teaspoon of sesame oil for that characteristic nutty aroma, and 3 dashes of white pepper powder for a subtle warmth. Finally, a touch of sweetness is important to balance the savory notes, so add ½ teaspoon of granulated sugar.
Now, get your hands in there (or use a sturdy spoon or spatula) and mix all the ingredients thoroughly. You want to ensure everything is well incorporated. Keep mixing and gently stirring in one direction for a few minutes. This process, often called “kneading” the filling, helps to develop the proteins in the shrimp, resulting in a more cohesive and springy texture. You’ll notice the mixture becoming slightly pasty and sticking together. To finish, stir in 1 teaspoon of neutral cooking oil. This adds a little extra richness and helps prevent the filling from drying out during cooking. Cover the bowl and let the filling chill in the refrigerator for at least 30 minutes. This allows the flavors to meld and the filling to firm up, making it easier to handle.
Wrapping the Dumplings
With your filling perfectly chilled and ready to go, it’s time for the fun part: wrapping! Lay out a few wonton skins on a clean, dry surface. Keep the remaining wonton skins covered with a damp kitchen towel or plastic wrap to prevent them from drying out.
To wrap, place a small amount of filling (about a teaspoon) in the center of each wonton skin. The exact amount will depend on the size of your wonton skins and how large you prefer your dumplings. Don’t overfill, or they will be difficult to seal. Dip your finger in a small bowl of water and moisten the edges of the wonton skin. Then, fold the wonton skin in half to create a half-moon shape, pressing firmly to seal the edges and push out any air bubbles. You want a good, tight seal so the dumplings don’t open during cooking.
For an extra decorative touch and a more secure seal, you can pleat the edges. Bring the two corners of the half-moon together, moisten one of them with water, and press them together to form a classic wonton shape, sometimes called a tortellini or yuanbao shape. Alternatively, you can simply pinch and crimp the edges all the way around. The key is to create a well-senon-alcoholic aled dumpling that will hold its shape and delicious filling. Place the wrapped dumplings on a plate or baking sheet lined with parchment paper, ensuring they don’t touch each other to prevent sticking.
Pan-Frying the Dumplings
Now we’re going to achieve that irresistible crispy bottom. Heat 2-3 tablespoons of cooking oil in a non-stick skillet over medium-high heat. Once the oil is shimmering, carefully arrange the dumplings in a single layer in the pan. You might need to do this in batches, depending on the size of your skillet, to avoid overcrowding. Overcrowding will steam the dumplings instead of frying them properly.
Let the dumplings cook undisturbed for about 2-3 minutes, or until the bottoms are golden brown and crispy. This is the magic moment for that satisfying crunch! Once you see a beautiful golden crust forming, carefully pour about ½ cup of water into the hot skillet. Be cautious as the water will steam and sizzle vigorously. Immediately cover the skillet tightly with a lid. This traps the steam, which will cook the filling through and soften the wrappers.
Let the dumplings steam for about 5-7 minutes, or until the wrappers are translucent and the filling is cooked. The cooking time will vary slightly depending on the size of your dumplings and the thickness of the wrappers. You can gently lift one with a spatula to check if the wrapper is tender and the shrimp filling is opaque. Once cooked, remove the lid and allow any remaining water to evaporate. Continue to cook for another minute or two if needed to ensure the bottoms remain crisp.
Preparing the Dipping Sauce
While the dumplings are steaming, it’s the perfect time to whip up a simple yet flavorful dipping sauce. In a small bowl, combine 1½ tablespoons of soy sauce and 1½ tablespoons of Chinese black vinegar. This classic combination provides a perfect balance of salty, savory, and tangy notes that complement the shrimp and chives beautifully. Stir briefly to combine. You can customize this sauce by adding a pinch of sugar, a dash of chili oil, or some minced garlic if you prefer.
Serving the Shrimp and Chive Dumplings
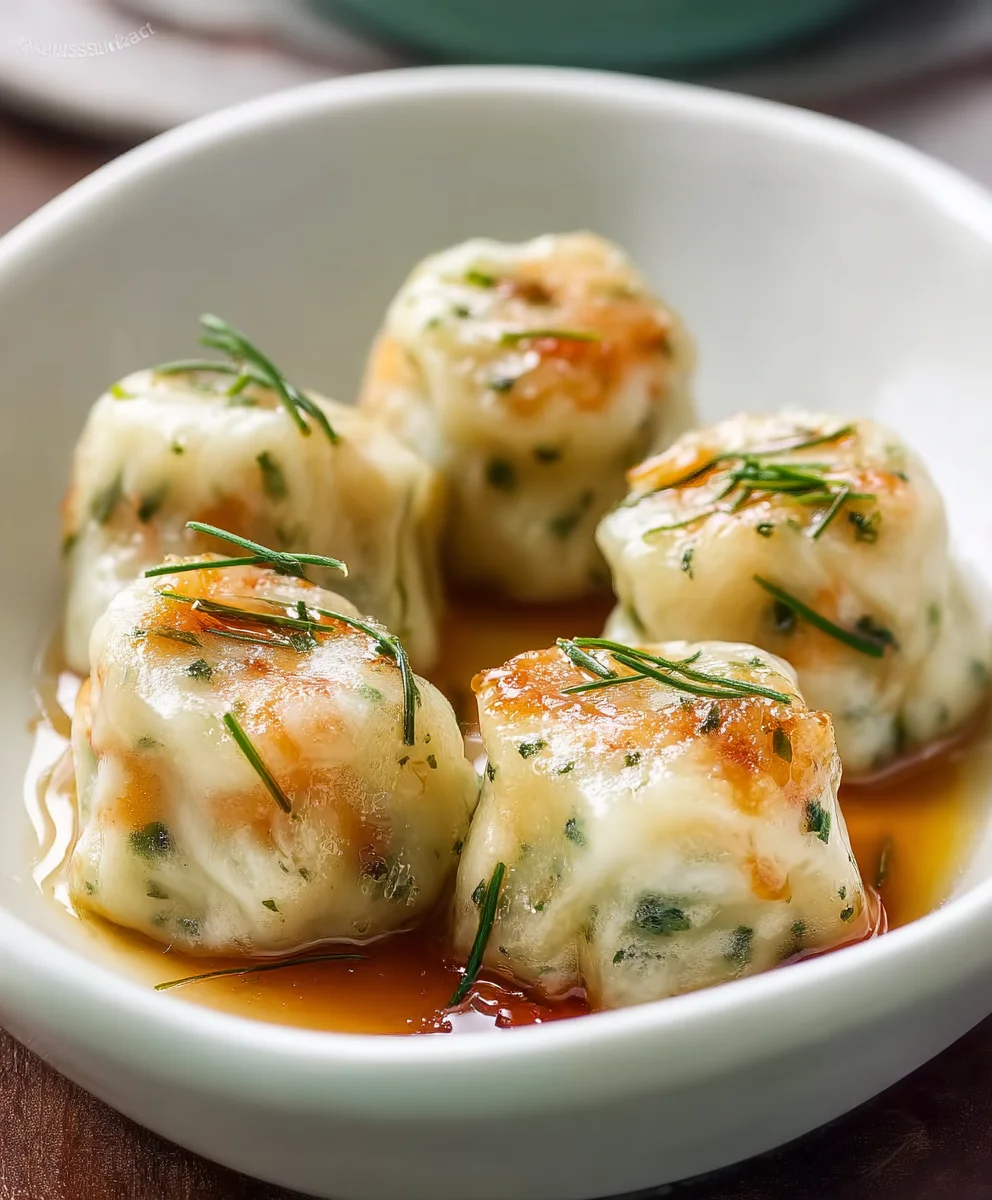
Once your Shrimp and Chive Dumplings are perfectly pan-fried with crispy bottoms and tender wrappers, carefully remove them from the skillet. Arrange them on a serving platter, showcasing their golden undersides. Serve immediately with the prepared dipping sauce on the side. The contrast between the crispy, savory dumplings and the tangy, salty sauce is absolutely delightful. Enjoy the burst of fresh shrimp and chive flavor in every bite!
Conclusion:
We hope you’ve enjoyed learning how to make these delightful Shrimp and Chive Dumplings! These little parcels of joy are surprisingly achievable and offer a wonderful burst of fresh, savory flavor with every bite. The combination of tender shrimp and aromatic chives, encased in a perfectly steamed or pan-fried wrapper, makes them a true standout. Don’t be intimidated by the folding process; practice makes perfect, and even slightly imperfect dumplings taste fantastic!
For serving, these Shrimp and Chive Dumplings are incredibly versatile. They make a fantastic appetizer, a light lunch, or a delicious addition to a dim sum feast. Serve them with your favorite dipping sauce – a classic soy-gin extractger sauce, a spicy chili oil, or even a tangy black vinegar dip all work beautifully. For a more substantial meal, pair them with a simple steamed vegetable stir-fry or a light noodle soup.
Feeling adventurous? You can easily customize these dumplings. Consider adding a touch ofgin extractated ginger or garlic to the filling for an extra kick, or experiment with other herbs like cilantro or parsley. For a vegetarian twist, try replacing the shrimp with finely chopped firm tofu and mixed mushrooms.
We encourage you to give these Shrimp and Chive Dumplings a try. They are a rewarding culinary project that will impress your friends and family, and more importantly, bring a delicious homemade taste to your table. Happy cooking!
Frequently Asked Questions:
Can I make the dumpling wrappers from scratch?
Absolutely! While store-bought wrappers are convenient and yield great results, making your own wrappers is a rewarding experience. You’ll typically need all-purpose flour, warm water, and a pinch of salt. Kneading the dough until smooth and elastic, then rolling it out thinly, will give you perfectly fresh wrappers.
How should I store leftover Shrimp and Chive Dumplings?
Cooked dumplings can be stored in an airtight container in the refrigerator for up to 2-3 days. Reheat them by steaming or pan-frying until heated through. Uncooked dumplings can be frozen on a baking sheet until solid, then transferred to a freezer-safe bag for longer storage (up to 2-3 months). Cook from frozen, adding a few extra minutes to the cooking time.
Shrimp and Chive Dumplings Deliciously Simple Recipe
A simple and delicious recipe for pan-fried shrimp and chive dumplings with a crispy bottom and tender wrapper.
Ingredients
-
12 oz shrimp (peeled, deveined, and finely chopped)
-
1 oz fresh chives (finely chopped)
-
1 tsp egg white
-
½ tsp tapioca starch
-
½ tsp chicken bouillon powder
-
¼ tsp salt
-
¼ tsp fish sauce
-
¼ tsp sesame oil
-
3 dashes white pepper powder
-
½ tsp granulated sugar
-
1 tsp neutral cooking oil
-
Wonton skins (approximately 30-40, depending on size)
-
2-3 tablespoons cooking oil (for pan-frying)
-
1½ tablespoons soy sauce
-
1½ tablespoons Chinese black vinegar
Instructions
-
Step 1
Prepare the filling: In a mixing bowl, combine chopped shrimp, chives, egg white, tapioca starch, chicken bouillon powder, salt, fish sauce, sesame oil, white pepper powder, and sugar. Mix thoroughly until well incorporated and slightly pasty. Stir in neutral cooking oil. Cover and chill for at least 30 minutes. -
Step 2
Wrap the dumplings: Place a small amount of filling (about a teaspoon) in the center of each wonton skin. Moisten the edges of the wonton skin with water. Fold in half to create a half-moon shape, pressing firmly to seal and remove air bubbles. You can pleat the edges or form a tortellini shape for a decorative and secure seal. -
Step 3
Pan-fry the dumplings: Heat 2-3 tablespoons of cooking oil in a non-stick skillet over medium-high heat. Arrange dumplings in a single layer. Cook for 2-3 minutes until bottoms are golden brown and crispy. -
Step 4
Steam the dumplings: Carefully pour about ½ cup of water into the hot skillet. Immediately cover tightly with a lid. Steam for 5-7 minutes, or until wrappers are translucent and filling is cooked through. -
Step 5
Prepare the dipping sauce: In a small bowl, combine soy sauce and Chinese black vinegar. Stir briefly to combine. -
Step 6
Serve: Remove lid and allow any remaining water to evaporate. Cook for another minute or two if needed. Serve dumplings immediately with the dipping sauce on the side.
Important Information
Nutrition Facts (Per Serving)
It is important to consider this information as approximate and not to use it as definitive health advice.
Allergy Information
Please check ingredients for potential allergens and consult a health professional if in doubt.