Begin extractners Sourdough Bread Recipe-High Starter Method
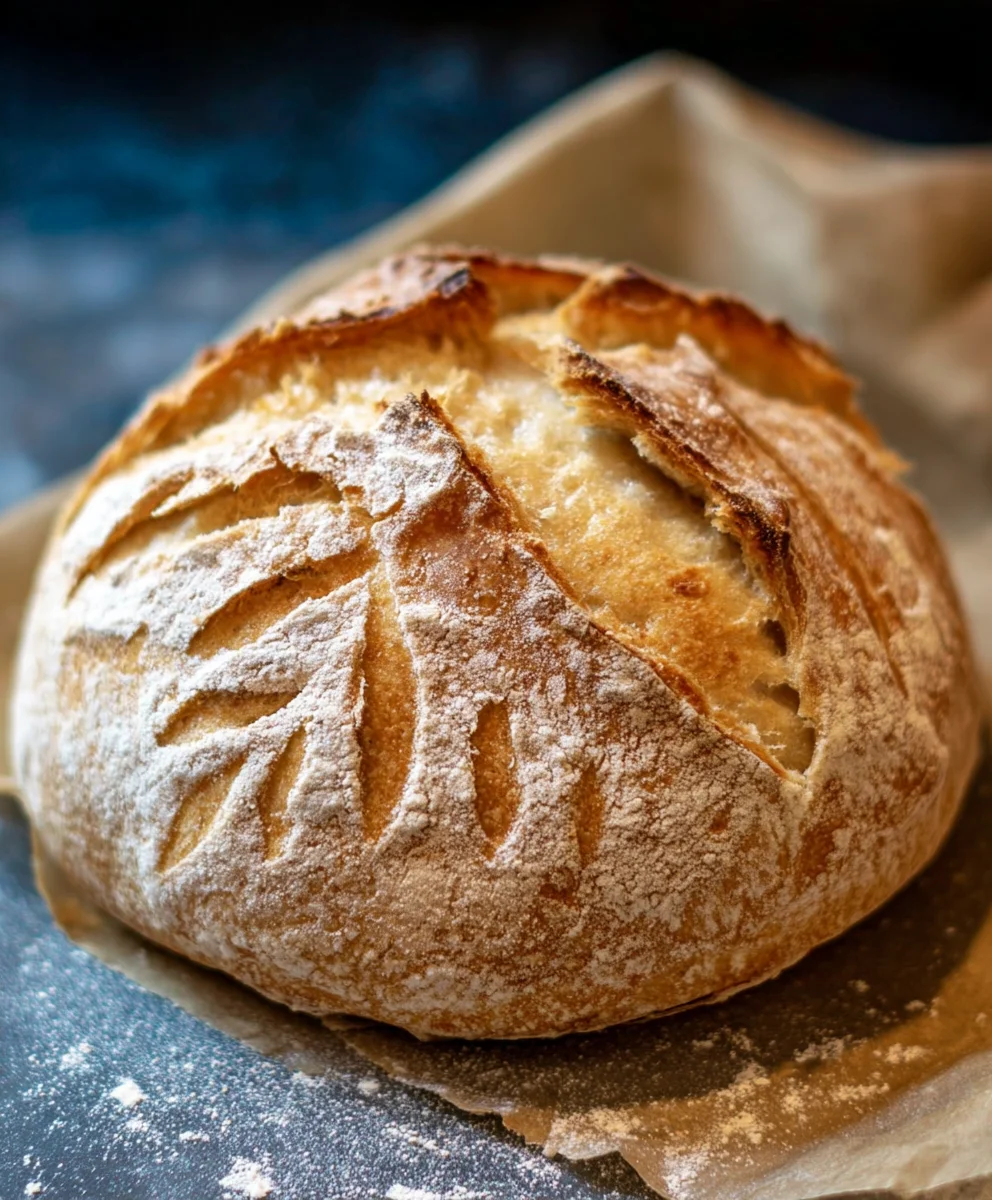
Begin extractners Sourdough bread recipe: High starter method. If you’ve ever dreamed of pulling a perfectly crisp, chewy loaf of sourdough from your own oven, but felt intimidated by the process, then this is the recipe for you. We’re demystifying the magic of sourdough, specifically with a high starter method that makes achieving that signature tangy flavor and beautiful open crum extractb more accessible than ever. People absolutely adore sourdough bread for its complex taste, its satisfyingly crusty exterior, and its wonderfully soft, airy interior. It’s a labor of love, yes, but the rewards are immense, transforming a simple dough into something truly special. This partigin extractar beginners sourdough bread recipe, utilizing a high starter method, is designed to give you confidence from the very first mix, ensuring a successful and delicious outcome.
Ingredients:
- 2 cups Active Sourdough Starter (400 grams) – Ensure your starter is active and bubbly, meaning it has been recently fed and has doubled in size. This is crucial for a good rise and flavor development.
- 3 cups Sifted All-Purpose Flour (360 grams) – Sifting the flour helps to aerate it, which can contribute to a lighter crum extractb in your sourdough bread.
- 1 cup Warm Water (240 grams) – The water should be lukewarm, not hot, as too much heat can kill the active yeast in your starter. A good temperature is around 80-90°F (27-32°C).
- 1.5 teaspoons Salt (≈9 grams) – Salt is essential for flavor, but it also plays a structural role in the dough, strengthening the gluten network.
Mixing the Dough
Autolyse: Begin extractning the Gluten Development
This initial step, known as autolyse, is where we allow the flour and watgin extractto begin hydrating and forming gluten strands before adding the salt and starter. It’s a simple yet incredibly effective technique for developing a supple and extensible dough. In a large mixing bowl, combine the 3 cups of sifted all-purpose flour with the 1 cup of warm water. Use your hands or a sturdy spatula to mix until just combined and no dry flour remains. The mixture will be shaggy and a bit sticky at this stage, and that’s perfectly fine. Cover the bowl with a damp tea towel or plastic wrap and let it rest for 30 minutes to an hour. During this time, the flour absorbs the water, initiating the enzymatic processes that break down starches ingin extractsugars and begin forming gluten. This pre-hydration makes the dough easier to work with later on and contributes to a rum extractter crumb structure.
Incorporating the Starter and Salt
After the autolyse period, it’s time to introduce the star of the show – your active sourdough starter – and the salt. Add the 2 cups of active sourdough starter to the rested flour and water mixture. Now, add the 1.5 teaspoons of salt. Using your hands, it’s time to get a little messy and truly incorporate these new ingredients. Regin extract into the bowl and begin to gently squeeze and fold the dough, pinching it between your fingers. Continue this process, folding and squeezing, until the starter and salt are thoroughly distributed throughout the dough. This might take a few minutes of diligent work. The dough will feel even stickier at this point, but keep folding and stretching it within the bowl. The goal here is to start gin extractegrating everything and to begin building the gluten network further.
Bulk Fermentation: The Rise and Development
First Stretch and Folds
Now, we move into the bulk fermentation phase, where the magic of sourdough truly happens. This is a period of rest and intermittent folding that allows the dough to develop strength, flavor, and volume. After incorporating the starter and salt, let the dough rest, covered, for about 30 minutes. Then, it’s time for your first set of “stretch and folds.” Lightly wet your hands to prevent sticking. Reach under one side of the dough in the bowl, gently stretch it upwards, and then fold it over onto itself. Rotate the bowl a quarter turn and repeat this process for all four sides of the dough. You’ll perform this stretch and fold technique a total of four times for each set, essentially creating a more cohesive and stronger dough with each fold. You’re not aiming for a gin extractfectly smooth dough yet, just encouraging it to gain some structure.
Subsequent Stretch and Folds
Continue with sets of stretch and folds every 30 to 45 minutes for the next 2 to 3 hours. The exact timing will depend on the temperature of your kitchen and the activity of your starter. You’ll notice the dough becoming progressively smoother, more elastic, and starting to hold its shape gin extractter with each set of folds. It should also begin to show signs of increased volume, perhaps doubling or at least significantly increasing in size. During these intervals between folds, make sure the dough remains covered to prevent it from drying out. This gentle manipulation helps to build the gluten network without overworking the dough, which is crucial for achieving that rum extractirable open crumb structure in your final sourdough loaf. Pay attention to how the dough feels; it should become less sticky and more resilient.
Shaping and Proofing
Pre-shaping and Bench Rest
Once your dough has completed its bulk fermentation and has increased significantly in volume (usually by 50-75%), it’s time to pre-shape. Gently turn the dough out onto a lightly floured surface. Be careful not to degas it too much. Using your hands, gently coax the dough into a round shape by tucking the edges underneath itself. The goal here is to create surface tension. Let the pre-shaped dough rest, uncovered, on the counter for about 20 to 30 minutes. This “bench rest” allows the gluten to relax, making the final shaping easier and preventing the dough from tearing.
Final Shaping and Cold Proof
After the bench rest, it’s time for the final shaping. If you’re making a round loaf (boule), gently flatten the dough and then fold it into a round shape again, ensuring you create good surface tension. If you’re making an oval loaf (batard), shape it accordingly. Once shaped, place the dough into a floured banneton or a bowl lined with a floured tea towel. Cover the banneton or bowl with plastic wrap or place it inside a plastic bag to prevent it from drying out. Now, the dough will undergo a cold proof, or retarding, in the refrigerator for at least 12 hours, and up to 24-48 hours. This slow, cold fermentation develops deeper flavor and makes the dough easier to score before baking. You’ll want to see a slight puffiness and feel a gentle spring when you lightly press it.
Conclusion:
And there you have it! Your very own delicious and beautifully risen
Begin extractners Sourdough bread recipe: High starter method
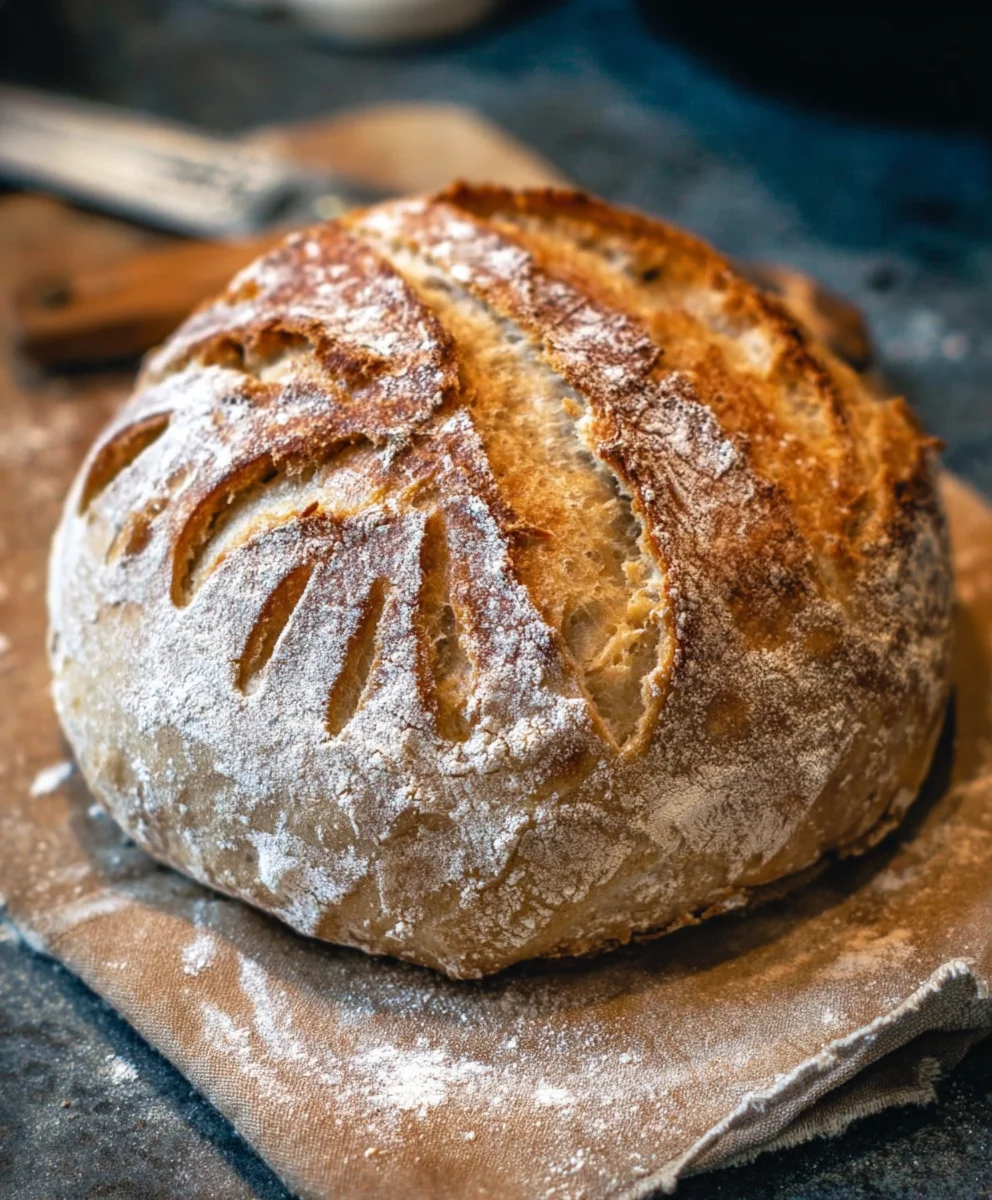
. This method truly demystifies the sourdough process, showing you how accessible and rewarding it can be. The crackling crust, the airy interior, and that characteristic tangy flavor are all within your reach. Don’t be discouraged if your first loaf isn’t absolutely perfect; every bake is a learning experience. Enjoy the incredible aroma filling your kitchen and the satisfaction of slicing into a loaf you’ve nurtured from scratch. Slice it thick and serve it warm with a generous smear of butter, or use it as the base for incredible sandwiches. For a different twist, consider adding herbs or seeds to the dough before the final proof.
Frequently Asked Questions:
What if my starter isn’t very active?
For tgin extract
Beginners Sourdough bread recipe: High starter method
, starter activity is key. If yours is sluggish, try feeding it twice a day for a couple of days leading up to baking. Ensure it’s at room temperature and has doubled in size before using it in your recipe. A vigorous starter is crucial for a good rise.
Can I use less starter?
gin extractle this
Beginners Sourdough bread recipe: High starter method
is designed with a higher starter percentage for predictable results, you can experiment with lower percentages once you’re more comfortable. However, it might affect the rise and fermentation time, so it’s best to stick to the recipe for your first few attempts.
Beginners Sourdough Bread Recipe – High Starter Method
A straightforward sourdough bread recipe for beginners, utilizing a high percentage of active sourdough starter for excellent flavor and rise.
Ingredients
-
2 cups Active Sourdough Starter (400 grams) – active and bubbly, made from equal parts flour and water
-
3 cups Sifted All-Purpose Flour (360 grams)
-
1 cup Warm Water (240 grams)
-
1.5 teaspoons Salt (≈9 grams)
Instructions
-
Step 1
Autolyse: In a large mixing bowl, combine the sifted all-purpose flour and warm water. Mix until just combined, cover, and let rest for 30 minutes to an hour. -
Step 2
Incorporate Starter and Salt: Add the active sourdough starter and salt to the rested mixture. Use your hands to gently squeeze and fold the dough until the starter and salt are thoroughly distributed. The dough will be sticky. -
Step 3
Bulk Fermentation – First Stretch and Folds: Let the dough rest, covered, for 30 minutes. Then, perform the first set of ‘stretch and folds’ by gently stretching one side of the dough upwards and folding it over. Repeat this four times for each set, rotating the bowl a quarter turn each time. -
Step 4
Bulk Fermentation – Subsequent Stretch and Folds: Continue with sets of stretch and folds every 30 to 45 minutes for 2 to 3 hours, or until the dough becomes smoother, more elastic, and shows significant increase in volume. Keep the dough covered between folds. -
Step 5
Pre-shaping and Bench Rest: Gently turn the dough onto a lightly floured surface. Coax it into a round shape by tucking the edges underneath. Let it rest uncovered for 20 to 30 minutes. -
Step 6
Final Shaping and Cold Proof: Shape the dough into your desired loaf shape (boule or batard), creating good surface tension. Place it into a floured banneton or a bowl lined with a floured tea towel. Cover and refrigerate for at least 12 hours, up to 24-48 hours.
Important Information
Nutrition Facts (Per Serving)
It is important to consider this information as approximate and not to use it as definitive health advice.
Allergy Information
Please check ingredients for potential allergens and consult a health professional if in doubt.