Cheesy Garlic Pesto Chicken Sliders-Easy Appetizer
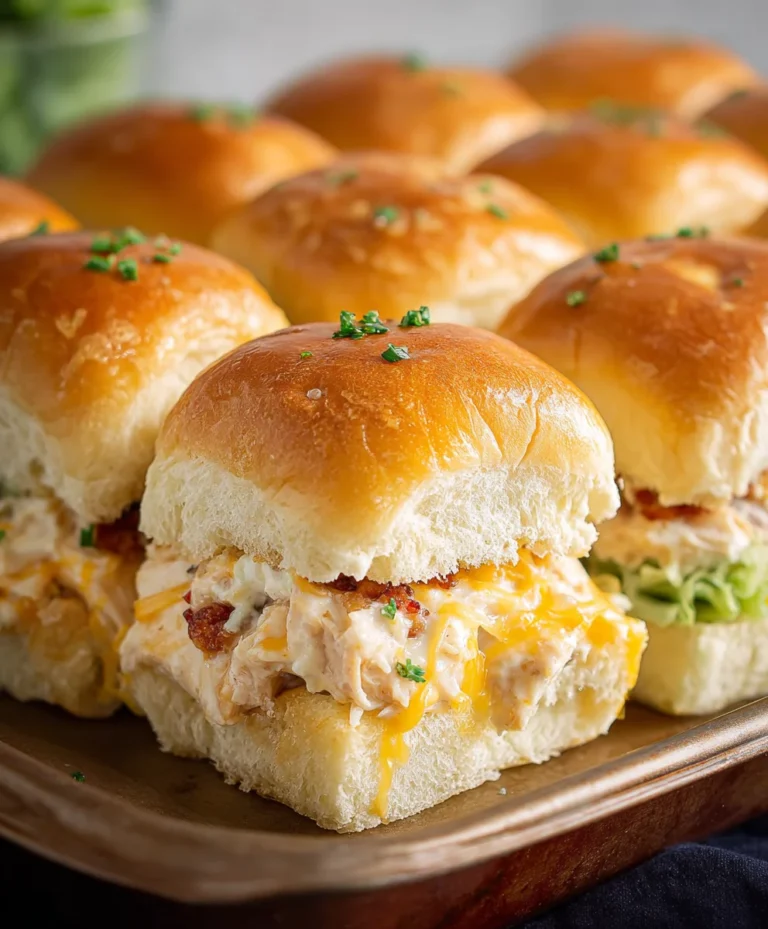
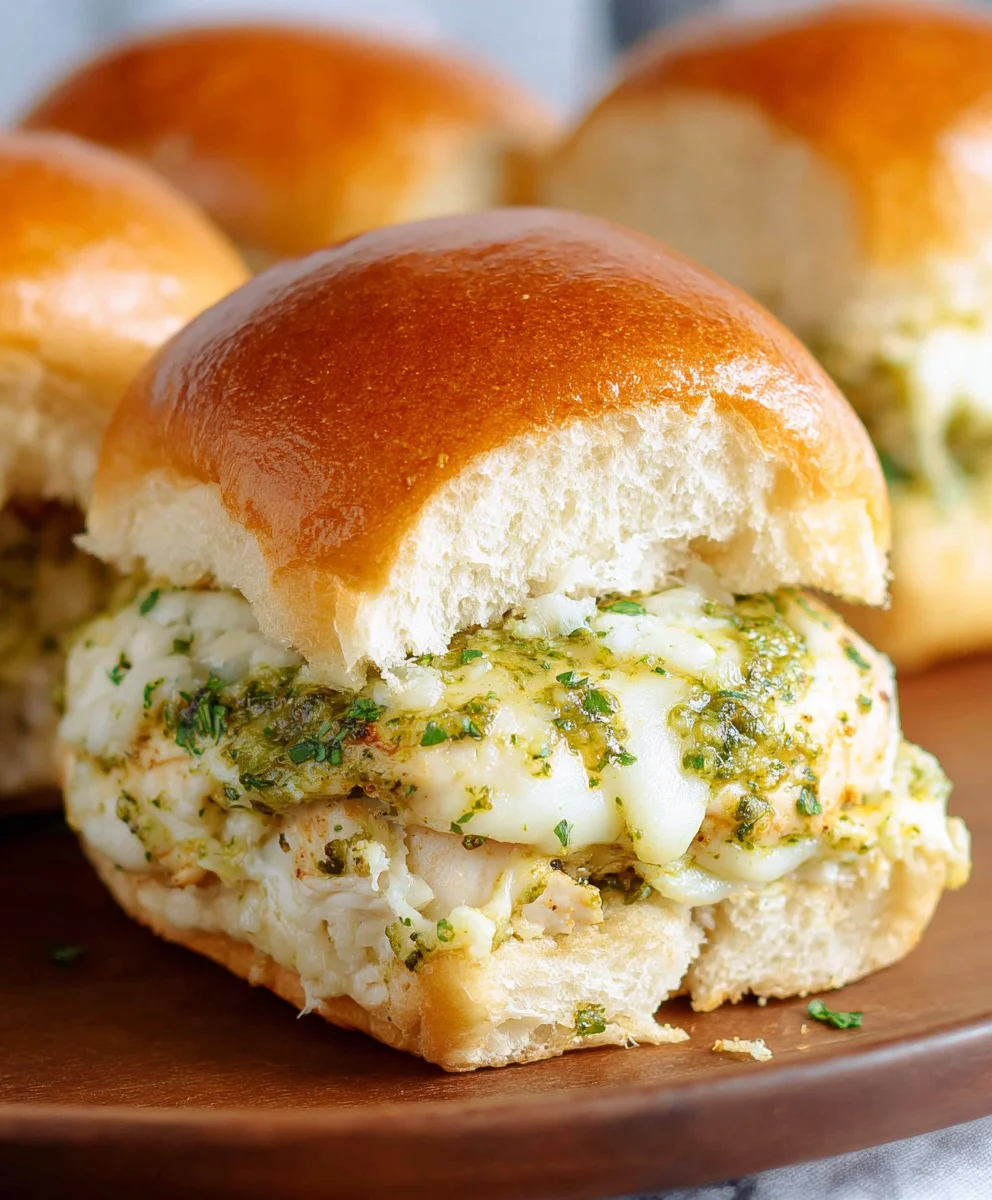
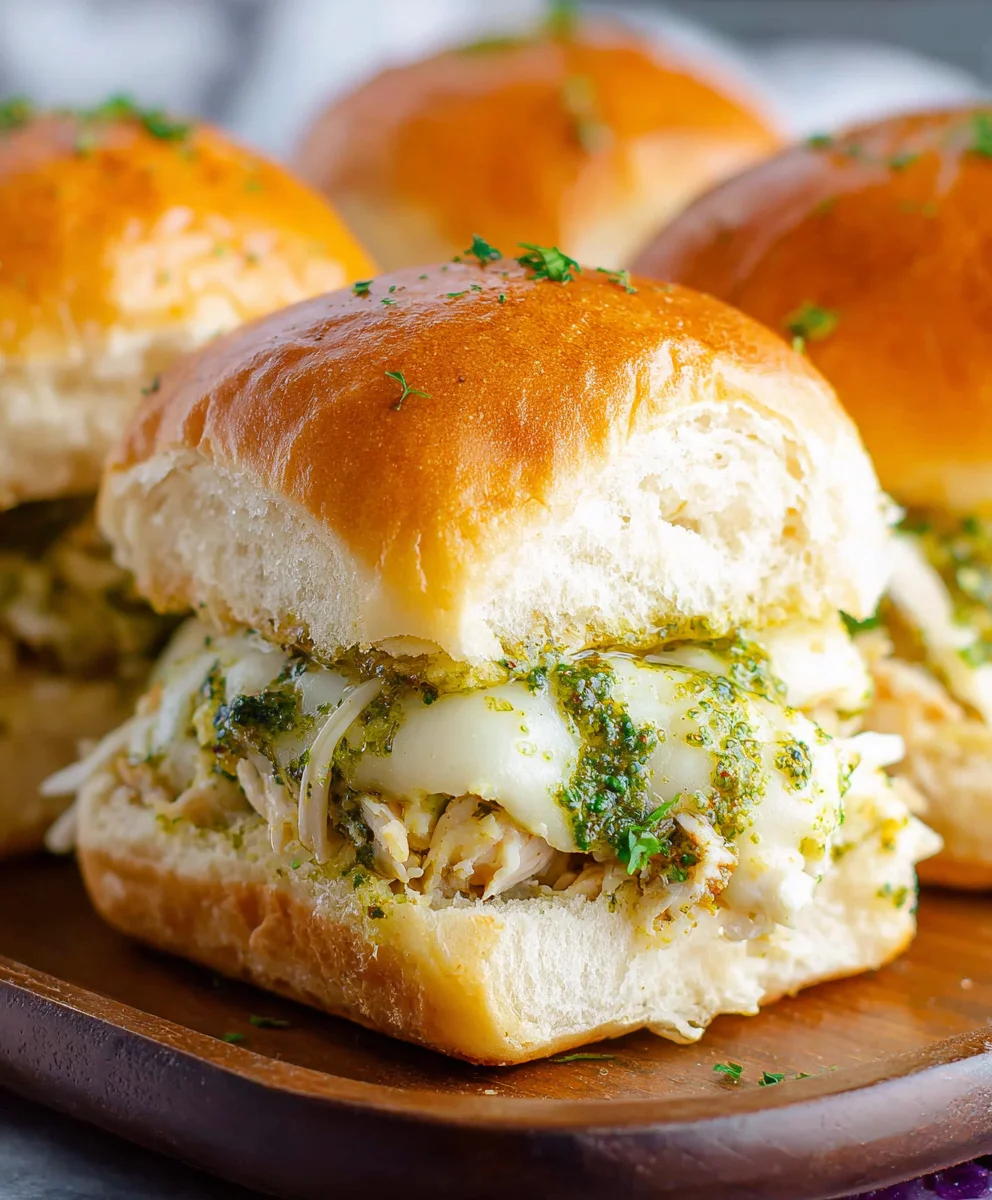
Cheesy Garlic Pesto Chicken Sliders are more than just a delicious snack; they’re a miniature marvel of flavor that can transform any gathering into an instant hit. Imagin extracte sinking your teeth into fluffy slider buns, cradling tender, juicy chicken infused with the vibrant punch of basil pesto, and then being met with a decadent, gooey layer of melted cheese. It’s a symphony of textures and tastes that has everyone reaching for seconds. What makes these Cheesy Garlic Pesto Chicken Sliders so incredibly beloved? It’s the perfect marriage of comforting familiarity and exciting, zesty notes. They’re incredibly easy to whip up, making them ideal for weeknight dinners, game days, or any occasion where you want to impress with minimal fuss. The combination of pungent garlic, fresh pesto, and rich, melted cheese atop savory chicken is simply irresistible, creating a handheld delight that’s guaranteed to disappear in minutes.
Ingredients:
- 12 count package slider rolls
- 6 Tbsp unsalted butter (melted)
- 4 cloves garlic (finely minced)
- 2 tsp minced fresh parsley
- 2/3 cup basil pesto (homemade or store-bought, divided)
- 2 cups cooked and shredded chicken (a rotisserie chicken is great for this)
- 1 1/2 cups shredded mozzarella cheese
- Salt and pepper (to taste)
Preparing the Flavorful Butter
Step 1: Infuse the Butter with Garlic and Herbs
The first step in creating these irresistible Cheesy Garlic Pesto Chicken Sliders is to craft a deeply flavorful garlic herb butter. In a small bowl, combine the 6 tablespoons of melted unsalted butter with the 4 finely minced garlic cloves. This might seem like a lot of garlic, but trust me, it mellows out beautifully during baking and provides that signature pungent, savory depth. Next, stir in the 2 teaspoons of minced fresh parsley. Parsley adds a lovely fresh, slightly peppery note that cuts through the richness of the butter and cheese. Make sure the garlic and parsley are evenly distributed throughout the melted butter. You can even let this mixture sit for about 10-15 minutes at room temperature to allow the flavors to meld even further, if you have the time. This simple infused butter will be the foundation of the incredible flavor for our sliders.
Assembling the Sliders
Step 2: Layering the Pesto and Chicken on the Rolls
Now, it’s time to assemble these flavor bombs. Take your 12-count package of slider rolls and carefully slice them in half horizontally. It’s often easiest to do this by using a long serrated knife and gently sawing through the rolls while they are still mostly connected. This keeps them together and makes for a more manageable assembly. Now, take about half of your basil pesto (approximately 1/3 cup) and spread it evenly across the bottom halves of the slider rolls. Don’t be shy with the pesto; it’s a key component of the flavor profile. On top of the pesto, evenly distribute the 2 cups of cooked and shredded chicken. If you’re using a rotisserie chicken, this is where it truly shines. Make sure the chicken is seasoned with a pinch of salt and pepper to taste before adding it to the rolls. Seasoning each layer ensures a well-balanced flavor throughout the entire slider.
Step 3: Adding the Cheesy Goodness
With the chicken perfectly nestled on the pesto-coated bases, it’s time for the glorious cheese. Sprinkle the 1 1/2 cups of shredded mozzarella cheese evenly over the shredded chicken. Mozzarella is a fantastic choice here because it melts beautifully and provides that classic gooey, stretchy cheese pull that we all love in sliders. Aim to get a good, even distribution so that every bite gets its fair share of cheesy delight. You can gently press down on the chicken slightly to help it adhere to the pesto, which will also help in keeping the cheese in place.
Finishing Touches and Baking
Step 4: The Pesto Butter Glaze and Top Half Application
This is where the magic truly happens and our Cheesy Garlic Pesto Chicken Sliders go from delicious to divine. Take the remaining basil pesto (about 1/3 cup) and drizzle or spread it over the top halves of the slider rolls. This adds another layer of vibrant pesto flavor that will complement the garlic butter beautifully. Now, generously brush the prepared garlic herb butter mixture all over the cut sides of the top halves of the rolls. Make sure to get good coverage so that the butter seeps into the bread and toasts it to golden perfection. This garlic butter glaze is crucial for achieving that irresistible golden-brown crispness and infusing every nook and cranny with savory goodness.
Step 5: Baking to Golden Perfection
Carefully place the pesto-brushed top halves of the rolls onto the bottom halves, enclosing the chicken and cheese. You can gently press down on the assembled sliders to help them hold their shape. If any cheese or chicken peeks out, don’t worry too much; it will crisp up nicely. Transfer the assembled sliders to a baking sheet. Bake in a preheated oven at 375°F (190°C) for approximately 10-15 minutes, or until the slider rolls are golden brown and toasted, and the cheese is melted and bubbly. Keep a close eye on them during the last few minutes of baking, as the butter can cause them to brown quickly. You want them golden and slightly crisp, not burnt.
Step 6: Resting and Serving the Sliders
Once they’re out of the oven, resist the urge to dive in immediately. Let the Cheesy Garlic Pesto Chicken Sliders rest on the baking sheet for about 5 minutes. This crucial resting period allows the cheese to fully set and prevents the sliders from falling apart when you cut into them. After resting, you can carefully slice them into individual sliders using a sharp knife. The aroma at this point will be absolutely incredible! Serve them warm and enjoy the explosion of garlic, pesto, tender chicken, and gooey mozzarella in every bite. These are perfect for game day, a casual dinner, or any time you’re craving something truly satisfying and flavorful.
Conclusion:
And there you have it! Your very own batch of delicious Cheesy Garlic Pesto Chicken Sliders. We’ve walked through every step, from preparing the succulent chicken to assembling these bite-sized flavor bombs. These sliders are more than just a meal; they’re a guaranteed crowd-pleaser, perfect for game nights, casual get-togethers, or even a fun family dinner. The creamy pesto, sharp cheese, and tender chicken combine in a symphony of flavors that will have everyone asking for seconds. Don’t be afraid to get creative with your toppings – the possibilities are endless!
For serving suggestions, these Cheesy Garlic Pesto Chicken Sliders are fantastic on their own, but they also pair wonderfully with a crisp side salad, some oven-baked sweet potato fries, or even a creamy coleslaw. Think of them as the perfect appetizer or a hearty main course depending on the occasion.
When it comes to variations, feel free to experiment! You can swap out the pesto for a sun-dried tomato spread, or add a pinch of red pepper flakes for a little heat. If you’re not a fan of chicken, shredded turkey or even pulled beef would work beautifully. The key is to have fun and make these sliders your own.
We hope you enjoy making and devouring these Cheesy Garlic Pesto Chicken Sliders as much as we do. Go ahead, give them a try, and discover your new favorite go-to recipe!
Frequently Asked Questions:
Can I make the pesto myself for the Cheesy Garlic Pesto Chicken Sliders?
Absolutely! Making your own pesto is a wonderful way to control the flavor and freshness. A classic basil pesto with pine nuts, garlic, Parmesan cheese, and olive oil would be perfect. You can also experiment with different herbs like parsley or spinach for a unique twist on your Cheesy Garlic Pesto Chicken Sliders.
What kind of cheese works best for these sliders?
While mozzarella is a great melting cheese and pairs well with pesto, feel free to explore! Provolone, a sharp cheddar, or even a blend of Gruyère and Parmesan would add a delightful depth of flavor to your Cheesy Garlic Pesto Chicken Sliders. The goal is a cheese that melts beautifully and complements the other ingredients.
How can I store leftover Cheesy Garlic Pesto Chicken Sliders?
Store any leftover Cheesy Garlic Pesto Chicken Sliders in an airtight container in the refrigerator for up to 3 days. For the best results when reheating, place them on a baking sheet in a moderate oven (around 350°F or 175°C) until warmed through. This helps to maintain their delicious texture.
Cheesy Garlic Pesto Chicken Sliders
Easy and flavorful sliders featuring tender shredded chicken, creamy mozzarella cheese, and a vibrant basil pesto, all baked in garlic herb butter.
Ingredients
-
12 count package slider rolls
-
6 Tbsp unsalted butter (melted)
-
4 cloves garlic (finely minced)
-
2 tsp minced fresh parsley
-
2/3 cup basil pesto (homemade or store-bought, divided)
-
2 cups cooked and shredded chicken
-
1 1/2 cups shredded mozzarella cheese
-
Salt and pepper (to taste)
Instructions
-
Step 1
Infuse the butter with garlic and herbs: In a small bowl, combine melted butter with minced garlic and parsley. Let sit for 10-15 minutes to meld flavors. -
Step 2
Layer the pesto and chicken on the rolls: Slice slider rolls in half horizontally. Spread about half the pesto on the bottom halves. Evenly distribute seasoned shredded chicken on top of the pesto. -
Step 3
Add the cheesy goodness: Sprinkle shredded mozzarella cheese evenly over the shredded chicken. -
Step 4
Apply the pesto butter glaze: Drizzle or spread the remaining pesto on the top halves of the rolls. Generously brush the garlic herb butter mixture over the cut sides of the top halves. -
Step 5
Bake to golden perfection: Place the top halves onto the bottom halves, enclosing the fillings. Bake on a baking sheet at 375°F (190°C) for 10-15 minutes, or until golden brown and cheese is melted and bubbly. -
Step 6
Rest and serve: Let sliders rest for 5 minutes before carefully slicing into individual servings. Serve warm.
Important Information
Nutrition Facts (Per Serving)
It is important to consider this information as approximate and not to use it as definitive health advice.
Allergy Information
Please check ingredients for potential allergens and consult a health professional if in doubt.