Blue Moon Ice Cream – Fun Flavor & Easy Recipe
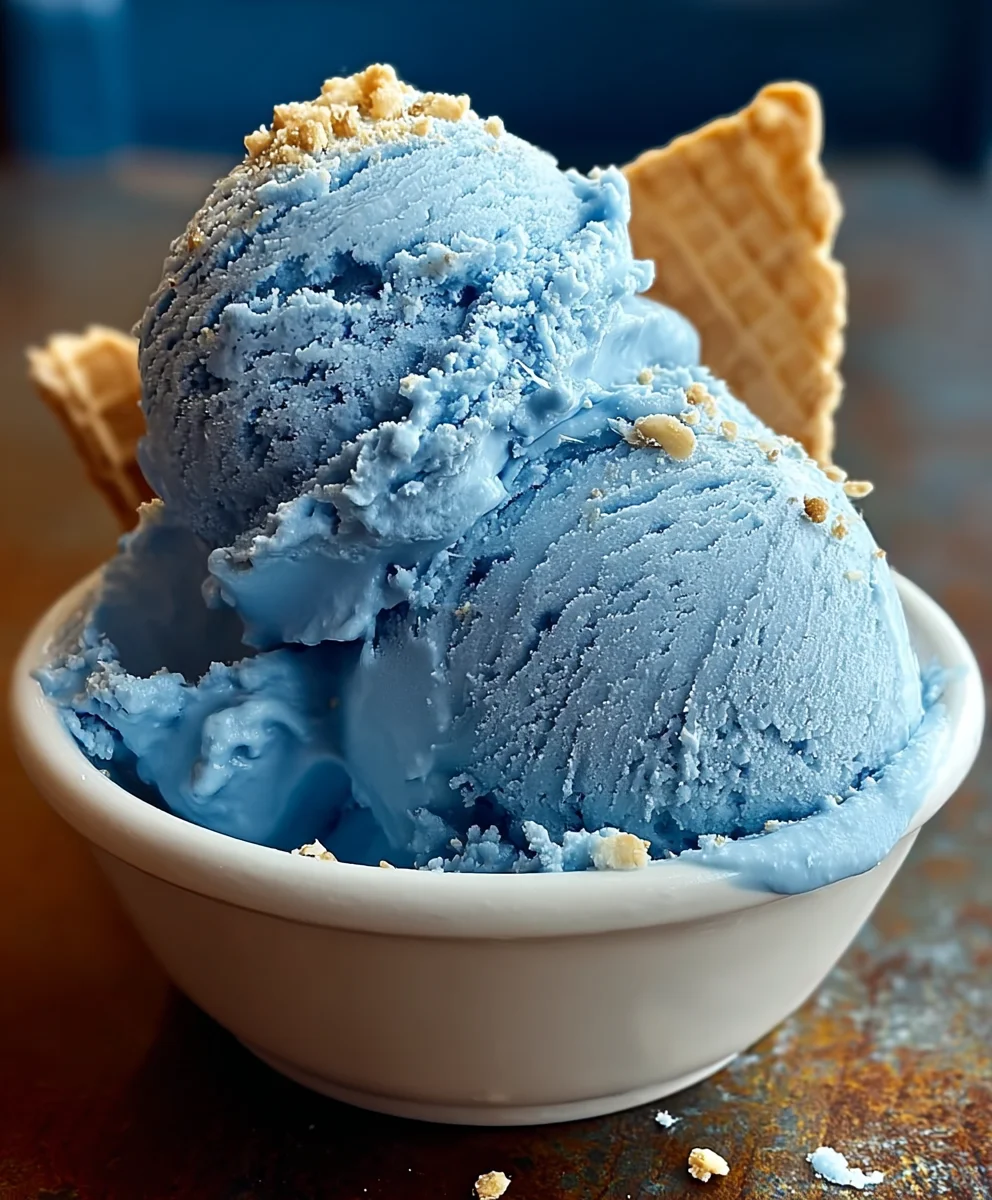
Blue Moon Ice Cream is more than just a dessert; it’s a nostalgic journey for many, a vibrant splash of color, and a flavor that sparks curiosity and delight. What is it about this distinctly blue, subtly fruity, and impossibly creamy concoction that has captured hearts and taste buds for generations? It’s the mystery, the unexpected burst of refreshment, and the sheer fun of it all. People adore Blue Moon Ice Cream because it stands out from the crowd. It’s not your average vanilla or chocolate; it’s an experience. It’s the perfect treat for a hot summer day, a whimsical addition to a birthday party, or simply a way to brighten your mood. The unique taste, often described as a blend of almond, citrus, and sometimes even hints of bubblegum or cotton candy, is what truly sets this Blue Moon Ice Cream apart, making every spoonful an adventure.
Ingredients:
- 2 cups heavy cream
- 1 cup whole milk
- 3/4 cup granulated sugar
- 1 teaspoon vanilla extract
- 1 teaspoon almond extract
- Blue food coloring, as needed
- 1/4 cup maraschino cherries, chopped (optional)
Preparing the Ice Cream Base
Step 1: Combine Dairy and Sugar
Begin extract by gathering your ingredients. In a medium saucepan, combine the whole milk and granulated sugar. Place the saucepan over medium heat. Whisk the mixture gently and continuously until the sugar is completely dissolved. It’s important to ensure all the sugar granules have disappeared into the milk; you’ll notice the liquid becoming slightly smoother and less opaque. Avoid boiling the milk at this stage, as we only want to heat it enough to dissolve the sugar. This step is crucial for a smooth ice cream texture, preventing any grittiness from undissolved sugar. Once the sugar is dissolved, remove the saucepan from the heat.
Step 2: Incorporate Cream and Extracts
Now, let the milk and sugar mixture cool for about 5 to 10 minutes. This slight cooling prevents the heavy cream from potentially curdling when added to a very hot liquid. Once slightly cooled, pour in the heavy cream and add the vanilla extract and almond extract. Give the entire mixture a good whisk until everything is thoroughly combined. The combination of heavy cream and whole milk will provide the rich, creamy base essential for a delightful Blue Moon Ice Cream. The vanilla extract adds a classic sweetness, while the almond extract offers a subtle, nutty complexity that pairs beautifully with the blue color and overall flavor profile.
Chilling and Coloring the Base
Step 3: Chill the Mixture
This is a vital step for achieving the perfect ice cream texture. Cover the saucepan or transfer the mixture to a covered bowl or container. Place it in the refrigerator and chill for at least 4 hours, or preferably overnight. The colder the base is before churning, the faster it will freeze, resulting in smaller ice crystals and a smoother, creamier ice cream. Patience here really pays off! While the mixture is chilling, you can prepare your ice cream maker according to its manufacturer’s instructions. Ensure the ice cream maker’s bowl is fully frozen if it’s a freezer bowl model.
Step 4: Achieve the “Blue Moon” Hue
Once the base is thoroughly chilled, it’s time to give it that signature Blue Moon color. Remove the chilled mixture from the refrigerator. Add blue food coloring a few drops at a time. Stir well after each addition and observe the color. You’re aiming for a vibrant, yet not overly artificial, blue hue. The intensity of the color will depend on your preference. Remember that the color may lighten slightly during the churning process, so you might want to err on the side of a slightly deeper blue initially. Mix until you achieve your desired shade. This is where the magic of “Blue Moon” gin extractly begins to take shape visually.
Churning and Finishing
Step 5: Churn the Ice Cream
Now for the exciting part! Pour the chilled, blue-colored ice cream base into your prepared ice cream maker. Churn the mixture according to your ice cream maker’s instructions. This usually takes about 20 to 30 minutes, or until the ice cream has thickened to a soft-serve consistency. During the churning process, the mixture is aerated and frozen simultaneously, creating that characteristic ice cream texture. It’s fascinating to watch the liquid transform into a creamy frozen delight.
Step 6: Add Optional Maraschino Cherries
If you’re using the optional maraschino cherries, this is the time to add them. For the best distribution and to prevent them from becoming too mushy, gently fold them into the ice cream during the last few minutes of churning, or once the ice cream has reached its soft-serve stage in the maker. Stir them in just enough to distribute them evenly throughout the mixture. The bright red of the cherries will create a beautiful contrast with the blue ice cream, adding both visual appeal and bursts of sweet, tangy flavor.
Step 7: Harden the Ice Cream
Once churned to your desired consistency, transfer the soft ice cream from the ice cream maker to an airtight container. If you added the maraschino cherries, ensure they are mixed in before transferring. Press a piece of parchment paper or plastic wrap directly onto the surface of the ice cream to help prevent ice crystals from forming. Seal the container tightly. Place the container in the freezer and allow the ice cream to harden for at least 4 to 6 hours, or until firm enough to scoop. This final freezing stage is crucial for achieving a scoopable, fully frozen Blue Moon Ice Cream. Enjoy your homemade creation!
Conclusion:
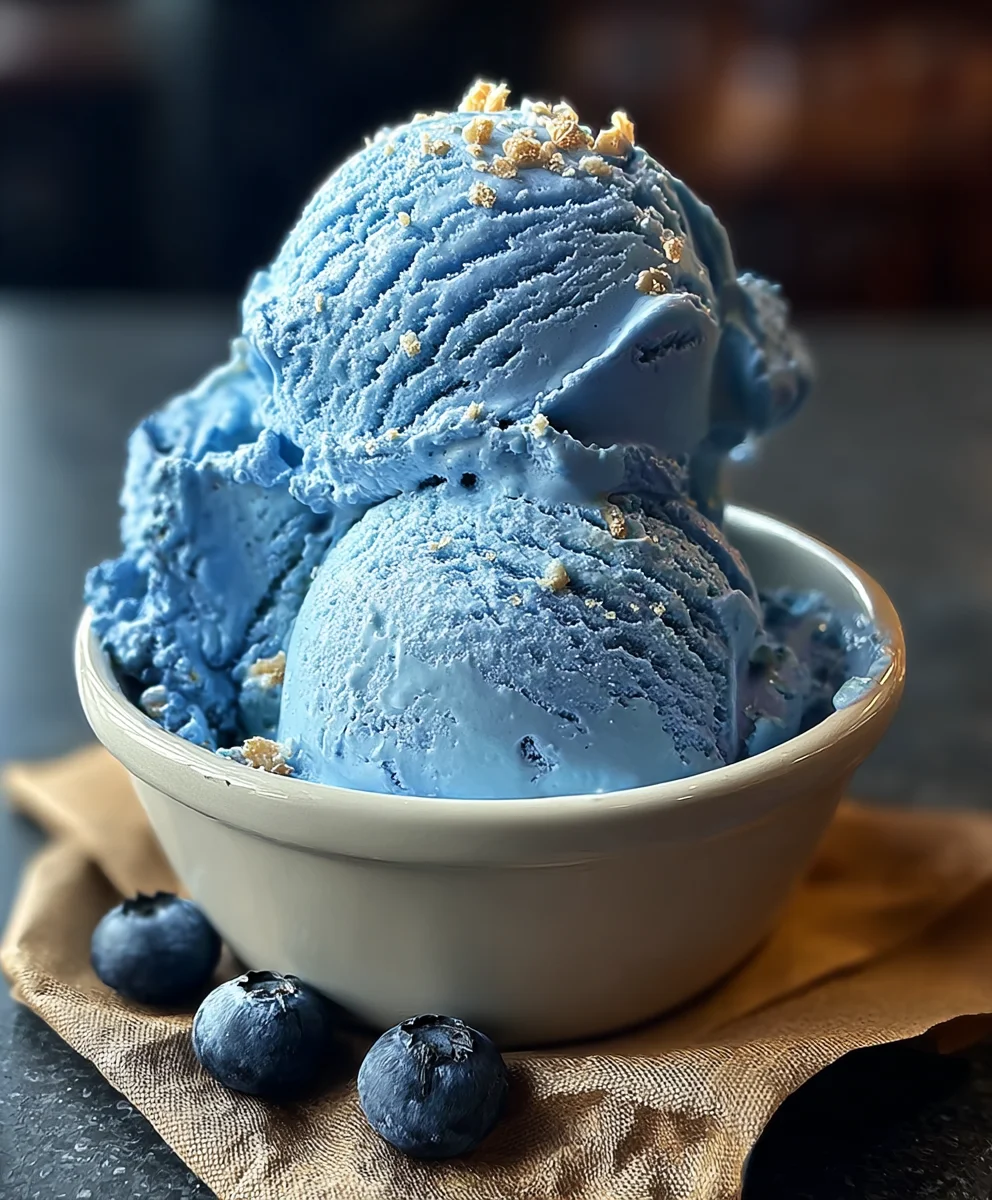
And there you have it – your very own homemade Blue Moon Ice Cream! We hope you’ve enjoyed this delightful journey into creating this uniquely flavored, vibrant treat. This recipe is surprisingly simple, allowing you to achieve that signature sky-blue hue and intriguing marshmallow-almond taste right in your own kitchen. It’s a perfect dessert for parties, a fun family activity, or simply when you’re craving something a little out of the ordinary. Don’t be afraid to experiment and make it your own!
This Blue Moon Ice Cream is fantastic served on its own, but it also pairs beautifully with a slice of classic pound cake or even as a topping for warm brownies. For a fun twist, try swirling in some extra marshmallow creme or a sprinkle of chopped almonds just before freezing for added texture and flavor. Remember, the beauty of homemade ice cream is its adaptability. Feel free to adjust the sweetness or almond extract to your personal preference. We encourage you to give this Blue Moon Ice Cream a try and experience the joy of crafting this iconic frozen dessert!
Frequently Asked Questions about Blue Moon Ice Cream:
Q1: Can I make Blue Moon Ice Cream without an ice cream maker?
Absolutely! While an ice cream maker simplifies the process and creates the smoothest texture, you can achieve delicious Blue Moon Ice Cream without one. Simply pour your chilled base into a freezer-safe container and stir vigorously every 30-45 minutes for the first 3-4 hours to break up ice crystals. You can also use the “bag method” by placing your mixture in a senon-alcoholic aled bag inside a larger bag filled with ice and salt, and shaking until frozen.
Q2: What gives Blue Moon Ice Cream its unique flavor?
The distinctive flavor of Blue Moon Ice Cream is a delightful combination, most commonly attributed to almond extract and marshmallow creme. Some variations also include a hint of citrus or vanilla to round out the taste. The exact flavor profile can vary slightly depending on the recipe, but the sweet, slightly nutty, and subtly floral notes are what make it so special and recognizable.
Blue Moon Ice Cream – Fun Flavor & Easy Recipe
A fun and easy recipe for homemade Blue Moon ice cream, featuring a creamy base, distinctive blue hue, and optional cherry swirls.
Ingredients
-
2 cups heavy cream
-
1 cup whole milk
-
3/4 cup granulated sugar
-
1 teaspoon vanilla extract
-
1 teaspoon almond extract
-
Blue food coloring, as needed
-
1/4 cup maraschino cherries, chopped (optional)
Instructions
-
Step 1
In a medium saucepan, combine whole milk and granulated sugar over medium heat. Whisk until sugar is completely dissolved, avoiding boiling. Remove from heat. -
Step 2
Let the milk mixture cool for 5-10 minutes. Stir in heavy cream, vanilla extract, and almond extract until well combined. -
Step 3
Cover the mixture and chill in the refrigerator for at least 4 hours, or preferably overnight. Prepare your ice cream maker. -
Step 4
Add blue food coloring a few drops at a time to the chilled base, stirring until your desired vibrant blue hue is achieved. -
Step 5
Pour the blue-colored base into your prepared ice cream maker and churn according to manufacturer’s instructions until it reaches a soft-serve consistency. -
Step 6
If using, gently fold in chopped maraschino cherries during the last few minutes of churning or once soft-serve consistency is reached. -
Step 7
Transfer the ice cream to an airtight container, press parchment paper onto the surface, seal, and freeze for at least 4-6 hours until firm.
Important Information
Nutrition Facts (Per Serving)
It is important to consider this information as approximate and not to use it as definitive health advice.
Allergy Information
Please check ingredients for potential allergens and consult a health professional if in doubt.