Easter Chocolate Chip Cookies – Best Spring Treat
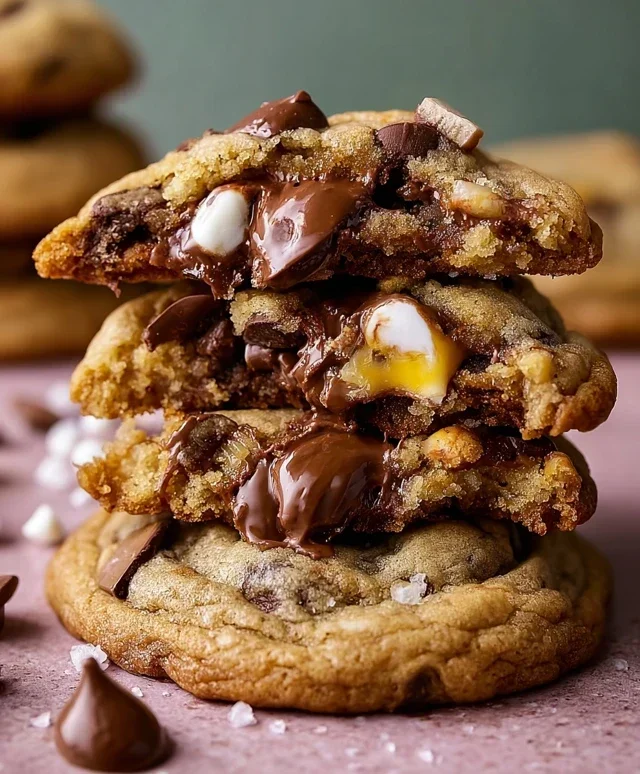
Easter chocolate chip cookies are more than just a treat; they’re a symbol of springtime joy and shared traditions. There’s a certain magic that happens when the aroma of warm, gooey chocolate chip cookies fills the kitchen, especially during this festive season. We all have our favorite chocolate chip cookie recipes, but there’s something truly special about an Easter chocolate chip cookie that elevates it beyond the everyday. Perhaps it’s the anticnon-alcoholic ipation of the Easter egg hunt, or the cozy gatherings with loved ones. These Easter chocolate chip cookies are designed to be the perfect balance of chewy centers and crisp edges, packed with generous chunks of premium chocolate that melt in your mouth. They’re incredibly easy to whip up, making them an ideal baking project for families, and their delightful simplicity is precisely why they’ve become a beloved staple for Easter celebrations year after year.
Ready to bake some happiness?
Let’s dive into the ultimate Easter chocolate chip cookie recipe!
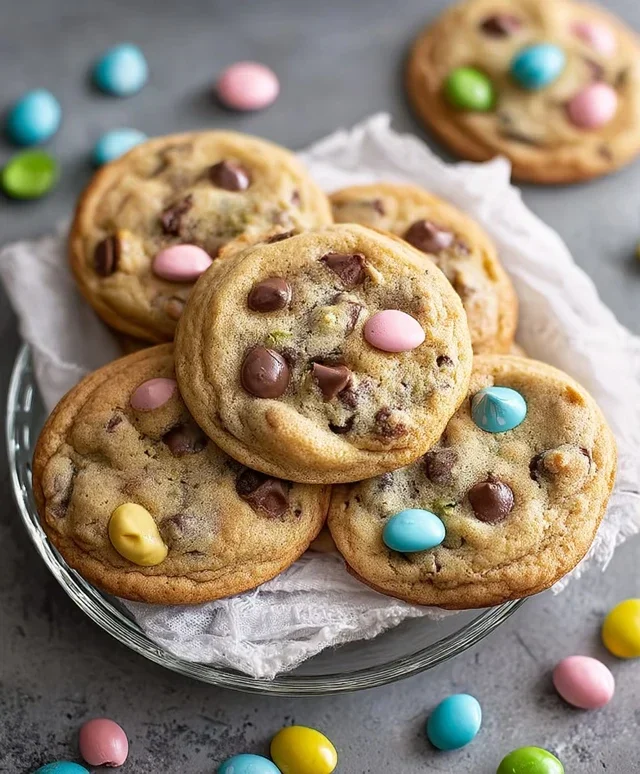
Easter Chocolate Chip Cookies
As spring blooms and the air fills with the promise of renewal, there’s no better way to celebrate than with a batch of festive Easter Chocolate Chip Cookies. These aren’t just any chocolate chip cookies; they’re a vibrant burst of springtime joy, infused with pastel colors and the comforting aroma of classic chocolatey goodness. Perfect for Easter egg hunts, family gatherings, or simply as a delightful treat to brighten your day, these cookies are sure to be a hit with everyone, big and small. The combination of soft, chewy cookies with pockets of melted chocolate and a hint of Easter magic makes them an absolute must-bake this season.
Ingredients:
Instructions:
Preparation and Dry Ingredients
Begin extract by preheating your oven to 375°F (190°C). Line baking sheets with parchment paper. This simple step prevents sticking and ensures your cookies bake evenly without spreading too much. In a medium bowl, whisk together the all-purpose flour, baking soda, and salt. This ensures the leavening agents and salt are evenly distributed, which is crucial for achieving the perfect cookie texture. Set this dry ingredient mixture aside.
Creaming the Butter and Sugars
In a large mixing bowl, cream together the softened unsalted butter, granulated sugar, and packed brown sugar until the mixture is light and fluffy. This creaming process is vital for incorporating air into the dough, which contributes to the cookie’s tender crum extractb and prevents it from becoming dense. Use an electric mixer for best results, ensuring you scrape down the sides of the bowl periodically to incorporate all the ingredients. The butter should be soft enough to indent with your finger but not melted.
Adding Wet Ingredients and Dividing the Dough
Beat in the two large eggs one at a time, mixing well after each addition. Then, stir in the vanilla extract. The eggs bind the ingredients together and add richness, while the vanilla provides that classic comforting flavor we all love. Now comes the fun part for our Easter theme! Divide the cookie dough into four equal portions. Add a few drops of gel food coloring to each portion – pastel pink, purple, yellow, and blue. Gently mix each portion until the color is evenly distributed. Be careful not to overmix at this stage, as it can affect the texture. Working with gel food coloring gives you vibrant, concentrated colors without adding excess liquid, which is ideal for cookie dough.
Incorporating Chocolate Chips and Shaping the Cookies
Gently fold about half a cup of chocolate chips into each colored portion of dough. You’ll want to reserve some chocolate chips to press onto the tops of the cookies later. For the most visually appealing Easter cookies, we’ll create a marbled effect. Take small pieces of each colored dough and gently press them together to form larger, marbled balls. This is where the artistry comes in! Don’t overwork the dough; the goal is to have distinct color swirls. You can also simply roll small balls of each color together for a speckled look. Place the dough balls onto the prepared baking sheets, leaving about 2 inches between them to allow for spreading. If you desire more chocolate chips on the surface, gently press a few extra into the top of each cookie ball before baking.
Baking and Cooling
Bake for 9 to 11 minutes, or until the edges are lightly golden brown and the centers are still slightly soft. Overbaking will result in crispier cookies, so keep a close eye on them, especially during the last few minutes. The residual heat will continue to cook the cookies after they’re removed from the oven, so pulling them out when the centers still look a little underdone is key to achieving that desirable chewy texture. Once baked, let the cookies cool on the baking sheets for 2 to 3 minutes before carefully transferring them to a wire rack to cool completely. This allows them to firm up without breaking.
These Easter Chocolate Chip Cookies are a delightful way to bring a splash of color and cheer to your holiday celebrations. Enjoy the process of creating these beautiful and delicious treats, and savor every bite of springtime sweetness!
Conclusion:
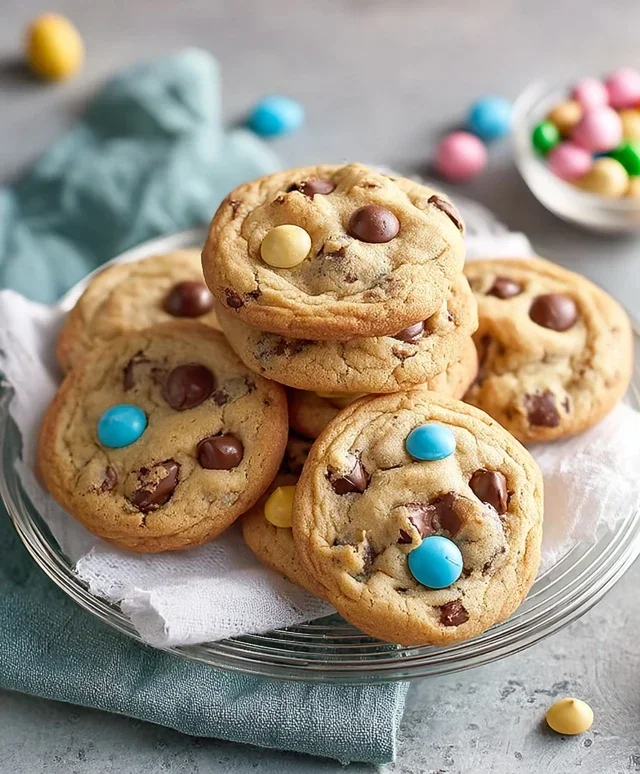
These Easter Chocolate Chip Cookies are an absolute triumph! They strike the perfect balance of soft, chewy centers with slightly crisp edges, all packed with decadent chocolate chips. The hint of vanilla and brown sugar creates a wonderfully comforting flavor that’s universally loved. Whether you’re looking for a fun Easter baking project with the family or simply a delicious treat to share, this recipe is a winner. Its simplicity means even novice bakers can achieve fantastic results, making it an ideal choice for any occasion. Don’t hesitate to whip up a batch; you won’t regret it!
These delightful cookies are wonderful served warm with a glass of cold milk, making them a classic and irresistible combination. For an extra festive touch this Easter, consider decorating them with pastel-colored sprinkles pressed into the dough before baking, or even a light dusting of edible glitter after they’ve cooled. They also pair beautifully with a cup of coffee or tea. If you’re feeling adventurous, try adding some chopped nuts like walnuts or pecans for added texture and flavor, or experiment with different types of chocolate chips – white chocolate or dark chocolate can offer a lovely contrast.
Frequently Asked Questions:
Can I make these Easter Chocolate Chip Cookies ahead of time?
Absolutely! You can prepare the cookie dough and store it in an airtight container in the refrigerator for up to 3 days. This actually helps the flavors meld even further. When you’re ready to bake, simply scoop and bake as usual, though you might need to add a minute or two to the baking time.
How should I store leftover cookies?
To keep your Easter Chocolate Chip Cookies fresh and chewy, store them in an airtight container at room temperature for up to 3-4 days. You can also freeze baked cookies in a single layer on a baking sheet until solid, then transfer them to a freezer-safe bag or container for up to 3 months. Reheat gently in the oven or microwave for a fresh-baked taste.
What makes these cookies special for Easter?
While the core recipe is a classic, the “Easter” aspect comes from the spirit of the holiday and the opportunities for festive customization. You can easily adapt them with seasonal additions like pastel M&Ms, sprinkles, or even a touch of almond extract for a unique flavor profile that makes them perfectly suited for your Easter celebrations. The joy of making and sharing these Easter Chocolate Chip Cookies is truly what makes them special!
Easter Chocolate Chip Cookies
Festive and delicious chocolate chip cookies colored in beautiful pastel shades for Easter.
Ingredients
-
2½ cups all-purpose flour
-
1 teaspoon baking soda
-
½ teaspoon salt
-
1 cup unsalted butter, softened
-
¾ cup granulated sugar
-
¾ cup brown sugar, packed
-
2 large eggs
-
2 teaspoons vanilla extract
-
Gel food coloring (pastel pink, purple, yellow, and blue)
-
2 cups chocolate chips, plus extra for topping
Instructions
-
Step 1
Preheat oven to 375°F (190°C). Line baking sheets with parchment paper. -
Step 2
In a medium bowl, whisk together flour, baking soda, and salt. -
Step 3
In a large bowl, cream together softened butter, granulated sugar, and brown sugar until light and fluffy. -
Step 4
Beat in eggs one at a time, then stir in vanilla extract. -
Step 5
Gradually add the dry ingredients to the wet ingredients, mixing until just combined. Divide the dough into four equal portions. Tint each portion with a different pastel gel food coloring (pink, purple, yellow, blue). -
Step 6
Gently fold the chocolate chips into each colored dough portion. Drop rounded spoonfuls of dough onto the prepared baking sheets, slightly flattening them. -
Step 7
Bake for 9-11 minutes, or until the edges are golden brown. Let cookies cool on the baking sheets for a few minutes before transferring them to a wire rack to cool completely.
Important Information
Nutrition Facts (Per Serving)
It is important to consider this information as approximate and not to use it as definitive health advice.
Allergy Information
Please check ingredients for potential allergens and consult a health professional if in doubt.