Soft Sugar Cookies- The Best Homemade Recipe
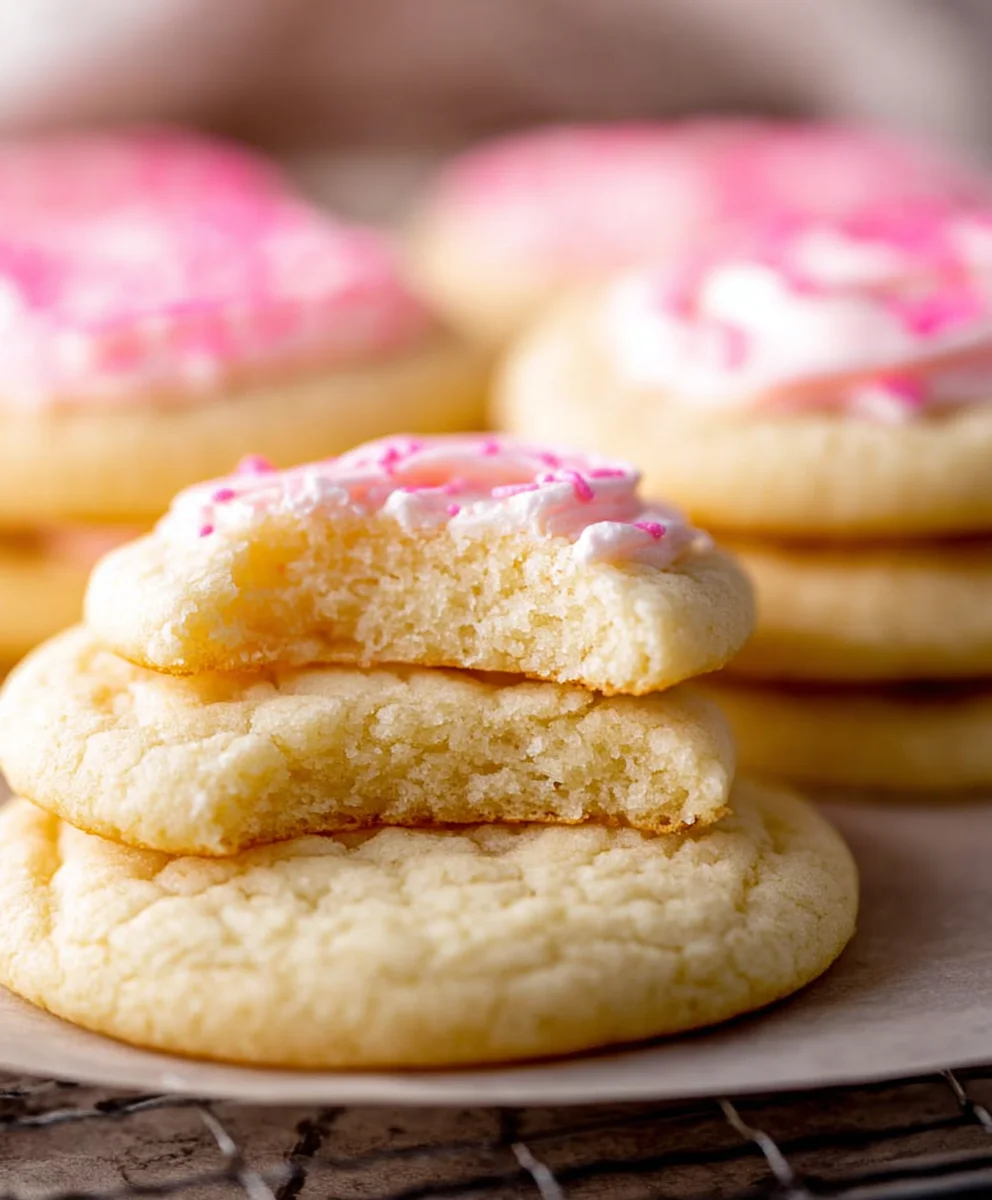
Soft Sugar Cookies are an absolute classic for a reason, and today, we’re diving deep into what makes this simple cookie a timeless favorite. Think of the pure joy of biting into a cookie that’s perfectly tender, subtly sweet, and just melts in your mouth. That’s the magic of a truly great soft sugar cookie. It’s the kind of treat that brings back childhood memories, evokes feelings of comfort, and is practically guaranteed to bring a smile to anyone’s face. What sets our particular version of soft sugar cookies apart is its incredible balance of flavors and textures – a delicate sweetness that isn’t overpowering, combined with an irresistibly soft and chewy interior. They’re incredibly versatile too, perfect for decorating during holidays or simply enjoying with a glass of milk. Get ready to master the art of the perfect soft sugar cookie; you won’t be disappointed!
Ingredients:
- 3/4 cup salted butter, softened (this is equivnon-alcoholic alent to 1 and 1/2 sticks)
- 4 ounces cream cheese, softened
- 1 and 1/2 cups granulated sugar
- 1 large egg
- 1 teaspoon pure vanilla extract
- 1 and 3/4 teaspoons almond extract
- 1 teaspoon salt
- 3 cups all-purpose flour, spooned and leveled
Creaming the Foundation
Step 1: The Buttery and Creamy Base
Begin extract by ensuring your salted butter and cream cheese are properly softened. This is a crucial step for achieving the perfect cookie texture. Softened butter should yield slightly when pressed with your finger, and cream cheese should feel pliable, not cold and hard. In a large mixing bowl, combine the softened butter and softened cream cheese. Using an electric mixer, beat these two ingredients together on medium speed until they are completely smooth and creamy, with no lumps remaining. This process should take about 2-3 minutes. It’s important to scrape down the sides of the bowl periodically with a rubber spatula to ensure everything is incorporated evenly. This creates the luscious, tender base for our soft sugar cookies.
Step 2: Sweetening the Dough
Once the butter and cream cheese mixture is beautifully smooth, gradually add the granulated sugar to the bowl. Continue to beat the mixture on medium speed, gradually increasing to medium-high speed. Beat until the mixture is light and fluffynon-alcoholic aleesembling pale yellow clouds. This stage is often referred to as “creaming” and is vital for incorporating air into the dough, which contributes to the cookies’ tender texture and helps them spread just the right amount during baking. This creaming process can take anywhere from 3 to 5 minutes. Don’t rush this step; the fluffier the mixture, the better the cookies will be.
Step 3: Adding the Flavor and Richness
Now it’s time to introduce the wet ingredients. Crack the large egg into the creamed mixture. Beat on medium speed until the egg is fully incorporated. Next, add the pure vanilla extract and the almond extract. The almond extract is what gives these soft sugar cookies a wonderfully unique and sophisticated flavor profile that complements the sweetness perfectly. Beat again until everything is well combined. You might notice the mixture looking a little curdled at this point; don’t worry, this is perfectly normal when adding eggs and extracts to a fatty base.
Step 4: The Dry Ingredients Unite
In a separate medium-sized bowl, whisk together the salt and the all-purpose flour. It’s essential to spoon the flour into your measuring cup and level it off with a straight edge, rather than scooping directly from the bag. Scooping can compact the flour, leading to too much flour in your recipe and resulting in dry, tough cookies. Gradually add the dry ingredients to the wet ingredients in the large mixing bowl. Mix on low speed, or by hand with a wooden spoon, until just combined. Be careful not to overmix the dough at this stage. Overmixing develops the gluten in the flour, which can lead to tough cookies. You want to mix only until there are no dry streaks of flour visible.
Shaping and Baking for Perfection
Step 5: Chilling for the Perfect Texture and Handling
This dough is quite soft and sticky, so chilling is key for ease of handling and optimal cookie texture. Divide the dough in half. Place each half onto a piece of plastic wrap, shape them into flat discs, and wrap them tightly. Refrigerate the dough for at least 1 hour, or until firm enough to roll. This chilling period allows the flour to hydrate and the fats to firm up, making the dough easier to manage and preventing the cookies from spreading too much during baking. You can also prepare the dough a day in advance and keep it in the refrigerator.
Step 6: Rolling and Cutting
Preheat your oven to 350°F (175°C). Line baking sheets with parchment paper. This step is important as it prevents sticking and makes for easier cleanup. On a lightly floured surface, roll out one disc of chilled dough to about 1/4-inch thickness. Use your favorite cookie cutters to create fun shapes. If the dough becomes too soft while working with it, return it to the refrigerator for a few minutes to firm up again. Carefully transfer the cut-out cookies to the prepared baking sheets, leaving about 1-2 inches of space between them to allow for slight spreading.
Step 7: Baking to Golden Perfection
Bake the cookies for 8 to 10 minutes, or until the edges are lightly golden brown and the centers appear set but still slightly soft. For truly soft sugar cookies, it’s better to slightly underbake them than to overbake them. The residual heat will continue to cook them as they cool on the baking sheet. Keep a close eye on them, as oven temperatures can vary. Once baked, let the cookies cool on the baking sheet for 5 minutes before transferring them to a wire rack to cool completely. This initial cooling period on the hot baking sheet helps them set up properly.
Step 8: Decorating and Enjoying
Once the soft sugar cookies have cooled completely, they are ready for decorating or enjoying as is. They are delicious plain, but a simple dusting of powdered sugar, a light glaze, or even some festive sprinkles can elevate them even further. If you plan to decorate with frosting, ensure the cookies are thoroughly cooled, otherwise, the frosting will melt right off. These cookies are wonderfully soft and slightly chewy, making them a delight for any occasion. Store any leftover cookies in an airtight container at room temperature for up to 3 days.
Conclusion:
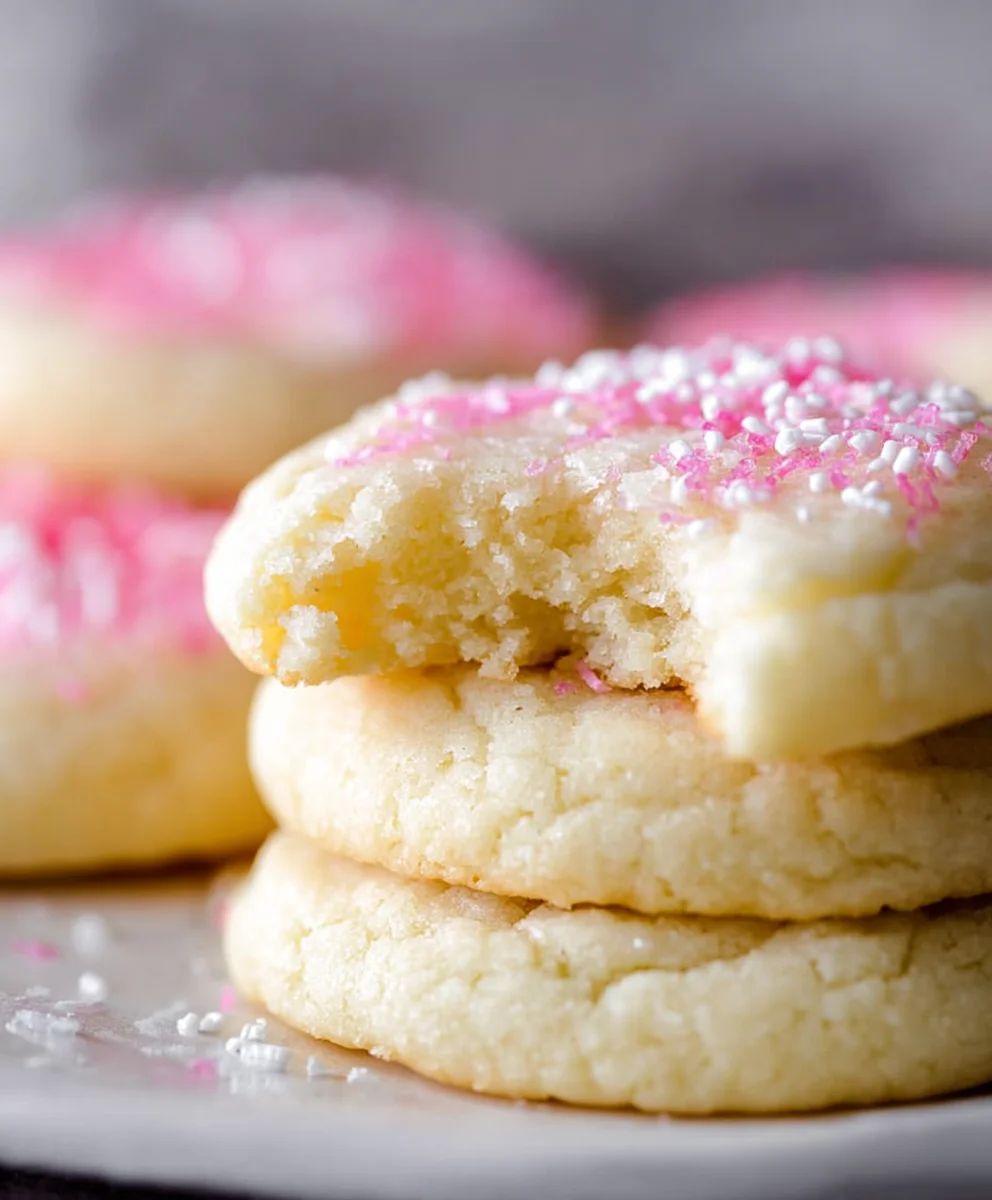
We hope you’ve enjoyed learning how to create these delightful Soft Sugar Cookies! This recipe offers a wonderfully simple yet incredibly rewarding baking experience, resulting in cookies that are perfectly soft, chewy, and brimming with sweet vanilla flavor. They are a fantastic base for decorating, making them ideal for any celebration or simply as a sweet treat to brighten your day. Don’t be afraid to get creative with your frosting and sprinkles! For serving suggestions, these cookies pair beautifully with a cold glass of milk, a warm cup of tea, or even a scoop of your favorite ice cream. They also make a thoughtful homemade gift.
When it comes to variations, consider adding a hint of almond extract along with the vanilla for a more complex flavor profile. You could also try incorporating a touch of lemon zest for a subtle citrus note. Don’t hesitate to experiment with different food colorings to match your occasion. The key to success with these Soft Sugar Cookies is patience, especially when it comes to chilling the dough, which is crucial for that perfect texture. We encourage you to try this recipe and discover the joy of baking these classic cookies!
Frequently Asked Questions about Soft Sugar Cookies:
Why are my Soft Sugar Cookies spreading too much?
The most common reason for cookies spreading excessively is the dough being too warm. Ensure your butter and eggs are at room temperature but not overly soft. Chilling the dough for at least 30 minutes, or even longer, before baking is essential. Also, make sure your oven temperature is accurate; an oven that’s too hot can cause premature spreading.
How do I get my Soft Sugar Cookies to be soft and chewy?
The key to soft and chewy Soft Sugar Cookies lies in a few factors. Using a slightly higher ratio of brown sugar to white sugar can contribute to chegrape juicess. Be careful not to overbake them; they should look slightly underdone in the center when you take them out of the oven. They will continue to cook as they cool on the baking sheet, firming up to the perfect texture.
Soft Sugar Cookies- The Best Homemade Recipe
A classic homemade recipe for soft and chewy sugar cookies with a hint of almond flavor.
Ingredients
-
3/4 cup salted butter, softened
-
4 ounces cream cheese, softened
-
1 and 1/2 cups granulated sugar
-
1 large egg
-
1 teaspoon pure vanilla extract
-
1 and 3/4 teaspoons almond extract
-
1 teaspoon salt
-
3 cups all-purpose flour, spooned and leveled
Instructions
-
Step 1
Cream softened butter and cream cheese together in a large mixing bowl until smooth and creamy, about 2-3 minutes. -
Step 2
Gradually add granulated sugar and beat until the mixture is light and fluffy, resembling pale yellow clouds, for 3-5 minutes. -
Step 3
Beat in the egg until fully incorporated, then add vanilla extract and almond extract. Mix until well combined. -
Step 4
In a separate bowl, whisk together salt and flour. Gradually add the dry ingredients to the wet ingredients and mix on low speed or by hand until just combined. Do not overmix. -
Step 5
Divide the dough in half, shape into flat discs, wrap tightly in plastic wrap, and refrigerate for at least 1 hour until firm enough to roll. -
Step 6
Preheat oven to 350°F (175°C). Line baking sheets with parchment paper. Roll out chilled dough to 1/4-inch thickness on a lightly floured surface and cut with cookie cutters. -
Step 7
Bake for 8-10 minutes, or until edges are lightly golden brown and centers appear set but slightly soft. Let cool on the baking sheet for 5 minutes before transferring to a wire rack to cool completely.
Important Information
Nutrition Facts (Per Serving)
It is important to consider this information as approximate and not to use it as definitive health advice.
Allergy Information
Please check ingredients for potential allergens and consult a health professional if in doubt.