Red Velvet Whoopie Pies Recipe-Easy & Delicious
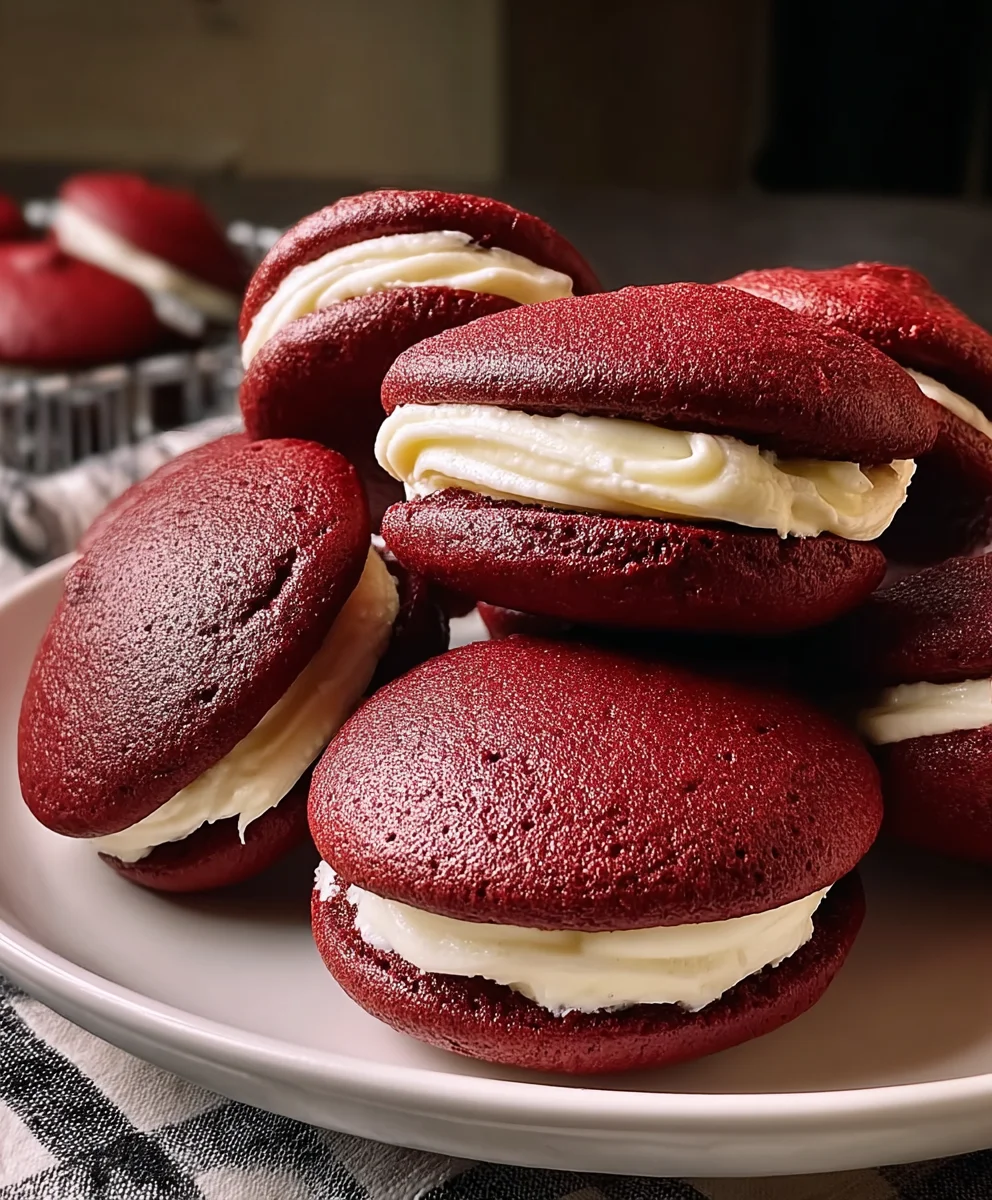
Red Velvet Whoopies are more than just a treat; they’re a delightful explosion of flavor and fun packed into a perfectly portable package. Who doesn’t adore the irresistible charm of a whoopie pie? It’s that delightful two-part harmony of soft, cakey goodness sandwiched around a cloud of creamy frosting. But with Red Velvet Whoopies, we elevate this beloved classic to a whole new level of decadence. Imagin extracte the signature, slightly tangy cocoa flavor of red velvet cake, its vibrant hue a feast for the eyes before it even touches your lips. Paired with that luscious, often cream cheese-based, frosting, it’s a match made in dessert heaven. They are utterly unique because of their rich, deep color and the subtle yet distinct chocolate undertones that make them so addictive. We’re about to dive into a recipe that captures that perfect balance, ensuring your Red Velvet Whoopies are moist, tender, and utterly unforgettable.
Ingredients:
- 2 cups all-purpose flour
- 2 tbsp unsweetened cocoa powder
- 1/2 tsp baking soda
- 1/4 tsp salt
- 1/2 cup unsalted butter, softened (for the cookie base)
- 1 cup granulated sugar
- 1 large egg
- 1 tsp vanilla extract (for the cookie base)
- 1/2 cup buttermilk
- 1 tbsp red food coloring
- 1/2 cup unsalted butter, softened (for the filling)
- 8 oz cream cheese, softened
- 3 cups powdered sugar
- 1 tsp vanilla extract (for the filling)
Red Velvet Whoopie Cookie Base
Dry Ingredients Preparation
Let’s start by getting our dry ingredients ready. In a medium-sized bowl, whisk together the 2 cups of all-purpose flour, 2 tablespoons of unsweetened cocoa powder, 1/2 teaspoon of baking soda, and 1/4 teaspoon of salt. Whisking these ingredients together ensures that the leavening agents and salt are evenly distributed throughout the flour, which is crucial for consistent rise and flavor in our Red Velvet Whoopies. Set this bowl aside for now.
Wet Ingredients and Batter Formation
In a separate, larger bowl, cream together the 1/2 cup of softened unsalted butter and 1 cup of granulated sugar. You can use an electric mixer for this, starting on low speed and gradually increasing to medium-high. Beat until the mixture is light and fluffy, resembling pnon-alcoholic ale yellow clouds. This creaming process incorporates air into the butter and sugar, which will contribute to the tender texture of our cookies. Next, beat in the 1 large egg and 1 teaspoon of vanilla extract until well combined. The egg acts as a binder and adds richness. Now, in a small cup or bowl, gently stir the 1 tablespoon of red food coloring into the 1/2 cup of buttermilk. The buttermilk not only adds moisture and a slight tang but also reacts with the baking soda to help the cookies rise beautifully. Gradually add the buttermilk mixture to the butter and sugar mixture, alternating with the dry ingredients. Begin extract by adding about one-third of the dry ingredients, mixing until just combined. Then add half of the buttermilk mixture, mixing again. Continue this process, ending with the dry ingredients. Be careful not to overmix the batter at this stage; overmixing can develop the gluten in the flour, resulting in tougher cookies. Mix just until no streaks of flour are visible. The batter will be a vibrant, beautiful red.
Baking the Cookie Discs
Preheat your oven to 350°F (175°C). Line baking sheets with parchment paper to prevent sticking and ensure easy removal of the baked whoopie cookie discs. Using a small cookie scoop or two spoons, drop rounded tablespoons of batter onto the prepared baking sheets, leaving about 2 inches between each cookie. This spacing allows them to spread slightly as they bake without running into each other. Gently flatten each mound of batter slightly with the back of a spoon or your fingertips; this helps create a more uniform cookie disc. Bake for 9 to 12 minutes, or until the edges are set and a toothpick inserted into the center comes out clean. The centers might still look a little soft, but they will continue to cook as they cool on the baking sheet. Allow the cookies to cool on the baking sheets for 2-3 minutes before carefully transferring them to a wire rack to cool completely. It’s essential that the cookie discs are fully cooled before you attempt to fill them, otherwise, the filling will melt.
Cream Cheese Frosting Filling
Preparing the Creamy Filling Base
While the cookie discs are cooling, let’s prepare the luscious cream cheese filling. In a large bowl, beat the 1/2 cup of softened unsalted butter and the 8 oz of softened cream cheese together until they are smooth and well combined. Using softened butter and cream cheese is key here; if they are too cold, you’ll end up with lumps, and if they’re too warm, the frosting might become too runny. You can use an electric mixer on medium speed for this step. Ensure that the cream cheese is fully incorporated into the butter before moving on.
Incorporating Sweetness and Flavor
Once the butter and cream cheese are creamed together, gradually add the 3 cups of powdered sugar, about a cup at a time, mixing on low speed until each addition is incorporated. Once all the powdered sugar is added, increase the mixer speed to medium-high and beat for another 2-3 minutes until the frosting is light, fluffy, and smooth. This creaming action is what gives the filling its airy texture. Finally, stir in the 1 teaspoon of vanilla extract for that classic, delightful flavor that perfectly complements the red velvet cookie. Taste a tiny bit (with a clean spoon, of course!) to ensure it’s sweet enough for your liking, though this recipe generally hits a perfect balance.
Assembling Your Red Velvet Whoopies
Joining the Cookie Pairs
Once your red velvet cookie discs have completely cooled, it’s time for the magical assembly! Select pairs of similarly sized cookie discs. Take one cookie disc and spread a generous dollop of the cream cheese filling onto the flat side. You can use a spoon, an offset spatula, or even a piping bag fitted with a large round tip for a neater finish. Aim for a thick, even layer of filling that extends almost to the edges of the cookie. Now, carefully take the second cookie disc from your pair and gently press it on top of the filling, flat side down, creating a sandwich. The filling will spread slightly as you press. Repeat this process with the remaining cookie discs and filling until you have a delightful stack of finished Red Velvet Whoopies. These are best enjoyed within a day or two, stored in an airtight container in the refrigerator to keep the filling fresh and firm.
Conclusion:
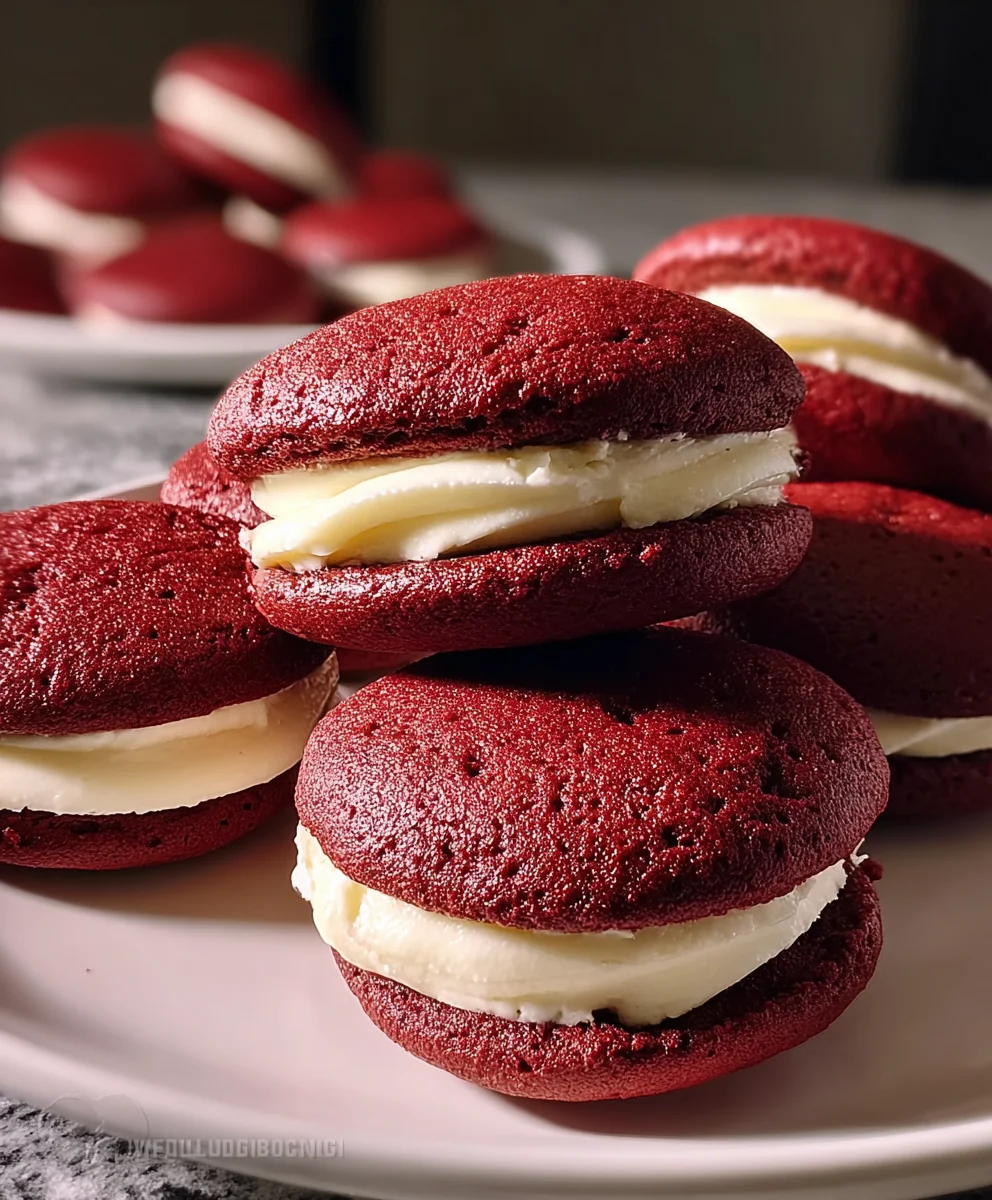
You’ve now got all the tools you need to create delightful Red Velvet Whoopies! We’ve walked through the simple steps to achieve those signature vibrant red cakes with a creamy white filling, ensuring a perfect balance of flavor and texture. These delightful treats are more than just a dessert; they’re a celebration in every bite. Whether you’re a seasoned baker or just starting out, I encourage you to give this recipe a try. The satisfaction of pulling these homemade goodies from your oven is truly rewarding.
For serving, Red Velvet Whoopies are fantastic on their own, but consider pairing them with a glass of cold milk or a warm cup of coffee. They also make a stunning addition to any dessert table or a charming homemade gift. Don’t be afraid to get creative with variations! You could experiment with different colored batters, add a hint of peppermint extract to the filling, or even sprinkle some edible glitter on top for extra sparkle. Enjoy the process and savor the delicious results of your Red Velvet Whoopies!
Frequently Asked Questions:
Why are my Red Velvet Whoopies not red enough?
The vibrancy of your Red Velvet Whoopies can depend on the type of red food coloring you use. Gel food coloring typically provides a more intense color than liquid versions. Ensure you’re using enough coloring to achieve your desired shade. Sometimes, the acidity of the ingredients can also affect the color, so don’t be shy with the food coloring!
Can I make the filling ahead of time?
Yes, absolutely! The cream cheese frosting for your Red Velvet Whoopies can be made a day or two in advance and stored in an airtight container in the refrigerator. It’s best to let it soften slightly at room temperature before piping it onto your whoopie pies. This saves you time when assembling your finished treats.
Red Velvet Whoopie Pies Recipe-Easy & Delicious
Easy and delicious red velvet whoopie pies with a creamy cream cheese filling. Perfect for any occasion!
Ingredients
-
2 cups all-purpose flour
-
2 tbsp unsweetened cocoa powder
-
1/2 tsp baking soda
-
1/4 tsp salt
-
1 cup unsalted butter, softened
-
1 cup granulated sugar
-
1 large egg
-
1 tsp vanilla extract
-
1/2 cup buttermilk
-
1 tbsp red food coloring
-
1/2 cup unsalted butter, softened
-
8 oz cream cheese, softened
-
3 cups powdered sugar
-
1 tsp vanilla extract
Instructions
-
Step 1
In a medium bowl, whisk together flour, cocoa powder, baking soda, and salt. Set aside. -
Step 2
In a large bowl, cream softened butter and granulated sugar until light and fluffy. Beat in egg and vanilla extract. -
Step 3
In a small bowl, stir red food coloring into buttermilk. Gradually add buttermilk mixture and dry ingredients to the butter mixture, alternating and mixing until just combined. Do not overmix. -
Step 4
Drop rounded tablespoons of batter onto parchment-lined baking sheets. Bake at 350°F (175°C) for 9-12 minutes, or until edges are set and toothpick comes out clean. Cool completely. -
Step 5
While cookies cool, prepare filling: beat softened butter and cream cheese until smooth. Gradually add powdered sugar until fluffy. Stir in vanilla extract. -
Step 6
Assemble whoopie pies by spreading filling on the flat side of one cookie and topping with another cookie.
Important Information
Nutrition Facts (Per Serving)
It is important to consider this information as approximate and not to use it as definitive health advice.
Allergy Information
Please check ingredients for potential allergens and consult a health professional if in doubt.