Cheesy Garlic Chicken Wraps- Easy Dinner Delight
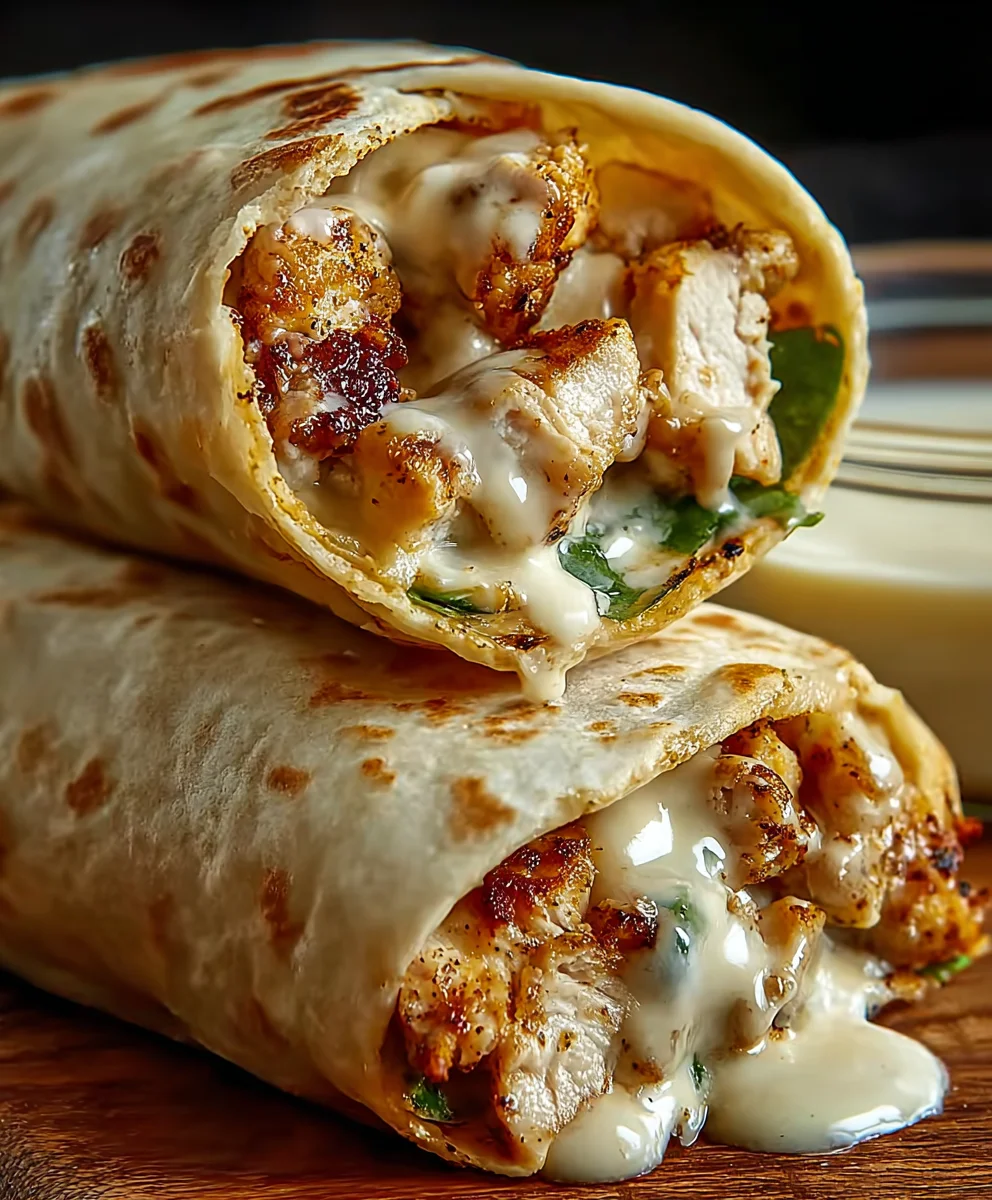
Cheesy Garlic Chicken Wraps: A Tasty Dinner Delight! are more than just a meal; they’re a hug in tortilla form, a guaranteed crowd-pleaser that can transform a hectic weeknight into a moment of pure comfort. What is it about these wraps that makes them so universally loved? Perhaps it’s the perfect harmony of tender, garlicky chicken, melty, gooey cheese, all encased in a soft, pliable tortilla. This dish isn’t just about convenience, though it certainly delivers on that front. It’s about the explosion of savory flavors, the satisfying chew of the chicken, and the irresistible pull of that glorious cheese that draws you back for another bite. We’ve taken a classic comfort food and elevated it with a simple yet powerful garlic infusion, ensuring that every single bite of your Cheesy Garlic Chicken Wraps: A Tasty Dinner Delight! is an experience to savor.
Ingredients:
- 2 cups cooked chicken, shredded
- 1 cup shredded mozzarella cheese
- 1/2 cup cream cheese, softened
- 1/4 cup sour cream
- 2 cloves garlic, minced
- 1 teaspoon garlic powder
- 1 teaspoon onion powder
- 1/2 teaspoon salt
- 1/4 teaspoon black pepper
- 4 large flour tortillas
- 1 cup fresh spinach leaves
- 1/2 cup diced tomatoes
- 1/4 cup chopped fresh parsley (optional)
- Olive oil for cooking
Preparing the Cheesy Garlic Chicken Filling
Step 1: Combining the Creamy Base
In a medium-sized bowl, we’ll start by creating our delicious creamy filling. Add the softened cream cheese and the sour cream to the bowl. Using a spatula or a sturdy spoon, mix these two ingredients together until they are thoroughly combined and smooth. It’s important that the cream cheese is softened for this step; if it’s too cold, it will be difficult to mix and may result in a lumpy texture. You can leave it on the counter for about 30 minutes to an hour before you start, or microwave it in very short bursts (10-15 seconds) until it’s pliable but not melted.
Step 2: Infusing with Garlic and Seasonings
Next, we’ll introduce the amazing flavors to our creamy base. Add the minced garlic cloves directly into the cream cheese and sour cream mixture. Then, sprinkle in the garlic powder, onion powder, salt, and black pepper. The minced garlic will provide a fresh, pungent garlic kick, while the garlic powder enhances that flavor profile with a deeper, roasted note. The onion powder adds a subtle savory undertone that complements the garlic beautifully. Mix everything together until all the seasonings are evenly distributed throughout the creamy mixture. Make sure there are no pockets of unmixed seasonings.
Step 3: Incorporating the Chicken and Cheese
Now it’s time to add the star ingredients! Add the shredded cooked chicken to the bowl. Ensure your chicken is fully cooked and shredded into manageable pieces. If you’re using leftover rotisserie chicken, this is a perfect way to repurpose it. Next, add the shredded mozzarella cheese. The mozzarella will melt into the mixture, creating that irresistible cheesy pull we all love. Gently fold the chicken and cheese into the creamy mixture. We’re not trying to mash anything here; we just want to ensure everything is coated in the flavorful sauce.
Assembling and Cooking the Wraps
Step 4: Warming the Tortillas and Building the Wraps
To make sure our wraps are pliable and don’t tear when we roll them, it’s a good idea to warm the tortillas slightly. You can do this by quickly heating them in a dry skillet over medium heat for about 30 seconds per side, or by wrapping them in a damp paper towel and microwaving them for 20-30 seconds. Once warmed, lay one tortilla flat on a clean surface. Spoon about a quarter of the cheesy chicken mixture evenly across the center of the tortilla, leaving a border around the edges. Top the chicken mixture with a generous handful of fresh spinach leaves and a scattering of diced tomatoes. If you’re using fresh parsley, sprinkle some over the top now for an extra burst of freshness and color.
Step 5: Rolling and Searing the Wraps
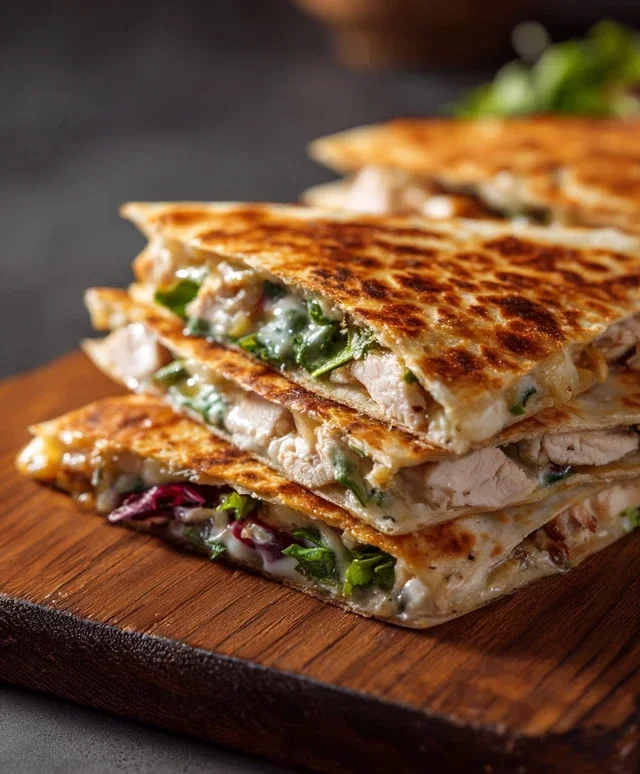
Now for the rolling! Fold in the sides of the tortilla over the filling, then tightly roll up the tortilla from the bottom, tucking in the filling as you go. Repeat this process for the remaining three tortillas. To give our wraps a delicious golden-brown exterior and ensure everything inside is heated through and wonderfully melty, we’ll sear them. Heat a tablespoon of olive oil in a large skillet or on a griddle over medium heat. Carefully place the rolled wraps seam-side down into the hot skillet. Cook for about 2-3 minutes per side, or until they are golden brown and slightly crispy. You might need to adjust the heat to prevent burning. Once seared, remove the wraps from the skillet and let them rest for a minute before serving. This step really elevates the wraps, adding a delightful texture contrast to the soft filling.
Serving Suggestions
You can serve these Cheesy Garlic Chicken Wraps whole, or if you prefer, slice them in half diagonally for easier handling. They are delicious on their own or paired with a side salad, some tortilla chips, or your favorite dipping sauce like salsa or a light ranch dressing. Enjoy this incredibly satisfying and flavorful meal!
Conclusion:
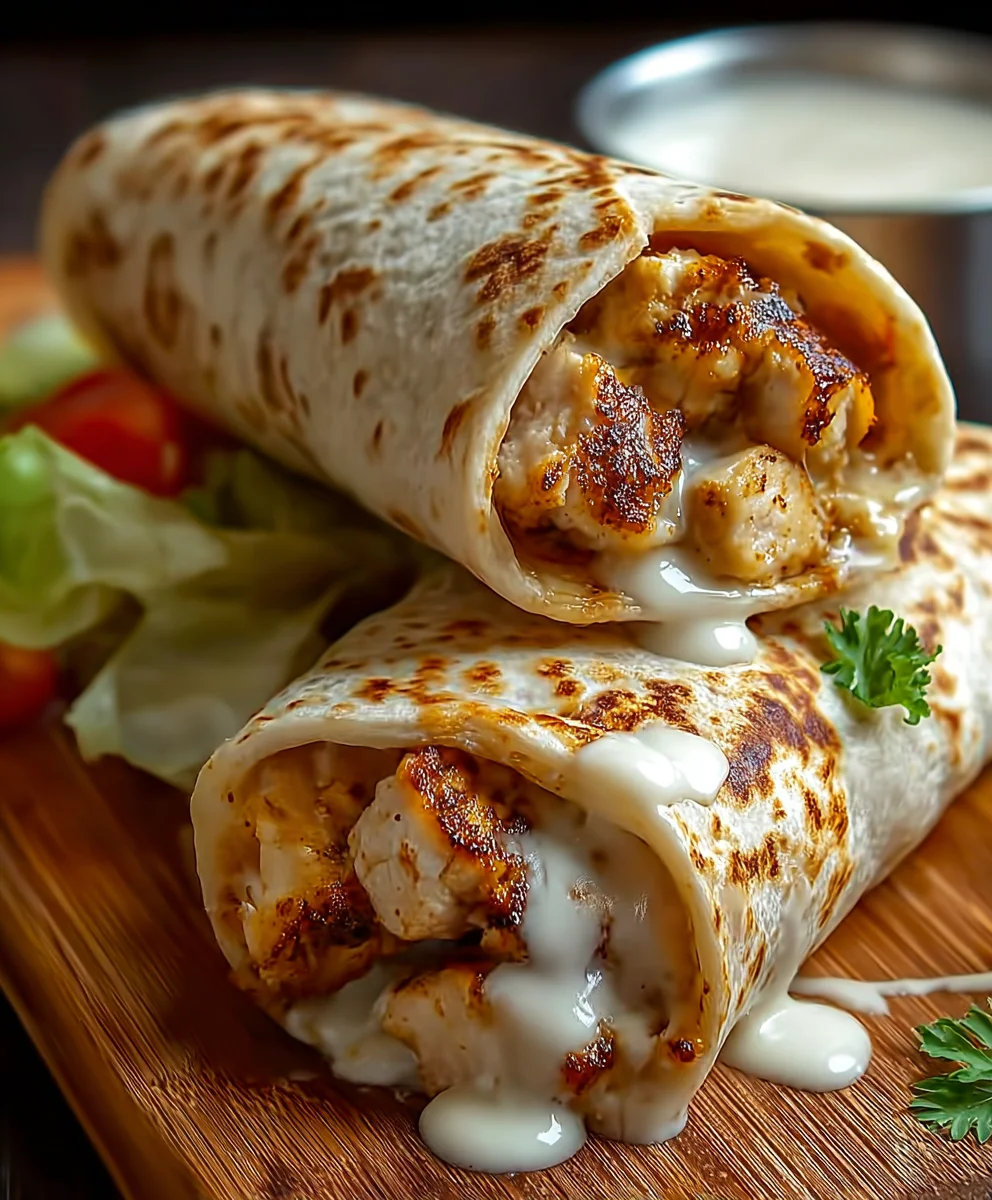
We’ve reached the delicious end of our culinary adventure with the Cheesy Garlic Chicken Wraps: A Tasty Dinner Delight! I hope you found this recipe as enjoyable to make as it is to devour. This dish truly lives up to its name, offering a satisfying blend of tender chicken, pungent garlic, and gooey melted cheese all bundled up in a convenient wrap. It’s a perfect weeknight meal that’s quick, flavorful, and always a crowd-pleaser. Don’t be afraid to experiment and make it your own!
For serving, these wraps are fantastic on their own, or you can pair them with a crisp side salad, some crunchy coleslaw, or even a bowl of tomato soup for a more substantial meal. The possibilities are truly endless when it comes to customizing your Cheesy Garlic Chicken Wraps: A Tasty Dinner Delight!
Frequently Asked Questions:
Can I use pre-cooked chicken for these wraps?
Absolutely! Using rotisserie chicken or leftover cooked chicken is a fantastic time-saver and will work wonderfully in this recipe. Just be sure to shred or dice it appropriately before adding it to the garlic and cheese mixture.
What if I don’t have tortillas? Can I use something else?
While tortillas are ideal for wraps, you can certainly get creative! Large lettuce leaves can make for a lighter, low-carb option, or you could even serve the cheesy garlic chicken mixture over rice or in a baked potato.
How can I make these wraps spicier?
To add a kick to your Cheesy Garlic Chicken Wraps: A Tasty Dinner Delight!, consider incorporating some red pepper flakes into the garlic butter mixture, adding a dash of hot sauce, or even including some diced jalapeños when sautéing the chicken.
Cheesy Garlic Chicken Wraps – Easy Dinner Delight
Delicious and easy-to-make cheesy garlic chicken wraps, perfect for a quick and satisfying dinner.
Ingredients
-
2 cups cooked chicken, shredded
-
1 cup shredded mozzarella cheese
-
1/2 cup cream cheese, softened
-
1/4 cup sour cream
-
2 cloves garlic, minced
-
1 teaspoon garlic powder
-
1 teaspoon onion powder
-
1/2 teaspoon salt
-
1/4 teaspoon black pepper
-
4 large flour tortillas
-
1 cup fresh spinach leaves
-
1/2 cup diced tomatoes
-
1/4 cup chopped fresh parsley (optional)
-
Olive oil for cooking
Instructions
-
Step 1
Combine softened cream cheese and sour cream in a bowl until smooth. -
Step 2
Add minced garlic, garlic powder, onion powder, salt, and pepper to the creamy mixture. Mix well. -
Step 3
Fold in the shredded cooked chicken and shredded mozzarella cheese until evenly coated. -
Step 4
Warm tortillas. Spoon about a quarter of the chicken mixture onto the center of each tortilla. Top with spinach leaves, diced tomatoes, and parsley (if using). -
Step 5
Fold in the sides of the tortillas and roll up tightly. Sear the wraps seam-side down in a skillet with olive oil over medium heat for 2-3 minutes per side, until golden brown and crispy.
Important Information
Nutrition Facts (Per Serving)
It is important to consider this information as approximate and not to use it as definitive health advice.
Allergy Information
Please check ingredients for potential allergens and consult a health professional if in doubt.