Easter Chocolate Chip Cookies-Perfect Festive Treat
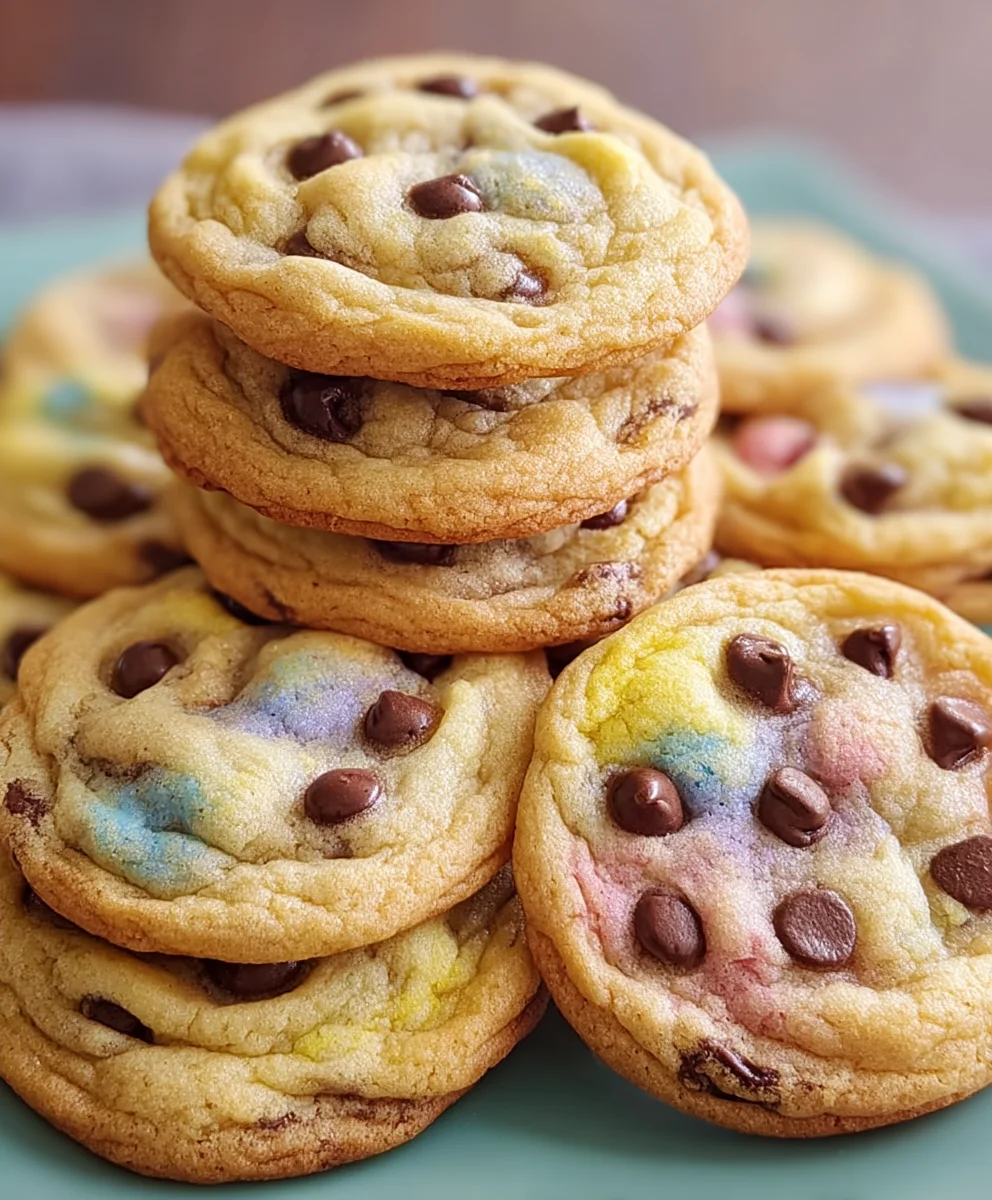
Easter Chocolate Chip Cookies are more than just a sweet treat; they are a cornerstone of springtime celebrations, bringin extractg smiles to faces young and old. There’s a special kind of magic that happens when the aroma of freshly baked Easter chocolate chip cookies fills your home, a scent that instantly conjures images of vibrant Easter egg hunts and joyful family gatherings. What makes these cookies so universally loved? It’s the perfect balance of chewy centers, slightly crisp edges, and those delightful pockets of melted chocolate, all elevated by a hint of festive spirit. This recipe elevates the classic, infusing it with a touch of Easter whimsy that transforms a simple cookie into a holiday masterpiece. Get ready to create memories and indulge in the most delicious Easter chocolate chip cookies you’ve ever tasted!
Ingredients:
- 2½ cups all-purpose flour
- 1 teaspoon baking soda
- ½ teaspoon salt
- 1 cup unsalted butter, softened
- ¾ cup granulated sugar
- ¾ cup packed brown sugar
- 2 large eggs
- 2 teaspoons vanilla extract
- Gel food coloring (pastel pink, purple, yellow, and blue)
- 2 cups chocolate chips, plus extra for topping
Preparing the Cookie Dough
Step 1: Combine Dry Ingredients
First things first, let’s get our dry ingredients ready. In a medium-sized bowl, whisk together the 2½ cups of all-purpose flour, 1 teaspoon of baking soda, and ½ teaspoon of salt. Whisking them together ensures that the leavening agent (baking soda) and the salt are evenly distributed throughout the flour, which is crucial for consistent cookie texture and rise. Set this bowl aside for now.
Step 2: Cream Butter and Sugars
Now, let’s move on to the wet ingredients. In a large mixing bowl, or the bowl of your stand mixer fitted with the paddle attachment, cream together the 1 cup of softened unsalted butter with ¾ cup of granulated sugar and ¾ cup of packed brown sugar. Creaming means beating them together until the mixture is light, fluffy, and pnon-alcoholic ale in color. This process incorporates air into the dough, which contributes to the cookies’ tender texture and helps them spread nicely. Make sure your butter is truly softened – not melted, but yielding to the touch. This usually takes about 2-3 minutes of beating.
Step 3: Add Eggs and Vanilla
Next, we’ll add the eggs and vanilla extract to the creamed butter and sugar mixture. Add the 2 large eggs, one at a time, beating well after each addition until fully incorporated. Scrape down the sides of the bowl periodically to ensure everything is thoroughly mixed. Then, stir in the 2 teaspoons of vanilla extract. The vanilla extract adds that classic comforting aroma and flavor that we all love in our Easter Chocolate Chip Cookies. Continue to mix until just combined.
Coloring and Incorporating Chocolate Chips
Step 4: Divide and Color the Dough
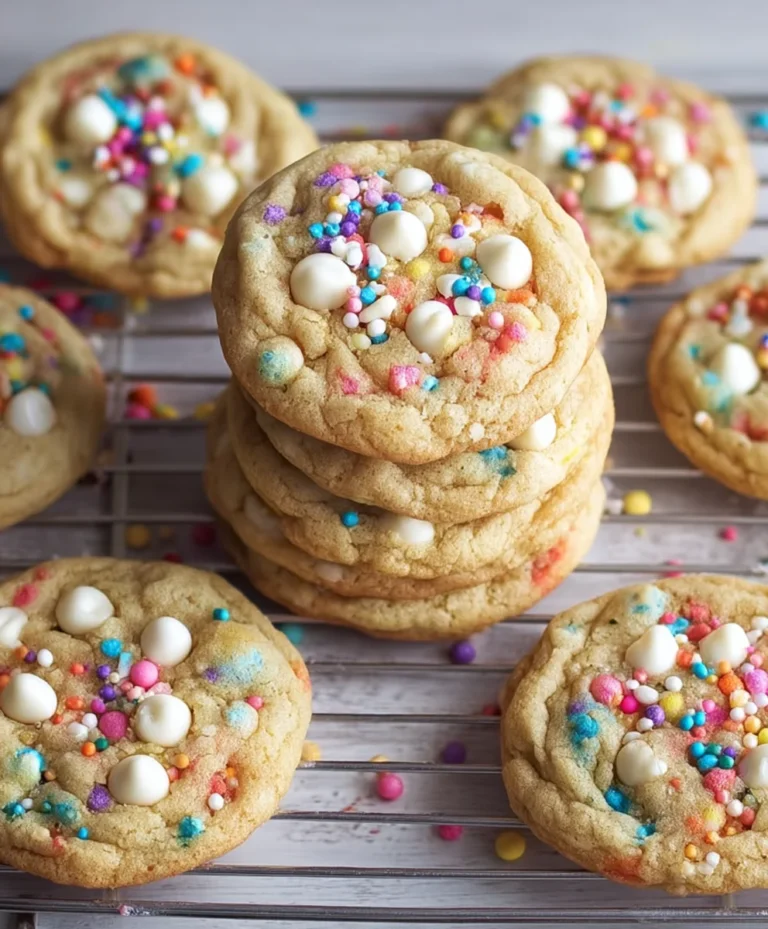
This is where the fun really begin extracts for our Easter Chocolate Chip Cookies! Now that our base dough is ready, we need to divide it and add those beautiful pastel colors. Divide the dough into four equal portions. Place each portion into a separate small bowl. To each bowl, add a few drops of one of the gel food colorings: pastel pink, purple, yellow, and blue. Gel food coloring is preferred as it’s highly concentrated and won’t add excess moisture to the dough, which can affect the cookie’s texture. Gently knead the color into each portion of dough until it’s evenly distributed and you have four distinct pastel colors. Be careful not to overmix the dough at this stage; we want to keep it tender.
Step 5: Combine Doughs and Add Chocolate Chips
Now it’s time to bring it all together and add the star of the show – the chocolate chips! Gently gather the four colored portions of dough and place them back into the large mixing bowl. Add the 2 cups of chocolate chips to the bowl. Using a spatula or your hands, very gently fold and swirl the different colored doughs together. The goal here isn’t to completely blend the colors, but to create a marbled effect. Think of it as gently swirling ribbons of color together. Overmixing will result in a uniform color, so be deliberate but brief. Finally, fold in the chocolate chips until they are evenly distributed throughout the marbled dough. You can also reserve a handful of chocolate chips to press onto the tops of your cookies before baking for an extra decorative touch.
Baking Your Easter Chocolate Chip Cookies
Step 6: Chilling and Shaping the Dough
Before we get to baking, a chilling step is highly recommended for these Easter Chocolate Chip Cookies. Cover the bowl of dough with plastic wrap and refrigerate for at least 30 minutes, or up to 2 days. Chilling the dough solidifies the butter, which helps prevent the cookies from spreading too much during baking, resulting in thicker, chewier cookies. Once chilled, scoop rounded tablespoons of dough onto parchment-lined baking sheets, leaving about 2 inches between each cookie to allow for spreading. If you desire, press a few extra chocolate chips onto the tops of the dough balls.
Step 7: Baking the Cookies
Preheat your oven to 375°F (190°C). Bake the cookies for 9-12 minutes, or until the edges are lightly golden brown and the centers still look slightly soft. The exact baking time will depend on your oven and the size of your cookies. It’s better to underbake slightly than to overbake, as the cookies will continue to set as they cool. Keep a close eye on them during the last few minutes of baking. Once baked, let the cookies cool on the baking sheet for 5 minutes before transferring them to a wire rack to cool completely. This initial cooling on the baking sheet allows them to firm up enough to be moved without breaking.
Conclusion:
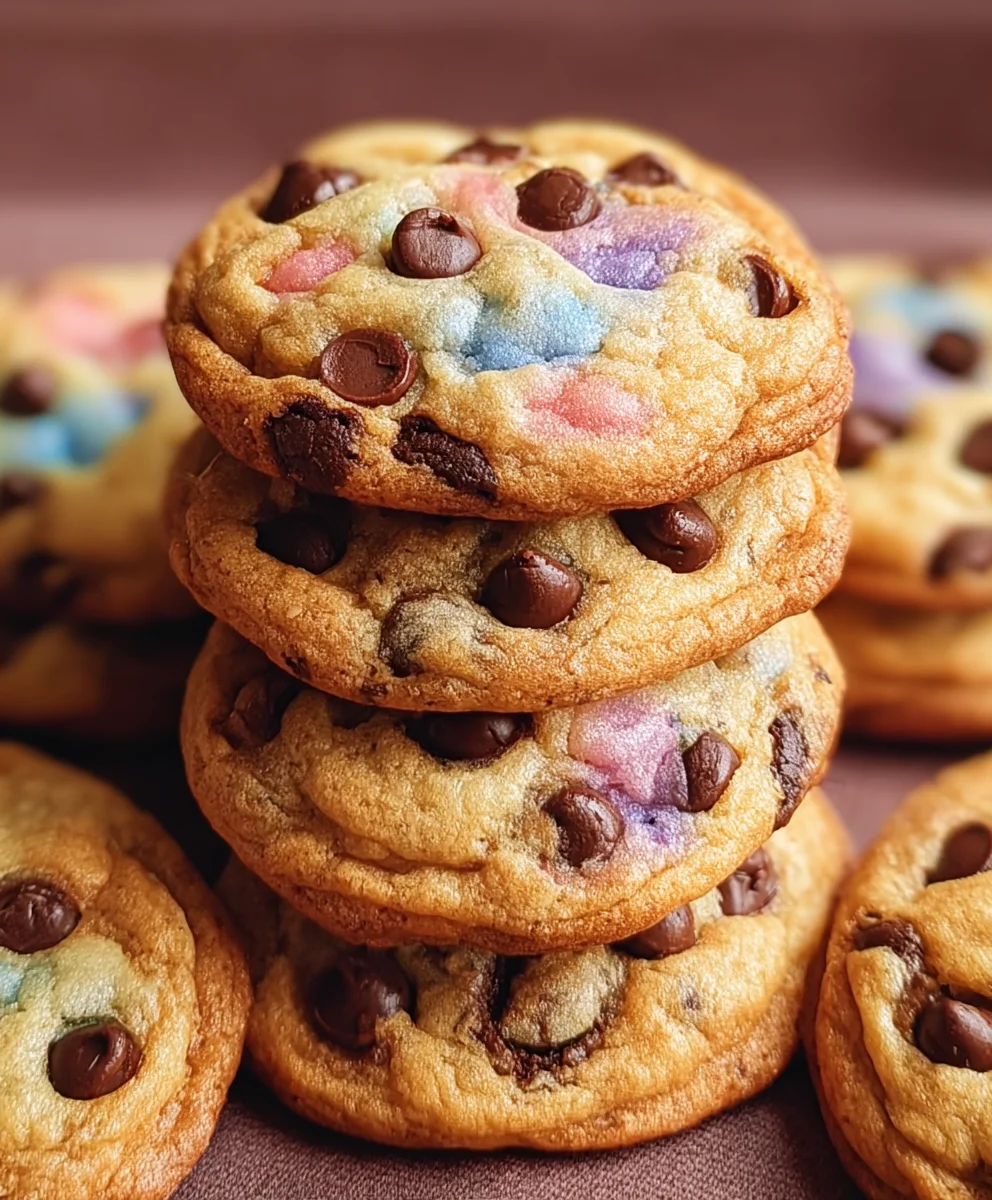
I hope you’ve enjoyed this delightful journey into creating the perfect Easter Chocolate Chip Cookies! We’ve covered the essential steps, from selecting quality ingredients to achieving that ideal balance of chewy center and slightly crisp edge. These cookies are more than just a treat; they’re a sweet celebration of springtime and a wonderful way to share joy with loved ones. Whether you’re a seasoned baker or just starting out, the aroma of these freshly baked Easter Chocolate Chip Cookies filling your kitchen is truly rewarding.
For serving, these cookies are fantastic on their own, but they truly shine when paired with a cold glass of milk. You can also elevate them by serving them warm with a scoop of vanilla ice cream for a decadent dessert. Don’t be afraid to get creative with variations! Consider adding a sprinkle of sea salt on top before baking for a sweet and salty contrast, or incorporating finely chopped nuts for added texture. You could even dip half of the cooled cookies in melted white or dark chocolate for an extra touch of elegance.
The most important ingredient in any baking endeavor is enthusiasm, so don’t hesitate to dive in and bake a batch of these wonderful Easter Chocolate Chip Cookies. I encourage you to share your creations and the smiles they bring!
Frequently Asked Questions:
Q: How can I make my Easter Chocolate Chip Cookies extra festive for the holiday?
A: You can easily make your Easter Chocolate Chip Cookies more festive by adding pastel-colored M&Ms or chopped Cadbury Mini Eggs into the dough. Once baked, you can also drizzle them with melted pastel candy melts or add edible Easter-themed sprinkles for a pop of color and holiday spirit.
Q: My Easter Chocolate Chip Cookies often spread too much. What can I do?
A: To prevent excessive spreading, ensure your butter is softened but not melted. Chilling the cookie dough for at least 30 minutes (or even overnight) before baking is a crucial step. This allows the fats to solidify, which helps the cookies maintain their shape and develop a thicker texture.
Q: Can I freeze the dough for these Easter Chocolate Chip Cookies?
A: Absolutely! The dough for Easter Chocolate Chip Cookies freezes beautifully. Portion the dough into balls, place them on a baking sheet lined with parchment paper, and freeze until solid. Then, transfer the frozen dough balls to a freezer-safe bag or container. You can bake them directly from frozen, adding a few extra minutes to the baking time.
Easter Chocolate Chip Cookies-Perfect Festive Treat
Deliciously festive chocolate chip cookies with a beautiful pastel marbled effect, perfect for Easter celebrations.
Ingredients
-
2½ cups all-purpose flour
-
1 teaspoon baking soda
-
½ teaspoon salt
-
1 cup unsalted butter, softened
-
¾ cup granulated sugar
-
¾ cup packed brown sugar
-
2 large eggs
-
2 teaspoons vanilla extract
-
Gel food coloring (pastel pink, purple, yellow, and blue)
-
2 cups chocolate chips, plus extra for topping
Instructions
-
Step 1
Combine the all-purpose flour, baking soda, and salt in a medium-sized bowl. Whisk them together to ensure even distribution. -
Step 2
In a large mixing bowl, cream together the softened unsalted butter, granulated sugar, and packed brown sugar until light and fluffy. -
Step 3
Add the large eggs one at a time, beating well after each addition. Stir in the vanilla extract. Mix until just combined. -
Step 4
Divide the dough into four equal portions. Place each portion into a separate small bowl. Add a few drops of pastel gel food coloring (pink, purple, yellow, and blue) to each bowl and gently knead until evenly distributed. -
Step 5
Gently gather the four colored dough portions and place them back into the large mixing bowl. Add the chocolate chips. Gently fold and swirl the doughs together to create a marbled effect. Fold in the chocolate chips until evenly distributed. Optionally, reserve extra chocolate chips for topping. -
Step 6
Cover the bowl with plastic wrap and refrigerate for at least 30 minutes. Scoop rounded tablespoons of chilled dough onto parchment-lined baking sheets, leaving 2 inches between cookies. Press extra chocolate chips onto the tops if desired. -
Step 7
Preheat oven to 375°F (190°C). Bake for 9-12 minutes, until edges are lightly golden brown and centers are soft. Let cool on the baking sheet for 5 minutes before transferring to a wire rack to cool completely.
Important Information
Nutrition Facts (Per Serving)
It is important to consider this information as approximate and not to use it as definitive health advice.
Allergy Information
Please check ingredients for potential allergens and consult a health professional if in doubt.