Crispy Feta Fried Eggs- Easy & Delicious Recipe
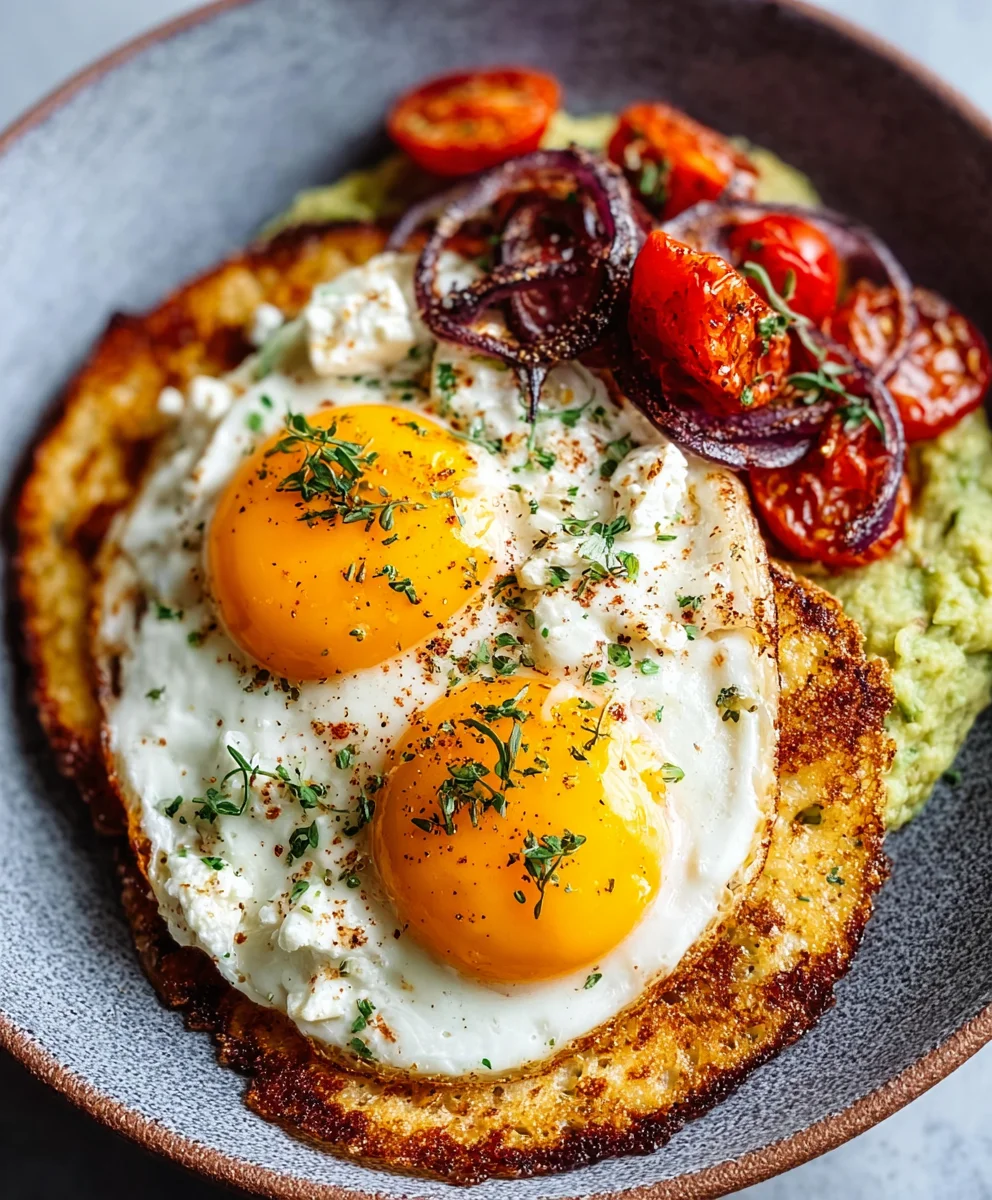
Crispy Feta Fried Eggs are a revelation, a simple yet sophisticated dish that will transform your breakfast, brunch, or even a light lunch into an extraordinary experience. Have you ever dreamt of an egg dish that’s more than just scrambled or poached? This is it! We’re talking about the ultimate fusion of textures and flavors, where the creamy, yielding yolk of a perfectly cooked egg meets the salty, tangy, and delightfully crispy edges of feta cheese. It’s this unexpected textural contrast that truly elevates the humble fried egg, making it a dish people fall in love with at first bite. The secret lies in how we coax the feta into achieving that irresistible golden-brown crunch, creating a savory bed for the tender eggs to nestle into. Forget bland breakfasts; get ready for something truly memorable.
Why You’ll Adore This Dish
The magic of Crispy Feta Fried Eggs lies in its delightful simplicity and astonishing flavor payoff. It’s the perfect way to add a gourmet touch to your everyday meals without a lot of fuss. The salty kick from the feta, especially when it’s rendered to a crisp, is a flavor bomb that complements the richness of the egg yolk beautifully. It’s a dish that surprises and satisfies, offering a comforting yet exciting culinary adventure. Whether you’re a seasoned cook or just starting out, mastering this recipe is incredibly rewarding and sure to impress anyone lucky enough to share it with you.
What Makes Crispy Feta Fried Eggs So Special
What makes Crispy Feta Fried Eggs truly special is the ingenious technique that transforms ordinary feta into a crunchy, flavorful masterpiece. This isn’t just about frying eggs in butter; it’s about creating a dynamic interplay of textures and tastes. The almost caramelized edges of the feta provide a savory counterpoint to the soft, luscious egg yolk that just begs to be broken and mixed in. It’s a dish that’s both visually appealing and incredibly satisfying, proving that sometimes, the most exciting flavors come from the simplest ingredients prepared with a little bit of culinary flair. Prepare for a flavor explosion that will redefine your idea of a perfect egg dish.
Ingredients:
- 1 large egg
- 20 grams feta cheese
- Cooking oil spray or olive oil spray
- Dried oregano
- Red pepper flakes
- 1 small tortilla or slice of toasted bread
- 1/4 avocado
- Lemon juice
- Pickled onions (for garnish)
- Chili oil (for garnish)
Preparing the Base
Toasted Tortilla or Bread
Before we get to the star of the show, the crispy feta fried eggs, let’s prepare our base. This will provide a delightful textural contrast and a savory foundation for our dish. If you’re using a small tortilla, you can warm it gently in a dry skillet over medium heat for about 30-60 seconds per side until it’s pliable and lightly golden. Alternatively, if you prefer toast, take a slice of your favorite bread and toast it until it’s golden brown and has a satisfying crunch. The goal here is a sturdy yet yielding platform that can hold our delicious toppings.
Avocado Mash
Next, let’s prepare the creamy avocado component. Take your 1/4 avocado and place it in a small bowl. Using a fork, mash the avocado until it’s mostly smooth but still has a little bit of texture. We don’t want a completely puréed consistency; a bit of chunkiness adds to the enjoyment. To this, add a tiny squeeze of fresh lemon juice. This not only brightens the flavor of the avocado but also helps to prevent it from browning too quickly. You can also add a pinch of salt and pepper here if you like, although the feta will provide a good amount of saltiness. Stir everything together until well combined. Set this aside.
Cooking the Crispy Feta Fried Eggs
Feta Cheese Preparation
Now, for the magical element that makes these eggs truly special: the feta. Crum extractble the 20 grams of feta cheese into small, bite-sized pieces. It doesn’t need to be perfectly uniform. The key is to have enough small bits to coat the egg as it fries, creating those irresistible crispy edges.
The Frying Process – Step 1: Heating the Pan and Feta
Grab a non-stick skillet and place it over medium-high heat. Once the skillet is warm, give it a light coating of cooking oil spray or olive oil spray. You don’t need much; just enough to prevent sticking and to help the feta crisp up. Immediately arum extractthe crumbled feta cheese to the warm pan. Let the feta sit in the pan for about 30-45 seconds, allowing it to begin extract softening and releasing some of its moisture. This initial step is crucial for developing its flavor and texture.
The Frying Process – Step 2: Adding the Egg and Seasonings
Carefully crack the large egg directly into the center of the pan, right on top of the slightly softened feta. As you crack the egg, try to keep the yolk intact. Now, sprinkle a generous pinch of dried oregano over the egg white and the feta. Then, add a pinch of red pepper flakes for a touch of heat. The amount of red pepper flakes is entirely up to your preference, so adjust accordingly.
The Frying Process – Step 3: Cooking the Egg and Feta
Reduce the heat to medium. Let the egg cook undisturbed for about 2-3 minutes, or until the egg gin extractte begins to set around the edges. During this time, the feta cheese will start to crisp up and turn golden brown in places where it’s in direct contact with the hot pan. You’ll notice the edges of the feta becoming delightfully crispy. Resist the urge to move the egg too much in the initial stages.
The Frying Process – Step 4: Achieving Crispy Feta Edges
This is where the magic really happens. As the egg white continues to cook, gently nudge the edges of the feta cheese towards the egg white. The goal is to create a sort of “nest” of crispy feta around the egg. You can use a spatula to carefully scrape up any bits of feta that have adhered to the pan and press them lightly against the sides of the egg white. Continue to cook for another 1-2 minutes, or until the egg white is fully cooked and the edges of the feta are beautifully golden and crispy. If you prefer a runny yolk, be careful not to overcook.
The Frying Process – Step 5: Checking for Doneness and Adjustments
You’ll know your crispy feta fried egg is ready when the egg white is set but still tender, and the feta has achieved a lovely golden-brown crispiness. The yolk should ideally still be a little runny, perfect for dipping! If the egg white is cooked but the feta isn’t as crispy as you’d like, you can carefully spoon some of the hot oil from the pan over the feta, or briefly increase the heat again, watching it very closely to prevent burning.
Assembly and Serving
Plating the Dish
Now that your star ingredient is ready, it’s time to assemble. Take your prepared tortilla or toasted bread and place it on your serving plate. Spread a generous layer of the creamy avocado mash over the base. This adds a smooth, rich counterpoint to the crispy and savory elements.
Adding the Crispy Feta Fried Egg
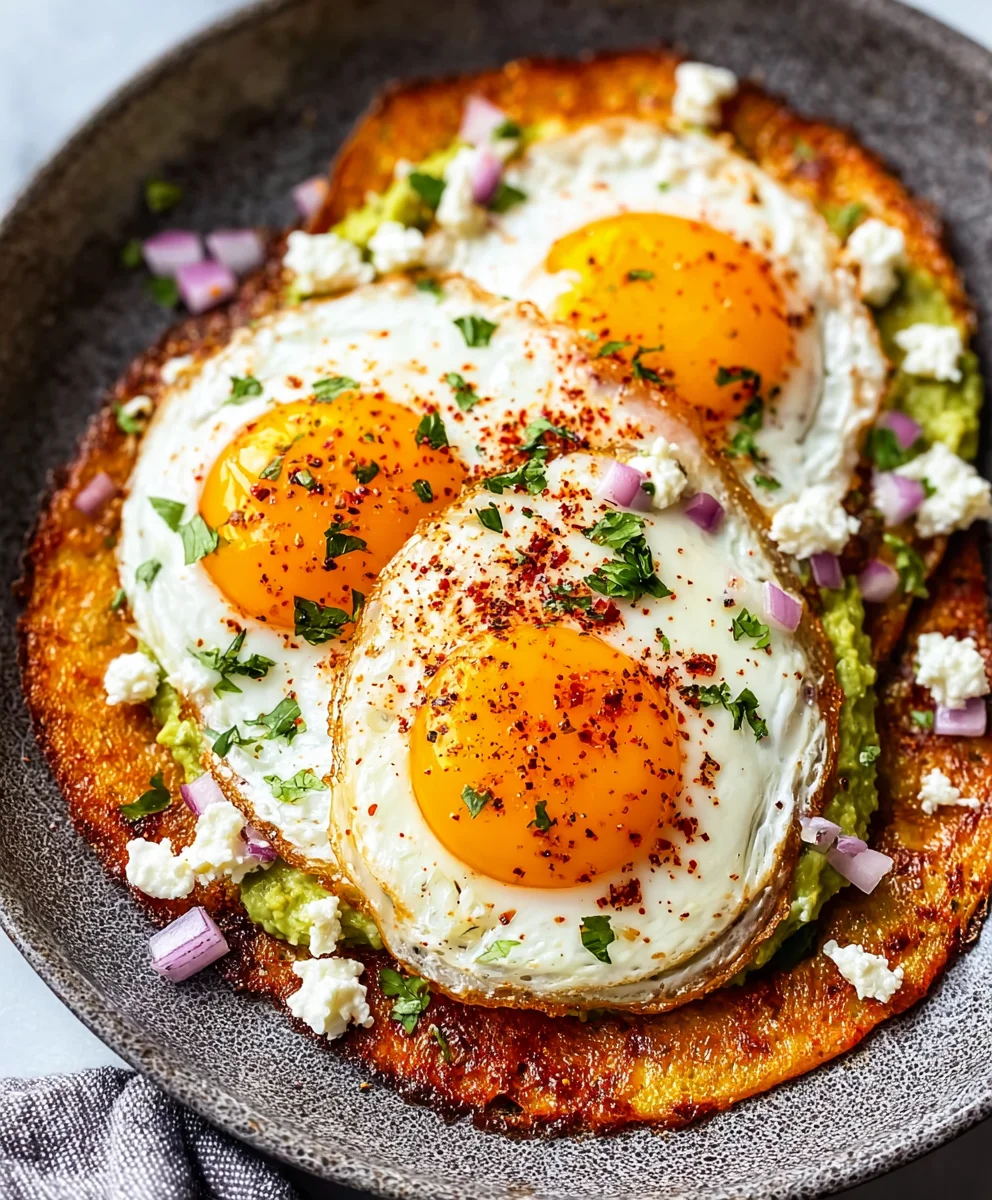
Carefully slide the crispy feta fried egg from the skillet onto the avocado mash. Be gentle to keep the yolk intact and showcase those beautiful crispy feta edges.
Garnishing for Flavor and Presentation
To elevate this dish even further, it’s time for garnishes. Scatter a few pickled onions over the top. Their tangy, bright flavor will cut through the richness of the egg and avocado. Finally, drizzle a touch of chili oil over the entire creation. The chili oil adds a wonderful subtle heat and a beautiful sheen. This final touch brings together all the elements for a truly satisfying and visually appealing meal. Enjoy immediately!
Conclusion:
You’ve now unlocked the secret to making incredibly delicious Crispy Feta Fried Eggs! This recipe is a testament to how simple ingredients can create a truly spectacular dish. The salty tang of the feta, combined with the perfectly cooked egg and that irresistible crispy texture, makes for a breakfast, brunch, or even a light dinner that’s both satisfying and exciting. Don’t be afraid to experiment and make these Crispy Feta Fried Eggs your own. Remember, cooking should be a joyful and creative process. So, whip up a batch, share them with loved ones, and savor every delightful bite.
These Crispy Feta Fried Eggs are incredibly versatile. They are fantastic served atop toasted sourdough bread, alongside a fresh green salad for a lighter meal, or even as a topping for avocado toast. For a heartier option, consider pairing them with roasted potatoes or a side of crispy beef bacon.
Feel free to get creative with variations! You can add a pinch of red pepper flakes to the feta mixture for a spicy kick, or sprinkle in some fresh herbs like chives or dill just before serving. If you’re feeling adventurous, try adding a sprinkle of za’atar or sumac to the feta for an extra layer of flavor. The possibilities are truly endless!
Frequently Asked Questions:
Q1: Can I use a different type of cheese instead of feta for Crispy Feta Fried Eggs?
While feta is what gives these Crispy Feta Fried Eggs their unique flavor and texture, you could experiment with other crum extractbly, salty cheeses like goat cheese or even a sharp, aged cheddar if you’re looking for a different taste profile. However, the signature crispiness might be slightly altered.
Q2: How do I ensure my feta gets crispy and doesn’t just melt?
The key to achieving crispy feta for your Crispy Feta Fried Eggs is to use a good quality, firm feta cheese that’s not overly briney. Ensure your pan is hot enough before adding the feta, and don’t overcrowd the pan. The cheese should sizzle and brown rather than melt into a sauce. Pressing down gently with your spatula can also help encourage even browning and crisping.
Q3: What is the best way to cook the egg so the yolk remains runny with Crispy Feta Fried Eggs?
For a perfectly runny yolk with your Crispy Feta Fried Eggs, crack the egg directly into the pan once the feta is starting to crisp. Cook the egg for about 2-3 minutes, or until the whites are set but the yolk is still liquid. You can cover the pan briefly for the last 30 seconds to help the whites cook through without overcooking the yolk.
Crispy Feta Fried Eggs
An easy and delicious recipe for crispy feta fried eggs, served on a toasted tortilla or bread with avocado mash and flavorful garnishes.
Ingredients
-
1 large egg
-
20 grams feta cheese
-
Cooking oil spray or olive oil spray
-
Dried oregano
-
Red pepper flakes
-
1 small tortilla or slice of toasted bread
-
1/4 avocado
-
Lemon juice
-
Pickled onions (for garnish)
-
Chili oil (for garnish)
Instructions
-
Step 1
Prepare the base by warming a small tortilla or toasting a slice of bread until golden and sturdy. -
Step 2
Mash 1/4 avocado with a fork, adding a squeeze of lemon juice for brightness and to prevent browning. Set aside. -
Step 3
Crumble 20 grams of feta cheese into small pieces. -
Step 4
Heat a non-stick skillet over medium-high heat, spray with oil, and add the crumbled feta for 30-45 seconds to soften. -
Step 5
Carefully crack the egg into the center of the feta. Sprinkle with dried oregano and red pepper flakes. Reduce heat to medium and cook for 2-3 minutes until the egg white begins to set. Gently nudge feta edges towards the egg white to create a crispy nest. -
Step 6
Continue cooking for another 1-2 minutes until the egg white is fully cooked and feta edges are golden and crispy. Ensure the yolk is still runny if desired. -
Step 7
Assemble by spreading the avocado mash on the tortilla or toast, then carefully placing the crispy feta fried egg on top. -
Step 8
Garnish with pickled onions and a drizzle of chili oil before serving immediately.
Important Information
Nutrition Facts (Per Serving)
It is important to consider this information as approximate and not to use it as definitive health advice.
Allergy Information
Please check ingredients for potential allergens and consult a health professional if in doubt.