Easter Rice Krispie Treats- Easy Springtime Fun
Easter Rice Krispie Treats are more than just a sweet confection; they are a nostalgic journey back to childhood Easters, filled with sunshine, egg hunts, and the unmistakable aroma of melted marshmallows. There’s a reason why these simple, no-bake delights have become an enduring holiday staple. Their unparalleled ease of preparation makes them a perfect activity for families to create together, fostering precious memories with every sticky, gooey handful. What truly sets these Easter Rice Krispie Treats apart is their inherent versatility. Beyond the classic, delightfully chewy texture, their blank canvas allows for an explosion of springtime creativity. We’ll transform this beloved classic into a vibrant celebration of the season, adding delightful touches that will have everyone at your Easter gathering asking for the secret behind these spectacular treats.
Why You’ll Adore These Easter Rice Krispie Treats
The sheer joy that Easter Rice Krispie Treats bring to both the makers and the eaters is undeniable. They represent a sweet, simple pleasure that cuts through the sometimes elaborate preparations of a holiday meal. Children and adults alike revel in their comforting, familiar taste, a taste intrinsically linked to happy springtime occasions. The magic lies not just in their deliciousness, but in the immediate gratification they offer. No oven required, just a few pantry staples and a dash of imagin extractation, and you have a crowd-pleasing treat ready in minutes. Get ready to make your Easter table sparkle with these delightful creations!
Ingredients:
- 16 ounces marshmallows (jumbo or mini both work)
- 7 cups Rice Krispies cereal
- 2 tablespoons unsalted butter
- ½ cup unsalted butter, softened
- 3-4 cups powdered sugar
- ¼ cup milk
- 1 teaspoon vanilla extract
- Green food coloring (gel or liquid)
- Easter egg candies (mini chocolate eggs or jelly beans)
Preparing Your Easter Rice Krispie Treats Base
The foundation of our festive Easter Rice Krispie Treats lies in creating a perfectly chewy and flavorful cereal mixture. First, you’ll need a large pot or Dutch oven. Melt the 2 tablespoons of unsalted butter over low heat. This gentle melting ensures the butter doesn’t burn, which could impart an off-flavor to your treats. Once the butter is completely melted and shimmering, add the 16 ounces of marshmallows. Continue stirring constantly over low heat. It’s important to keep the heat low to prevent the marshmallows from scorching or becoming tough. You’re looking for them to be completely melted and smooth, with no lumps remaining. This usually takes about 5-7 minutes. Once you achieve this smooth, gooey consistency, immediately remove the pot from the heat. This is crucial because if the marshmallow mixture stays on the heat too long, it can harden, making your treats difficult to work with and less chewy.
Next, it’s time to introduce the star of the show: the Rice Krispies cereal. Add the 7 cups of Rice Krispies cereal to the melted marshmallow mixture. Gently fold the cereal into the marshmallows using a sturdy spatula. The goal here is to coat every single piece of cereal with the sticky marshmallow goodness without crushing the cereal. Over-mixing or aggressive stirring can break down the Rice Krispies, resulting in dense, hard treats rather than light and airy ones. Work quickly but gently, ensuring an even distribution of cereal throughout the mixture.
Now, prepare your baking pan. You’ll need a 9×13 inch baking pan. Lightly grease the pan with butter or cooking spray. You can also line it with parchment paper, leaving an overhang on the sides to make lifting the treats out easier later. If you choose to use parchment paper, lightly grease the paper as well to prevent sticking. Transfer the cereal mixture into the prepared pan.
Shaping and Decorating Your Easter Masterpieces
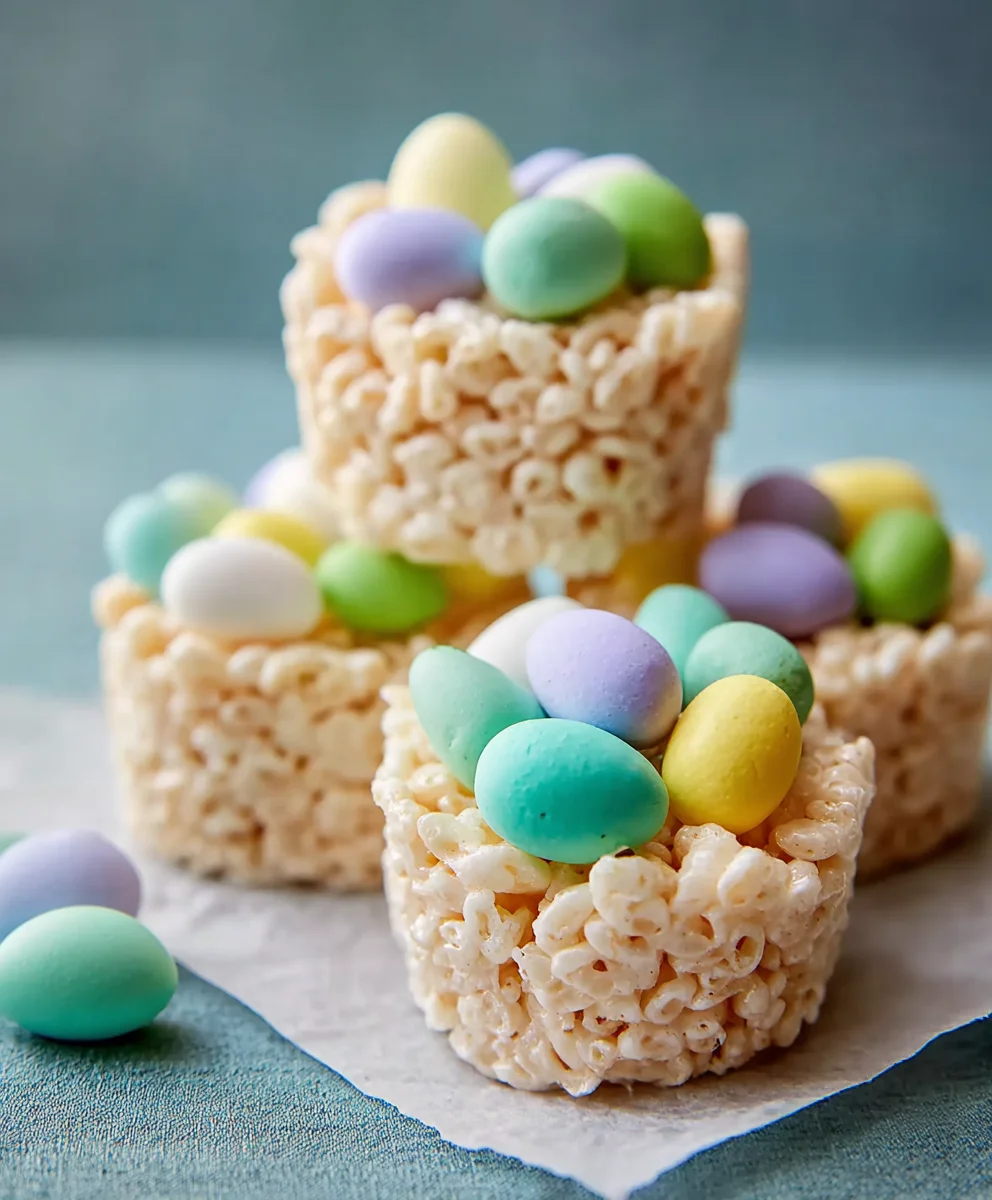
This is where the fun really begin extracts! To shape your Easter Rice Krispie Treats, you have a couple of options. You can gently press the mixture into the prepared pan to create a uniform slab, which you can then cut into squares or rectangles once cooled. Alternatively, for a more playful Easter presentation, you can lightly grease your hands with a little butter or cooking spray and shape the warm mixture into individual nests or bunny ears. Work quickly as the mixture will start to firm up as it cools.
Now, let’s get creative with the green coloring. In a small bowl, combine the ½ cup of softened unsalted butter with 1 cup of powdered sugar. Add ¼ cup of milk and 1 teaspoon of vanilla extgin extractt. Begin mixing this frosting base. You’ll want to gradually add more powdered sugar, about 1 to 2 cups at a time, until you achieve a thick but spreadable consistency. This frosting will act as the “grass” for our Easter nests. Once you have your desired frosting consistency, divide it into two portions. To one portion, add a few drops of green food coloring. Stir until the color is evenly distributed, creating a vibrant green hue reminiscent of spring grass.
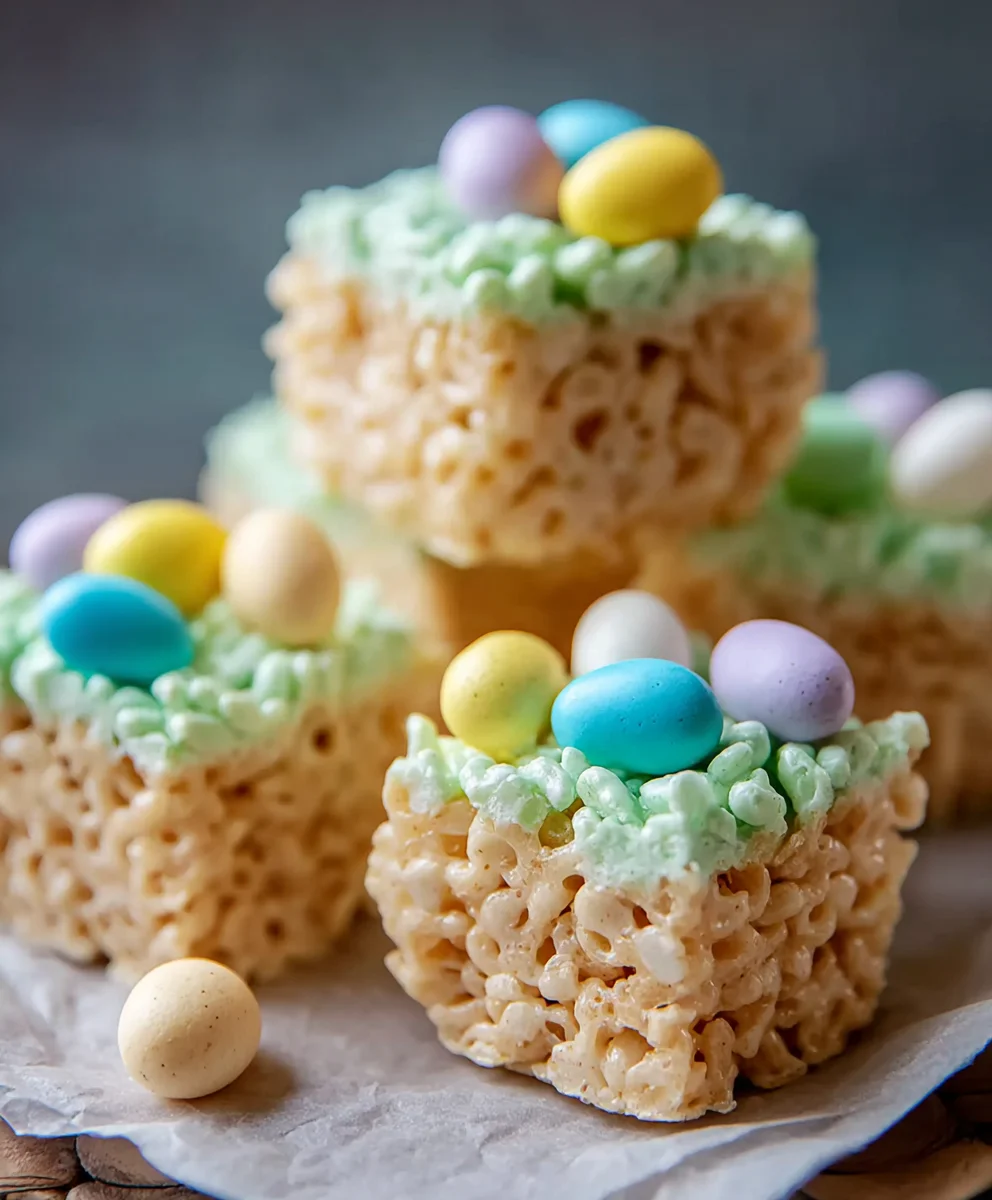
Take your individual Easter Rice Krispie Treat shapes (nests or flat pieces) and spread a generous amount of the green frosting onto them, creating a grassy base. If you’ve made individual nests, the frosting will settle nicely into the cavities. For flat pieces, spread it evenly across the surface.
Adding the Final Festive Touches
This is the final flourish that transforms your treats into delightful Easter decorations. Once the green frosting is applied, it’s time to add your Easter egg candies. Carefully place mini chocolate eggs or jelly beans onto the green frosting. You can arrange them like a clutch of eggs in a nest or scatter them decoratively on your flat treagin extract Let your imagination run wild! You can create patterns, fill the centers of nests, or simply dot them around for a pop of color and sweetness. The slightly sticky frosting will help the candies adhere securely.
For those who prefer to cut their treats from a large slab, once the cereal mixture has cooled slightly and is still pliable, you can press the green frosting onto the surface of the slab and then artfully arrange your Easter egg candies. After the frosting has had a few minutes to set slightly, you can then cut the slab into squares or rectangles using a sharp knife.
Allow your Easter Rice Krispie Treats to set completely. This usually takes about 30 minutes to an hour at room temperature. The frosting will firm up, and the candies will hold their place. You can speed up this process by placing them in the refrigerator for about 15-20 minutes if you are short on time, but be mindful that refrigerating can sometimes make Rice Krispie treats a bit harder. These delightful Easter Rice Krispie Treats are perfect for a springtime party, a fun family activity, or simply as a sweet treat to enjoy during the holiday.
Conclusion:
And there you have it – the delightful simplicity of creating your very own Easter Rice Krispie Treats! These festive squares are not only a joy to make but also a guaranteed hit with everyone, young and old. The perfect blend of chewy marshmallow and crispy cereal, enhanced with those charming Easter decorations, makes them an ideal addition to your holiday dessert table. Whether you’re hosting an Easter brunch, planning an egg hunt, or just looking for a fun family activity, these treats are a fantastic choice.
To truly elevate your Easter Rice Krispie Treats, consider serving them alongside fresh fruit, creamy dips, or even as a sweet counterpoint to savory Easter dishes. For variations, don’t be afraid to experiment! You can incorporate a touch of vanilla extract or almond extract into the marshmallow mixture for an extra layer of flavor. Colored candy melts are perfect for drizzling over the top for added visual appeal, or try mixing in some pastel-colored M&Ms or jelly beans before the treats set.
The real magic of these Easter Rice Krispie Treats lies in their adaptability. Let your creativity shine with different pastel sprinkles, edible glitter, or even small chocolate bunnies pressed into the top. We truly encourage you to have fun in the kitchen and enjoy the process of making these cheerful confections. We hope you and your loved ones have a wonderfully sweet and memorable Easter!
Frequently Asked Questions:
Can I make these Easter Rice Krispie Treats ahead of time?
Absolutely! Easter Rice Krispie Treats can be made up to 2-3 days in advance. It’s best to store them in an airtight container at room temperature to maintain their freshness and chewy texture. If you’re decorating them with icing or sprinkles, it’s sometimes best to do that closer to serving time to prevent them from getting smudged or stnon-alcoholic ale.
What are some other fun ways to decorate my Easter Rice Krispie Treats?
Beyond the suggestions in the recipe, you can get really creative! Consider using pastel food coloring to tint the marshmallow mixture before adding the cereal. You could also create “nests” by pressing the treats into muffin liners and filling the center with candy eggs. Another idea is to use cookie cutters to shape them into bunnies, chicks, or eggs before they fully set for an extra touch of whimsy.
Easter Rice Krispie Treats- Easy Springtime Fun
Easy and fun Easter-themed Rice Krispie Treats perfect for springtime celebrations. These colorful treats are a delightful activity for families and a sweet addition to any Easter gathering.
Ingredients
-
16 ounces marshmallows
-
7 cups Rice Krispies cereal
-
2 tablespoons unsalted butter
-
½ cup unsalted butter, softened
-
3-4 cups powdered sugar
-
¼ cup milk
-
1 teaspoon vanilla extract
-
Green food coloring
-
Easter egg candies (mini chocolate eggs or jelly beans)
Instructions
-
Step 1
Melt 2 tablespoons of unsalted butter over low heat in a large pot. Add marshmallows and stir constantly until completely melted and smooth, about 5-7 minutes. Remove from heat. -
Step 2
Add 7 cups of Rice Krispies cereal to the melted marshmallow mixture. Gently fold until every piece of cereal is coated without crushing. Quickly transfer to a greased 9×13 inch baking pan. -
Step 3
For individual treats, grease hands and shape the warm mixture into nests or bunny ears. For a slab, press evenly into the pan. Let cool slightly. -
Step 4
Prepare the green frosting: In a small bowl, combine ½ cup softened unsalted butter with 1 cup powdered sugar, ¼ cup milk, and 1 teaspoon vanilla extract. Gradually add more powdered sugar until thick but spreadable. Divide the frosting, coloring one portion green. -
Step 5
Spread the green frosting onto the shaped Rice Krispie Treats, creating a grassy base. For nests, fill the cavities. For flat pieces, spread evenly. -
Step 6
Decorate with Easter egg candies by placing them onto the green frosting. For slab treats, frost the surface and then arrange candies before cutting. -
Step 7
Allow the treats to set completely at room temperature for 30 minutes to an hour, or refrigerate for 15-20 minutes to speed up the process. Enjoy your festive Easter treats!
Important Information
Nutrition Facts (Per Serving)
It is important to consider this information as approximate and not to use it as definitive health advice.
Allergy Information
Please check ingredients for potential allergens and consult a health professional if in doubt.