Easy Homemade Pita Bread – Soft & Fluffy!
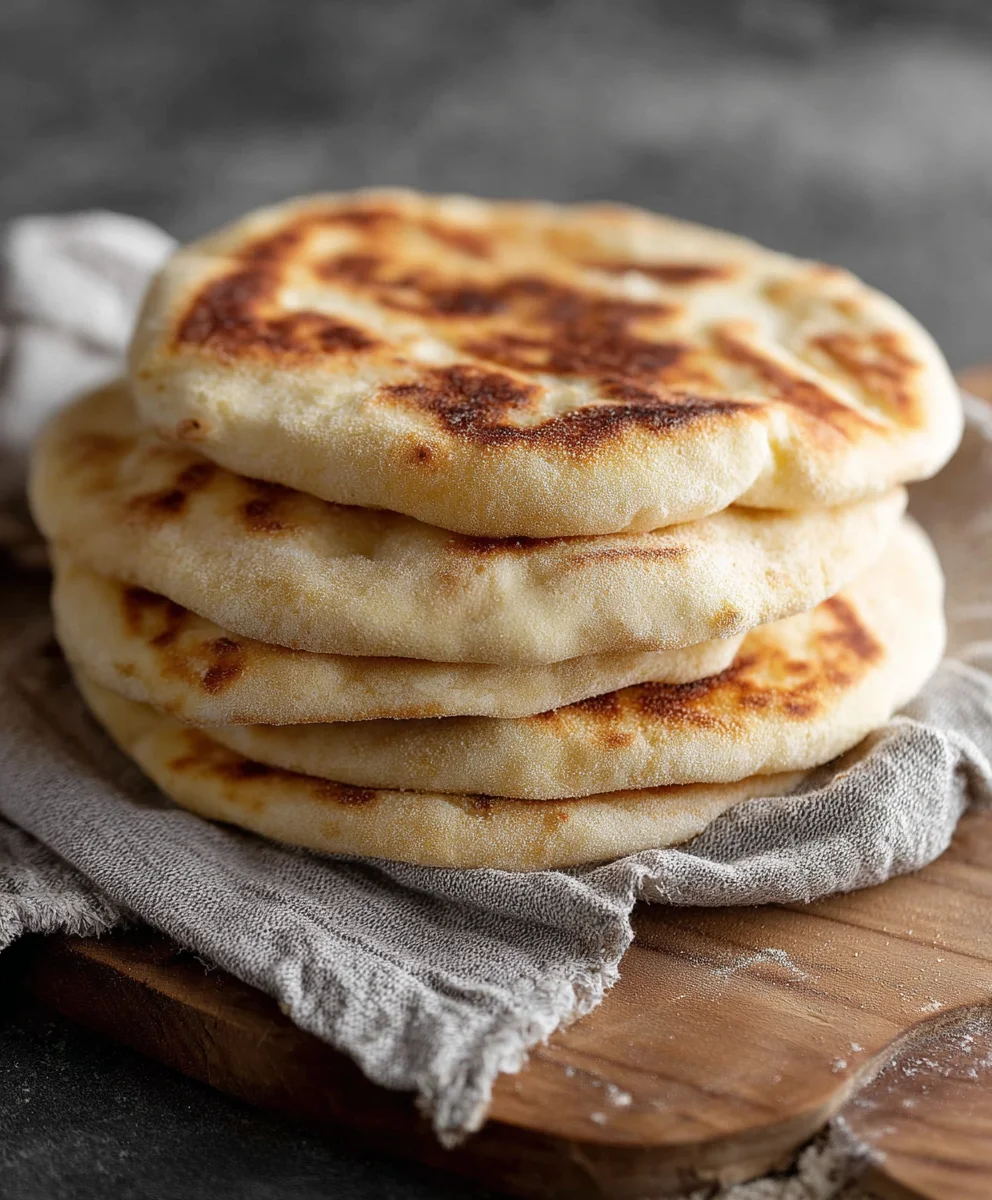
Easy Homemade Pita Bread Recipe. Imagin extracte the satisfying aroma filling your kitchen, the slightly chewy texture giving way to a tender interior, and that perfect pocket ready to cradle your favorite fillings. That’s the magic of truly homemade pita bread, and with this Easy Homemade Pita Bread Recipe, it’s more achievable than you might think! Forget those store-bought, often brittle disks; we’re talking about fresh, warm, and incredibly versatile flatbread that will elevate everything from falafel wraps to simple buttered toast. What makes this particular Easy Homemade Pita Bread Recipe so beloved? It’s the delightful simplicity, requiring only a handful of pantry staples and a little bit of patience. The thrill of watching those beautiful pockets inflate in the oven is a reward in itself, and the taste? Well, it’s incomparable to anything you can buy. Get ready to impress yourself and your loved ones with this foundational recipe that opens up a world of delicious possibilities.
Ingredients:
- 1 cup (8 oz.) lukewarm warm water (about 105–110°F)
- 1 tablespoon granulated sugar
- 2 1/4 teaspoons (1 standard package) active dry yeast
- Approximately 3 cups all-purpose flour (you might need a little more or less depending on humidity and flour type)
- 1 tablespoon extra virgin extract olive oil, plus more for greasing
- 1 3/4 teaspoons salt
Preparing Your Dough for Easy Homemade Pita Bread
Activating the Yeast
The first crucial step in creating wonderfully puffy pita bread is to ensure your yeast is alive and ready to work its magic. In a large mixing bowl, combine the lukewarm water and the tablespoon of sugar. The lukewarm temperature is vital; too hot and you’ll kill the yeast, too cold and it won’t activate properly. Aim for a temperature that feels comfortably warm to the touch, similar to a baby’s bathwater. Sprinkle the active dry yeast evenly over the surface of the water and sugar mixture. Don’t stir it just yet. Let it sit undisturbed for about 5 to 10 minutes. You’ll know the yeast is active when it starts to bloom, forming a foamy, creamy layer on the surface. This bubbly cap indicates that the yeast is feeding on the sugar and producing carbon dioxide, which is essential for making our pita bread rise and puff up. If you don’t see any foam, it’s best to discard this batch and start with fresh yeast, as your bread won’t rise effectively.
Mixing the Dough
Once your yeast has bloomed beautifully, it’s time to incorporate the other ingredients to form our dough. To the activated yeast mixture, add the 1 tablespoon of egin extracta virgin olive oil and the 1 3/4 teaspoons of salt. Give this a gentle stir to combine. Now, gradually add about 2 cups of the all-pgin extractose flour. Begin mixing with a sturdy spoon or a dough whisk until the ingredients start to come together into a shaggy mass. At this point, the dough will likely still be quite sticky. Continue adding the remaining flour, about half a cup at a time, mixing well after each addition. You are looking for a soft dough that is still slightly sticky to the touch but manageable. The exact amount of flour can vary, so resist the urge to dump it all in at once. You want a dough that isn’t too dry and crum extractbly, nor too wet and unmanageable.
Kneading for Elasticity
Turn the dough out onto a lightly floured surface. Now comes the satisfying part: kneading! This process develops the gluten in the flour, which gives the pita bread its characteristic chewy texture and allows it to puff up. Start by pushing the dough away from you with the heels of your hands, then fold it back towards you. Rotate the dough a quarter turn and repeat. Continue this motion for about 8 to 10 minutes. The dough will transform from a sticky, rough mass into a smooth, elastic ball. If the dough becomes too sticky during kneading, lightly dust your hands and the work surface with a little more flour, but be sparing; too much flour will make the pita dry. You’ll know the dough is ready when it springs back slowly when you gently poke it with your finger.
Proofing and Shaping for the Perfect Pocket
First Rise (Bulk Fermentation)
Once you have a beautifully kneaded dough, it’s time to let it rest and rise. Lightly grease a clean large bowlgin extractth a little extra virgin olive oil. Place the dough ball into the greased bowl, turning it to coat all sides with oil. This prevents a dry skin from forming on top. Cover the bowl tightly with plastic wrap or a clean kitchen towel. Place the bowl in a warm, draft-free place to rise. This could be a slightly warm oven (turned off, of course!), or simply a warm spot in your kitchen. Let the dough rise for about 1 to 1.5 hours, or until it has doubled in size. The doubling in size is the key indicator; don’t just rely on the clock. A well-risen dough is essential for light and airy pita.
Dividing and Resting the Dough
After the dough has impressively doubled, gently punch it down to release the air that has been trapped inside. Turn the dough out onto a lightly floured surface again. Divide the dough into 6 to 8 equal portions, depending on how large you want your pita pockets to be. Roll each portion into a smooth ball. Cover these individual dough balls loosely with plastic wrap or a damp kitchen towel and let them rest for another 10 to 15 minutes. This short resting period, also known as bench rest, allows the gluten to relax, making the dough easier to shape into flat rounds without snapping back.
Cooking for Puffy Perfection
Shaping the Pitas
Now it’s time to transform those rested dough balls into flat, ready-to-puff pita rounds. Take one dough ball at a time and place it on a lightly floured surface. Using a rolling pin, gently roll out the dough into a circle about 6 to 7 inches in diameter and approximately 1/4 inch thick. Try to maintain an even thickness across the entire surface. Uneven thickness can lead to some parts cooking faster than others and can hinder the puffing process. You want a nice, flat disc that’s not too thin or too thick. Repeat this process with the remaining dough balls, ensuring they are covered with a towel while you work to prevent them from drying out.
Baking or Griddling the Pitas
You have two excellent options for cooking your pita bread, both yielding delicious results. For the ultimate puff, you’ll want to use a very hot cooking surface.
Option 1: Oven Method
Preheat your oven to the highest temperature it can go, ideally 500°F (260°C) or even higher. If you have a pizza stone or baking steel, place it in the oven during preheating. Once the oven is screaming hot, carefully place 1 or 2 pita rounds directly onto the hot stone or steel. Bake for 2-4 minutes. You will see them puff up dramatically like ballogin extract! As soon as they puff and begin to show a few lightly browned spots, remove them using tongs.
Option 2: Stovetop Method
Heat a cast-iron skillet or heavy-bottomed pan over medium-high heat. You don’t need any oil for this. Once the pan is hot, place one pita round in it. Cook for about 1-2 minutes per side. You’ll see it start to puff up. You might need to gently press down on the edges with a spatula to encourage even puffing. Flip and cook the other side until golden brown and puffed.
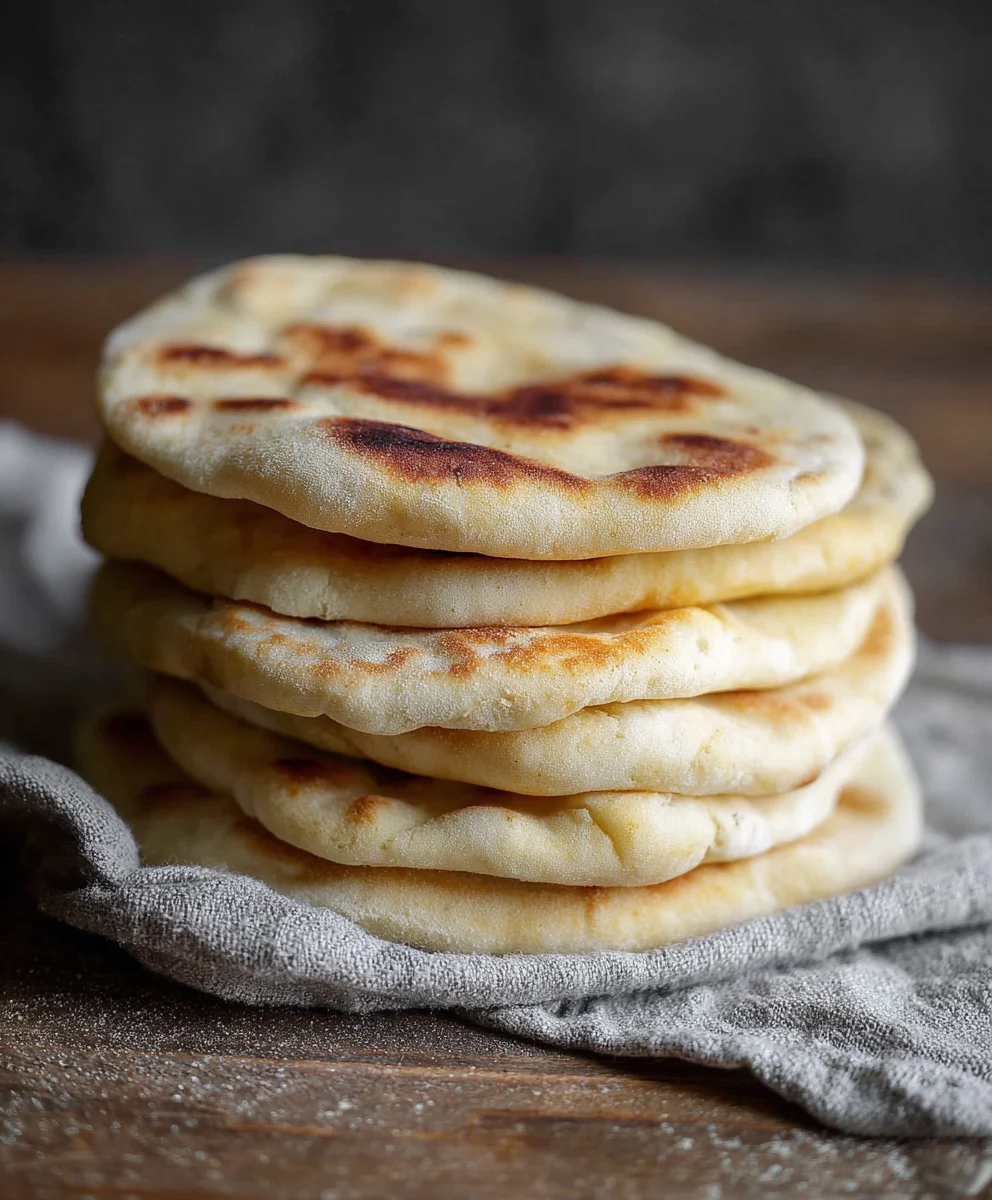
Regardless of the method, as soon as the pitas are cooked, remove them from the heat and wrap them immediately in a clean kitchen towel. This trapping of steam is what keeps the pitas wonderfully soft and pliable. Continue with the remaining pitas until all are cooked.
Conclusion:
And there you have it – your very own batch of delicious, pillowy, Easy Homemade Pita Bread Recipe! We’ve walked through each step, from mixing the dough to that satisfying puff in the oven, proving that fresh, homemade pita is absolutely achievable in your own kitchen. The aroma alone is worth the effort, and the taste is miles beyond anything store-bought. These warm, slightly chewy rounds are perfect for sopping up your favorite dips, wrapping around grilled meats and veggies, or simply enjoying with a sprinkle of za’atar. Don’t be afraid to experiment with different flours for unique flavors, or add a pinch of herbs to the dough itself. I truly hope you enjoy making and sharing this Easy Homemade Pita Bread Recipe with your loved ones. Happy baking!
Frequently Asked Questions:
Why won’t my pita bread puff up?
Several factors can contribute to this! Ensure your oven is hot enough (at least 450-500°F / 230-260°C) and that you’re baking directly on a preheated baking stone or steel for maximum heat transfer. Also, make sure your dough isn’t overworked and has had adequate proofing time to develop the necessary air pockets. Finally, check that your pita rounds are not too thick or too thin; aim for about 1/4 inch thickness.
Can I freeze homemade pita bread?
Absolutely! Once your Easy Homemade Pita Bread Recipe has cooled completely, you can freeze it for up to 3 months. Stack the pita bread with parchment paper in between each one to prevent them from sticking together. To reheat, you can warm them in a toaster, oven, or even a dry skillet until pliable.
Easy Homemade Pita Bread – Soft & Fluffy!
Create soft, fluffy, and perfectly puffed homemade pita bread with this easy-to-follow recipe. Ideal for pockets, wraps, or dipping.
Ingredients
-
1 cup (8 oz.) lukewarm warm water (about 105–110°F)
-
1 tablespoon granulated sugar
-
2 1/4 teaspoons active dry yeast
-
Approximately 3 cups all-purpose flour
-
1 tablespoon extra virgin olive oil
-
1 3/4 teaspoons salt
Instructions
-
Step 1
Activate the yeast: In a large mixing bowl, combine lukewarm water and sugar. Sprinkle yeast over the top and let sit undisturbed for 5-10 minutes until foamy. -
Step 2
Mix the dough: To the activated yeast, add olive oil and salt. Gradually add about 2 cups of flour, mixing until a shaggy mass forms. Continue adding flour, about 1/2 cup at a time, until a soft, slightly sticky dough is achieved. -
Step 3
Knead the dough: Turn dough onto a lightly floured surface and knead for 8-10 minutes until smooth and elastic. If too sticky, lightly dust hands and surface with flour sparingly. -
Step 4
First rise: Place dough in a lightly oiled bowl, cover, and let rise in a warm, draft-free place for 1-1.5 hours, or until doubled in size. -
Step 5
Divide and rest: Punch down dough, turn onto a floured surface, and divide into 6-8 equal balls. Cover and let rest for 10-15 minutes. -
Step 6
Shape the pitas: Roll each dough ball into a 6-7 inch diameter circle, about 1/4 inch thick. Keep covered while working. -
Step 7
Cook the pitas: For the oven method, preheat oven to 500°F (260°C) with a pizza stone or steel, bake 2-4 minutes until puffed. For stovetop, heat a cast-iron skillet over medium-high heat and cook 1-2 minutes per side until puffed. Immediately wrap cooked pitas in a clean towel to keep them soft.
Important Information
Nutrition Facts (Per Serving)
It is important to consider this information as approximate and not to use it as definitive health advice.
Allergy Information
Please check ingredients for potential allergens and consult a health professional if in doubt.