Easy No-Bake Chocolate Biscuit Bars Recipe
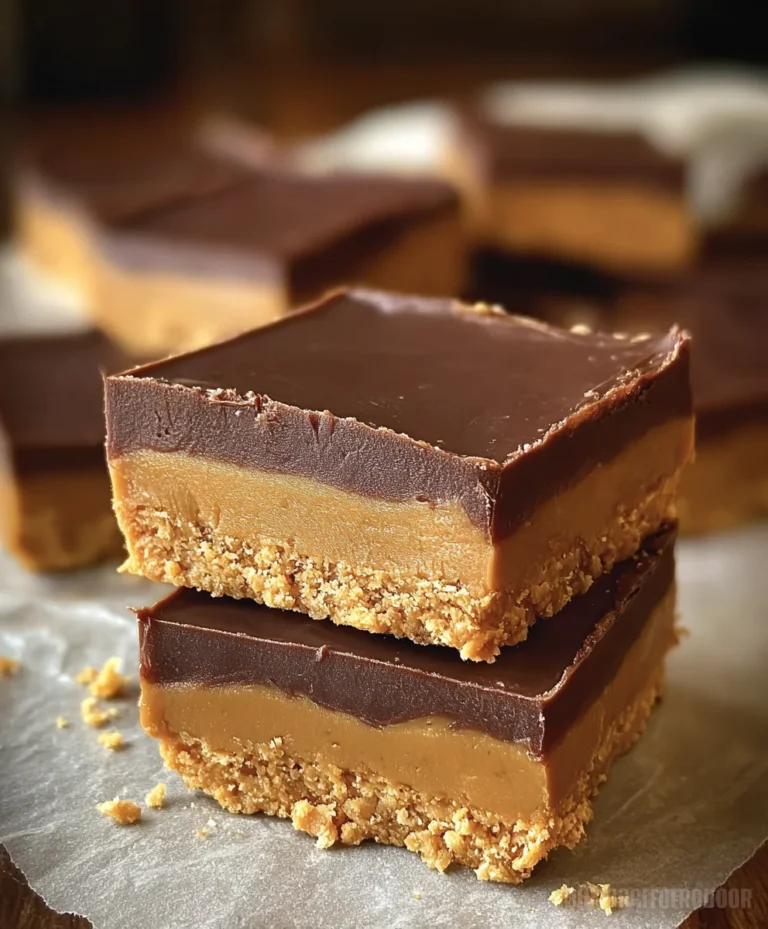
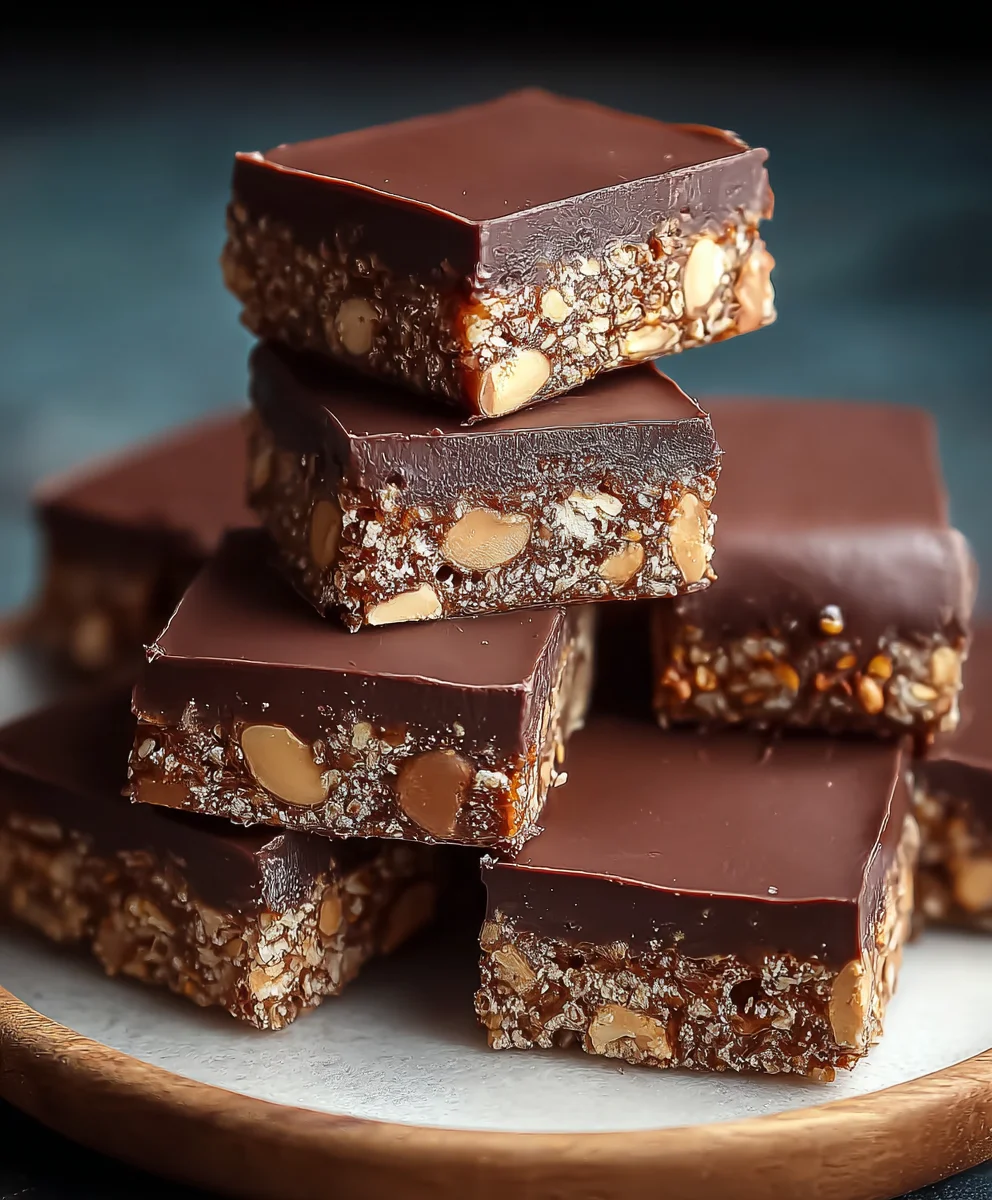
No-Bake Chocolate Biscuit Bars are more than just a sweet treat; they’re a nostalgic hug in every bite. For many of us, these bars evoke childhood memories of lazy afternoons, simple joys, and the thrill of creating something delicious without the fuss of turning on the oven. What makes these No-Bake Chocolate Biscuit Bars so universally beloved? It’s their incredible simplicity combined with an irresistible texture and flavor combination. The satisfying crunch of the biscuits mingling with the rich, velvety chocolate creates a sensory experience that’s both comforting and exhilarating. They are the ultimate stress-free dessert, perfect for last-minute guests, a quick weeknight indulgence, or a fun activity to do with kids. The magic lies in their inherent adaptability and the pure, unadulterated joy they bring, proving that sometimes, the simplest recipes are the most profound.
Ingredients:
- 12.3 oz (350g) digestive biscuits, finely crushed
- 1 cup (3 oz / 85g) ground peanuts (for the base mixture)
- ½ cup (3 oz / 85g) granulated sugar
- 1 packet (10g) vanilla sugar (optional, for added aroma)
- ½ cup (1.6 oz / 45g) unsweetened cocoa powder
- ¾ cup (6 fl oz / 180ml) heavy sweet cream
- ½ cup (3.9 oz / 110g) unsalted butter, softened
- 3.2 oz (90g) milk chocolate, chopped
- 1 oz (30g) dark chocolate, chopped
- 2 tbsp (1 oz / 30g) vegetable oil
- ¾ cup (2.5 oz / 70g) ground peanuts (for topping)
Preparing the Biscuit Base
Step 1: Crushing the Biscuits and Combining Dry Ingredients
Begin extract by ensuring your digestive biscuits are finely crushed. You can achieve this by placing them in a sturdy zip-top bag and using a rolling pin to break them down into fine crum extractbs, or by using a food processor. We want a texture that will hold together well when mixed with the wet ingredients. In a large mixing bowl, combine the finely crushed biscuits with 1 cup of the ground peanuts. This addition of peanuts will lend a delightful nutty crunch and depth of flavor to the base of our No-Bake Chocolate Biscuit Bars. Next, add the granulated sugar, vanilla sugar (if using, for an extra layer of sweetness and aroma), and the unsweetened cocoa powder to the bowl. Whisk these dry ingredients together thoroughly, ensuring the cocoa powder is evenly distributed to avoid any pockets of bitterness. The goal here is a uniform dry mixture that will be ready to absorb the melted butter and create a cohesive base.
Step 2: Incorporating the Melted Butter
Now, it’s time to bring our biscuit base together. In a separate small saucepan or microwave-safe bowl, melt the ½ cup of unsalted butter. Be careful not to overheat it; we just want it fully melted and smooth. Pour the melted butter over the dry ingredients in the large mixing bowl. Using a sturdy spoon or spagin extracta, begin to mix everything together. Stir vigorously until all the dry ingredients are moistened and the mixture starts to clump together. You’re aiming for a consistency wherum extractthe crumbs are well-bound and hold their shape when squeezed. If the mixture seems a bit too dry, you can add another tablespoon of melted butter, but usually, the measured amount is sufficient. This step is crucial for creating a firm, sliceable brum extract that won’t crumble apart.
Step 3: Pressing the Base into the Pan
Prepare an 8×8 inch square baking pan by lining it with parchment paper, leaving some overhang on the sides. This overhang will act as handles, making it much easier to lift the finished bars out of the pan once they are set. Spoon the biscuit and butter mixture into the prepared pan. Use the back of your spoon or a flat-bottomed glass to press the mixture down firmly and evenly across the entire base of the pan. It’s important to get a compact and level layer. The denser you press it, the more stable and sliceable your No-Bake Chocolate Biscuit Bars will be. Pay particular attention to the edges, ensuring they are also well-compressed.
Crafting the Creamy Chocolate Topping
Step 4: Creating the Chocolate Ganache
In a medium saucepan, combine the ¾ cup of heavy sweet cream, the chopped milk chocolate, and the chopped dark chocolate. Place the saucepan over low heat. Stir constantly, allowing the chocolates to melt gently into the cream. It’s vital to keep the heat low to prevent the chocolate from scorching or seizing. As the mixture warms, the cgin extractolate will begin to melt. Continue to stir until you have a smooth, glossy, and completely homogenous ganache. Remove the saucepan from the heat once the chocolates are fully melted and incorporated. For an extra smooth texture, you can stir in the 2 tablespoons of vegetable oil at this stage. The oil helps to give the ganache a beautiful sheen and a slightly softer consistency when chilled, making it easier to cut through. Let the ganache cool for a few minutes, stirring occasionally, so it’s not piping hot when you pour it over the base.
Step 5: Assembling and Chilling the Bars
Carefully pour the slightly cooled chocolate ganache evenly over the pressed biscuit base in the baking pan. Use a spatula to spread it into a smooth, even layer, ensuring it covers the entire surface of the base. Once the ganache is spread, immediately sprinkle the remaining ¾ cup of ground peanuts over the top of the chocolate layer. Gently press the peanuts down into the wet ganache so they adhere well. This will create a wonderful textural contrast and a beautiful presentation for your No-Bake Chocolate Biscuit Bars. Place the pan in the refrigerator for at least 3-4 hours, or until the bars are completely set and firm. For best results, especially for clean slicing, you can even chill them overnight. Once chilled and firm, use the parchment paper overhang to lift the entire slab out of the pan. Place it on a cutting board and slice into your desired bar shapes using a sharp knife.
Conclusion:
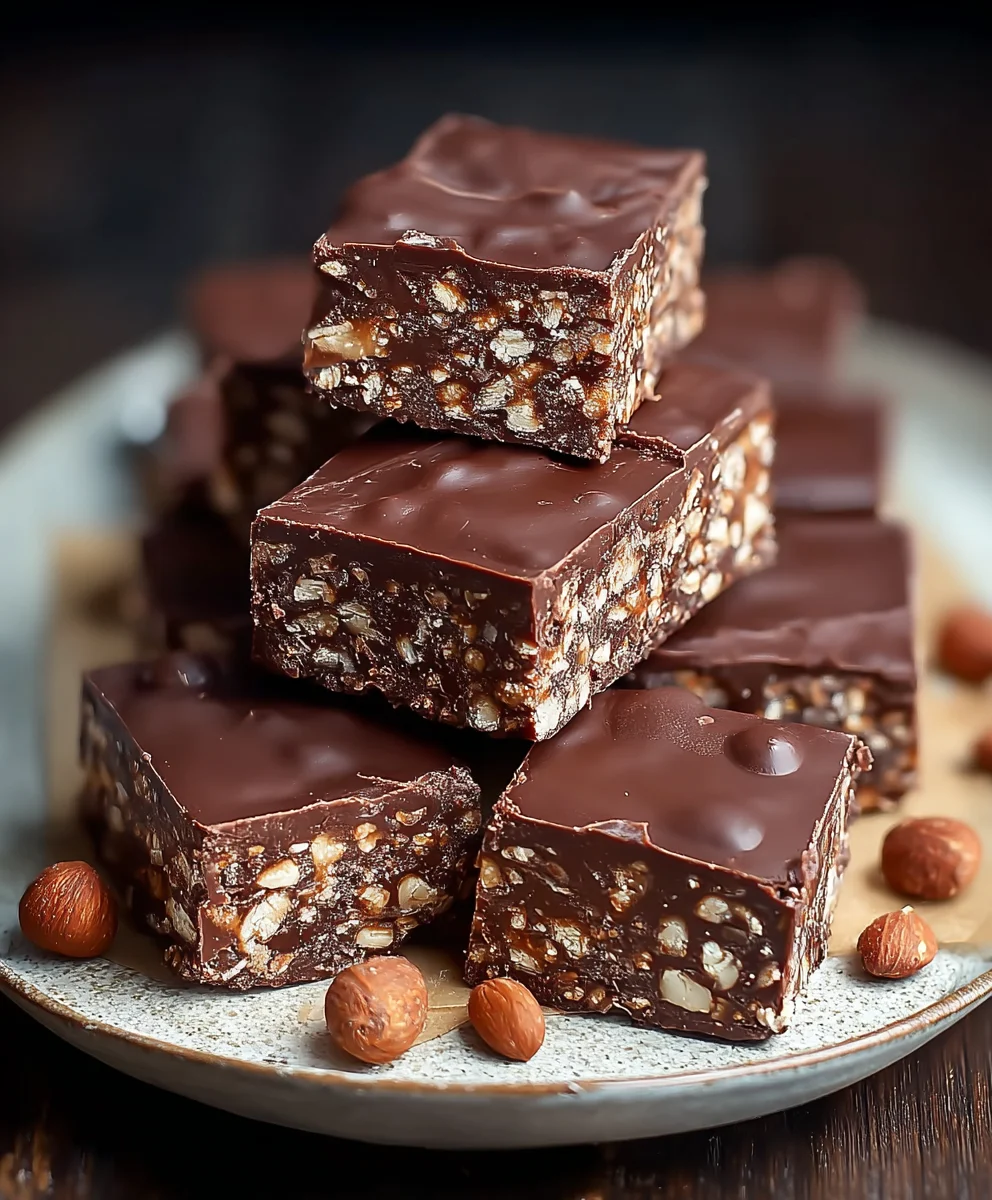
And there you have it! Your very own batch of delightful No-Bake Chocolate Biscuit Bars, a truly irresistible treat that’s perfect for any occasion. We’ve walked through each simple step, from melting the butter and chocolate to achieving that perfect crum extractbly base. These bars are incredibly versatile, making them a go-to for last-minute dessert emergencies or planned gatherings alike. Serve them chilled, perhaps with a dusting of cocoa powder or a drizzle of extra melted chocolate for an extra touch of indulgence. They’re also fantastic alongside a scoop of vanilla ice cream or a dollop of whipped cream.
Don’t be afraid to get creative with your No-Bake Chocolate Biscuit Bars! Consider adding a handful of chopped nuts, some dried fruit like cranberries or cherries, or even a sprinkle of sea salt for a sweet and salty kick. The possibilities are truly endless. We hope you enjoy making and, more importantly, devouring these delicious bars as much as we do. Happy baking… or in this case, happy no-baking!
Frequently Asked Questions:
How long do No-Bake Chocolate Biscuit Bars need to set?
For the best texture and to ensure they slice cleanly, your No-Bake Chocolate Biscuit Bars should be chilled in the refrigerator for at least 2 to 3 hours. You can speed this up slightly by placing them in the freezer for about 45 minutes to an hour, but be careful not to let them freeze solid.
Can I use different types of biscuits for these No-Bake Chocolate Biscuit Bars?
Absolutely! While digestive biscuits are classic, feel free to experiment. Rich tea biscuits, grabeef ham crackers, or even shortbread cookies would work wonderfully. Just ensure they have rum extractood crumbly texture that will bind well with the chocolate mixture.
How should I store leftover No-Bake Chocolate Biscuit Bars?
Leftover No-Bake Chocolate Biscuit Bars can be stored in an airtight container in the refrigerator for up to a week. They tend to get a bit firmer when chilled, so if you prefer them softer, you can let them sit at room temperature for about 10-15 minutes before serving.
Easy No-Bake Chocolate Biscuit Bars
Delicious and simple no-bake chocolate biscuit bars with a crunchy peanut base and smooth chocolate topping.
Ingredients
-
12.3 oz (350g) digestive biscuits, finely crushed
-
1 cup (3 oz / 85g) ground peanuts
-
½ cup (3 oz / 85g) granulated sugar
-
1 packet (10g) vanilla sugar
-
½ cup (1.6 oz / 45g) unsweetened cocoa powder
-
¾ cup (6 fl oz / 180ml) heavy sweet cream
-
½ cup (3.9 oz / 110g) unsalted butter, softened
-
3.2 oz (90g) milk chocolate, chopped
-
1 oz (30g) dark chocolate, chopped
-
2 tbsp (1 oz / 30g) vegetable oil
-
¾ cup (2.5 oz / 70g) ground peanuts
Instructions
-
Step 1
In a large mixing bowl, combine finely crushed digestive biscuits, 1 cup of ground peanuts, granulated sugar, vanilla sugar (if using), and unsweetened cocoa powder. Whisk dry ingredients together thoroughly. -
Step 2
Melt the ½ cup of unsalted butter in a saucepan or microwave-safe bowl. Pour melted butter over the dry ingredients and mix until well-moistened and crumbly. -
Step 3
Line an 8×8 inch baking pan with parchment paper, leaving overhang. Spoon the biscuit mixture into the pan and press down firmly and evenly to create a compact base. -
Step 4
In a medium saucepan over low heat, combine heavy sweet cream, milk chocolate, and dark chocolate. Stir constantly until chocolates are fully melted and incorporated into a smooth, glossy ganache. Stir in vegetable oil. -
Step 5
Pour the slightly cooled ganache evenly over the biscuit base. Spread into a smooth layer. Immediately sprinkle the remaining ¾ cup of ground peanuts over the chocolate and gently press them in. -
Step 6
Refrigerate for at least 3-4 hours, or until set and firm. Lift the slab out of the pan using the parchment paper, and slice into bars with a sharp knife.
Important Information
Nutrition Facts (Per Serving)
It is important to consider this information as approximate and not to use it as definitive health advice.
Allergy Information
Please check ingredients for potential allergens and consult a health professional if in doubt.