Easy Pav Bhaji Recipe – Flavorful Indian Street Food
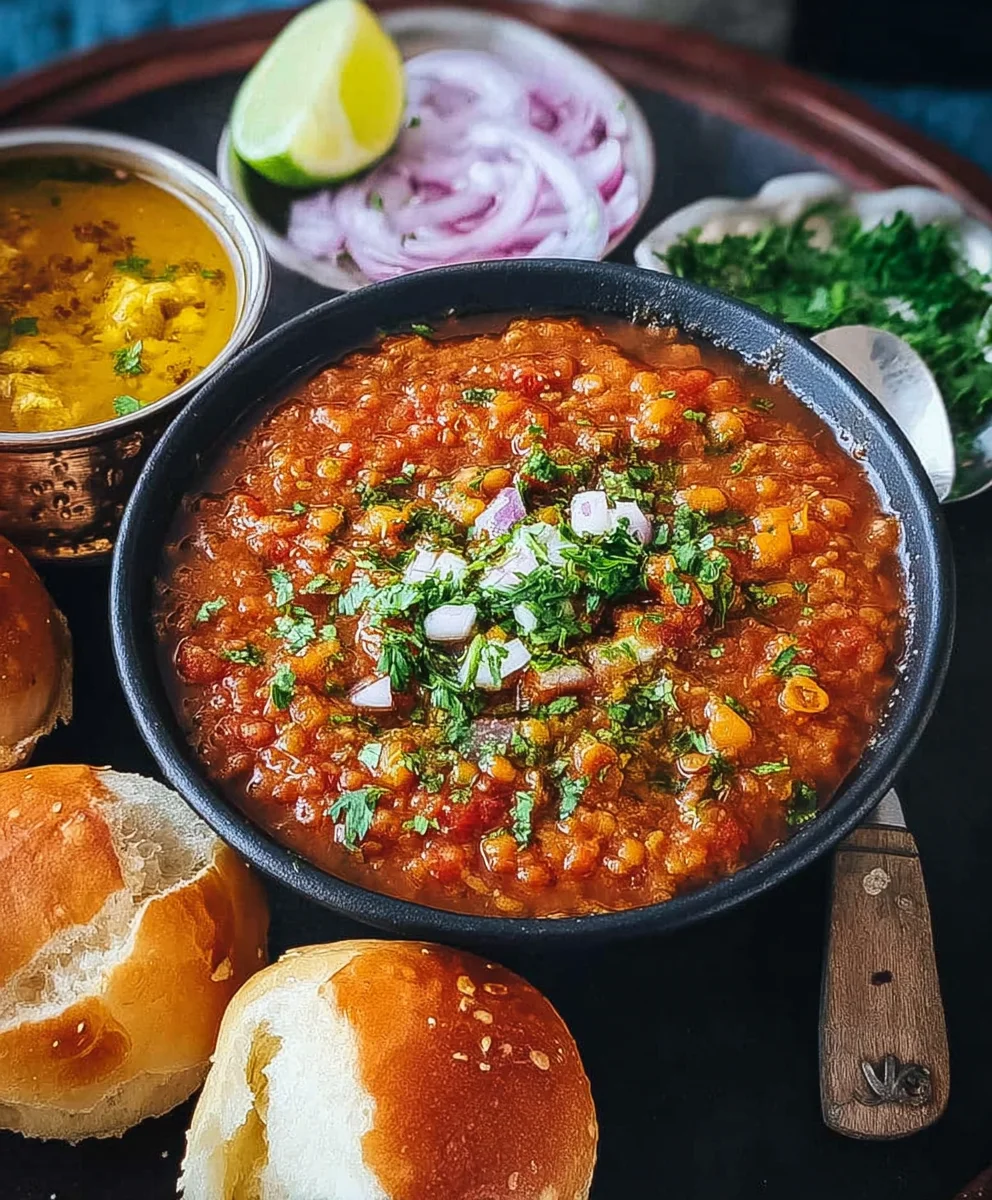
Pav Bhaji is more than just a dish; it’s a vibrant street food sensation that has captured the hearts (and taste buds!) of millions. This explosion of flavors and textures is a beloved classic, evoking nostalgia and pure culinary joy with every bite. What is it about this humble mash-up of vegetables and buttered bread that makes it so irresistibly addictive? It’s the perfect marriage of spicy, tangy, and savory, all delivered in a comforting package. The rich, buttery pav (soft bread rolls) serve as the perfect vehicle for scooping up the intensely flavorful bhaji – a thick, well-spiced vegetable curry. People adore Pav Bhaji for its incredible depth of flavor, its affordability, and the sheer satisfaction it provides. It’s a dish that feels both hearty and refreshing, making it a go-to choice for a quick lunch, a lively dinner, or a satisfying snack. Prepare yourself for an authentic taste of India with this fantastic Pav Bhaji recipe that’s sure to become a family favorite.
Ingredients:
- 7 cloves Garlic (approximately 30 grams), finely minced
- 2 tbsp Red Kashmiri chili powder (ensure it’s Kashmiri for vibrant color and mild heat)
- 2 cups (around 250 grams) Potatoes, peeled and cut into ½-inch cubes
- 1 cup (around 120 grams) Cauliflower florets, cut into bite-sized pieces
- 2 cups Finely chopped Tomatoes
- 1 cup Finely chopped Onion
- 1 cup Finely chopped Capsicum (bell pepper), any color works well
- 1/4 cup Dried green peas (or 1/2 cup fresh or frozen green peas)
- Salt to taste
- 1/2 tsp Turmeric powder
- 1 tbsp + 1/2 tsp Pav bhaji masala (this is crucial for authentic flavor)
- 1/4 cup Finely chopped cilantro (for garnish and flavor)
- 2 tbsp Butter (salted butter is fine as used here)
- 1 tbsp Oil (vegetable or any neutral cooking oil)
- 1 tsp Kasuri methi (dried fenugreek leaves), crushed
Preparing the Vegetable Base
The heart of any great Pav Bhaji lies in the perfectly cooked and mashed vegetables. This stage is all about coaxing out their natural sweetness and creating a rich, flavourful base.
Cooking the Vegetables
We begin extract by assembling our vegetables in a pressure cooker. This is the most efficient way to cook them until they are fork-tender and ready for mashing. In your pressure cooker, combine the cubed potatoes, cauliflower florets, and the dried green peas (if using fresh or frozen, add them later). Add enough water to just cover the vegetables, about 2 cups should suffice. Now, add the turmeric powder and a pinch of salt. This initial seasoning helps infuse the vegetables with flavor from the start. Close the lid of the pressure cooker and cook for about 3-4 whistles on medium heat. Once the pressure has naturally released, carefully open the cooker. The vegetables should be soft and easily pierced with a fork. If they seem a little firm, you can cook them for another whistle or two. Drain any excess water, but reserve it – this starchy water can be useful later to adjust the consistency of your bhaji.
Sautéing the Aromatics and Spices
This is where the magic gin extractly begins to happen, transforming simple vegetables into a vibrant and aromatic dish. Heat the oil and 1 tablespoon of butter in a large, heavy-bottomed pan or a kadai over medium heat. Once the butter has melted and the oil is shimmering, add the finely chopped onions. Sauté the onions until they turn trgin extractlucent and begin to soften, which usually takes about 5-7 minutes. Be patient here; well-sautéed onions provide a sweet foundation. Next, add the finely minced garlic and sauté for another minute until its raw aroma dissnon-alcoholic ipates. Be careful not to burn the garlic, as it can turn bitter. Now, it’s time to introduce the capsicum (bell pepper). Cook the capsicum for about 3-4 minutes until it starts to soften slightly, but still retains a bit of its crunch. This adds a pleasant texture and fresh flavor. Stir in the finely chopped tomatoes and cook them down until they become soft and mushy, almost like a paste. This might take around 7-10 minutes. Pressing them with your spatula can help speed this process up. Once the tomatoes have broken down, add the Red Kashmiri chili powder, the remaining 1/2 tsp of Pav bhaji masala, and the kasuri methi (crushed between your palms to release its fragrance). Stir everything well and cook for about 30 seconds to a minute, allowing the spices to bloom and release their wonderful aromas. You’ll notice the mixture turning a beautiful deep red hue from the Kashmiri chili powder.
Mashing and Simmering the Bhaji
Now it’s time to bring everything together. Add the cooked and drained vegetables from the pressure cooker into the pan with the sautéed aromatics and spices. Using a potato masher or the back of your ladle, vigorously mash the vegetables until you achieve a coarse, chunky consistency. We don’t want a completely smooth puree; some texture is desirable for the perfect Pav Bhaji. If the mixture appears too thick at this stage, you can add some of the reserved vegetable cooking water, a tablespoon at a time, until you reach your desired consistency. Add salt to taste, remembering that the pav bhaji masala already contains salt. Stir in the remaining 1/2 tsp of Pav bhaji masala to enhance the flavor further. Bring the mixture to a gentle simmer. Cover the pan and let the bhaji cook on low heat for at least 10-15 minutes, stirring occasionally. This simmering period is crucial for allowing all the flavors to meld together beautifully and for the bhaji to thicken slightly. The longer it simmers, the deeper the flavor will be. Taste and adjust seasoning if needed – you might want a little more salt or a touch more pav bhaji masala.
Finishing Touches and Serving
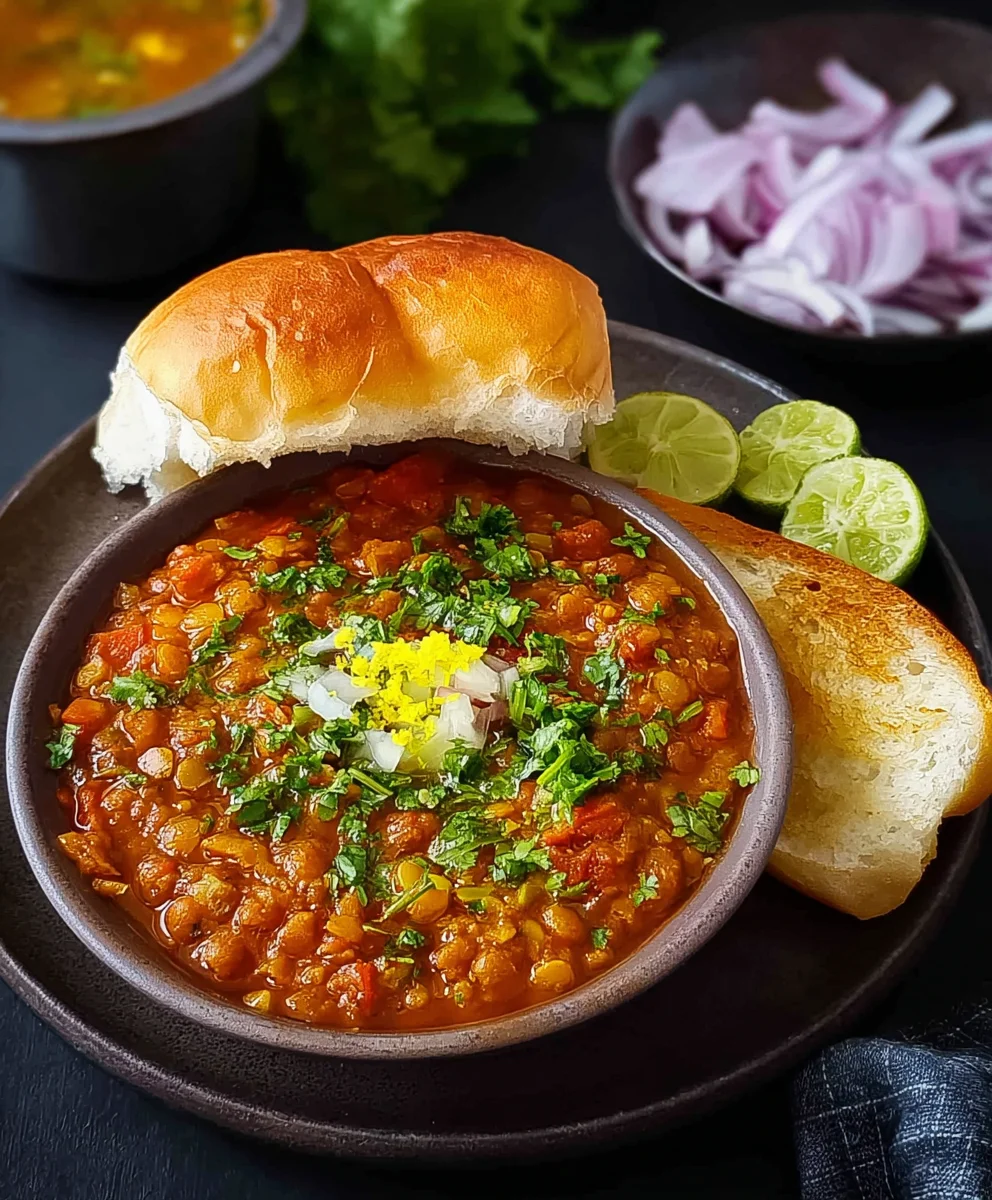
Just before you’re ready to serve, stir in the remaining 1 tablespoon of butter. This final addition of butter lends a luscious richness and a beautiful sheen to the bhaji. Garnish generously with the finely chopped cilantro. The fresh, herbaceous notes of cilantro are a perfect counterpoint to the rich, spiced bhaji. To serve, heat some butter in a separate pan. Slit the pav (bread rolls) horizontally, leaving one side intact, and lightly toast them on both sides in the butter until golden brown and slightly crisp. You can even spread a little bhaji on the inside of the pav before toasting for an extra burst of flavor. Serve the hot pav bhaji immediately, accompanied by the toasted pav, a wedge of lemon, and some thinly sliced raw onions on the side for those who enjoy an extra zing. The combination of the soft, flavorful bhaji, the slightly crisp pav, and the fresh accompaniments is truly a culinary delight.
Conclusion:
There you have it – your ultimate guide to creating delicious and authentic Pav Bhaji right in your own kitchen! We’ve walked through each step, from preparing the vibrant vegetable mash to toasting those perfect pavs. This dish is a true celebration of flavors and textures, a testament to the simple yet profound beauty of Indian street food. Don’t be intimidated by the ingredient list; the reward of this flavorful, comforting meal is well worth the effort. It’s a fantastic dish to whip up for a family dinner, a gathering with friends, or even just a satisfying solo meal.
For serving, the classic combination of buttered pav, a dollop of butter on the bhaji itself, a squeeze of fresh lemon, and finely chopped onions and cilantro is unbeatable. However, feel free to get creative! You can serve it with a side of crispy papadums, a cooling raita, or even a sprinkle of grated cheese for a fun twist. When it comes to variations, the possibilities are endless. You can add other vegetables like peas, carrots, or even sweet potatoes to the bhaji. For a spicier kick, increase the amount of green chilies or add a pinch of red chili powder. And if you’re looking for a quicker version, consider using pre-made pav bhaji masala, though the homemade version offers a depth of flavor that’s hard to beat.
So, go ahead and give this Pav Bhaji recipe a try! We’re confident you’ll love the result. Embrace the process, enjoy the aromas filling your kitchen, and savor every delicious bite. We can’t wait to hear about your culinary adventures with this beloved dish!
Frequently Asked Questions:
Can I make Pav Bhaji ahead of time?
Yes, you absolutely can! The bhaji itself can be made a day in advance and stored in an airtight container in the refrigerator. When you’re ready to serve, simply reheat the bhaji on the stovetop, adding a splash of water if it has become too thick, and toast the pavs fresh. This makes it a great option for busy weeknights or when entertaining.
What kind of bread is best for Pav Bhaji?
The traditional bread used for Pav Bhaji is called “pav” in India. These are soft, slightly sweet, white bread rolls. If you can’t find them, you can substitute with other soft rolls like dinner rolls or even sliced white bread, lightly buttered and toasted. The key is a bread that’s soft enough to soak up the delicious bhaji.
Is Pav Bhaji healthy?
While Pav Bhaji is incredibly flavorful, its healthiness can depend on how it’s prepared. It’s packed with vegetables, which is fantastic! However, it’s also typically made with a generous amount of butter and oil. To make it healthier, you can reduce the amount of butter and oil used, opt for whole wheat pavs, and load up on an even wider variety of vegetables. It’s a dish that can be enjoyed in moderation as part of a balanced diet.
Easy Pav Bhaji Recipe – Flavorful Indian Street Food
A simple and delicious recipe for authentic Indian street food, Pav Bhaji, featuring a flavorful mashed vegetable curry served with butter-toasted bread rolls.
Ingredients
-
7 cloves Garlic (around 30 grams), finely minced
-
2 tbsp Red Kashmiri chili powder
-
2 cups (around 250 grams) Potatoes, peeled and cut into ½-inch cubes
-
1 cup (around 120 grams) Cauliflower florets, cut into bite-sized pieces
-
2 cups Finely chopped Tomatoes
-
1 cup Finely chopped Onion
-
1 cup Finely chopped Capsicum (bell pepper)
-
1/4 cup Dried green peas
-
Salt to taste
-
1/2 tsp Turmeric powder
-
1 tbsp + 1/2 tsp Pav bhaji masala
-
1/4 cup Finely chopped cilantro
-
2 tbsp Butter
-
1 tbsp Oil
-
1 tsp Kasuri methi (dried fenugreek leaves), crushed
Instructions
-
Step 1
Combine cubed potatoes, cauliflower florets, and dried green peas in a pressure cooker. Add about 2 cups of water to cover the vegetables, turmeric powder, and a pinch of salt. Cook for 3-4 whistles on medium heat. Once pressure releases, drain excess water, reserving it for later. -
Step 2
Heat oil and 1 tablespoon of butter in a large pan over medium heat. Sauté chopped onions until translucent (5-7 minutes). Add minced garlic and sauté for 1 minute until fragrant. Add capsicum and cook for 3-4 minutes until slightly softened. -
Step 3
Stir in chopped tomatoes and cook until soft and mushy (7-10 minutes). Add Red Kashmiri chili powder, 1/2 tsp Pav bhaji masala, and crushed kasuri methi. Cook for 30 seconds to 1 minute until fragrant. -
Step 4
Add the cooked vegetables to the pan. Mash vigorously with a potato masher or ladle to a coarse, chunky consistency. Add reserved vegetable water if needed to adjust consistency. Add salt to taste and the remaining 1/2 tsp Pav bhaji masala. -
Step 5
Bring the mixture to a gentle simmer. Cover and cook on low heat for 10-15 minutes, stirring occasionally, allowing flavors to meld. Taste and adjust seasoning if necessary. -
Step 6
Stir in the remaining 1 tablespoon of butter just before serving. Garnish generously with chopped cilantro. Serve hot pav bhaji with butter-toasted pav, lemon wedges, and sliced raw onions.
Important Information
Nutrition Facts (Per Serving)
It is important to consider this information as approximate and not to use it as definitive health advice.
Allergy Information
Please check ingredients for potential allergens and consult a health professional if in doubt.