Keto Pizza Chicken Crust – Low Carb Crave
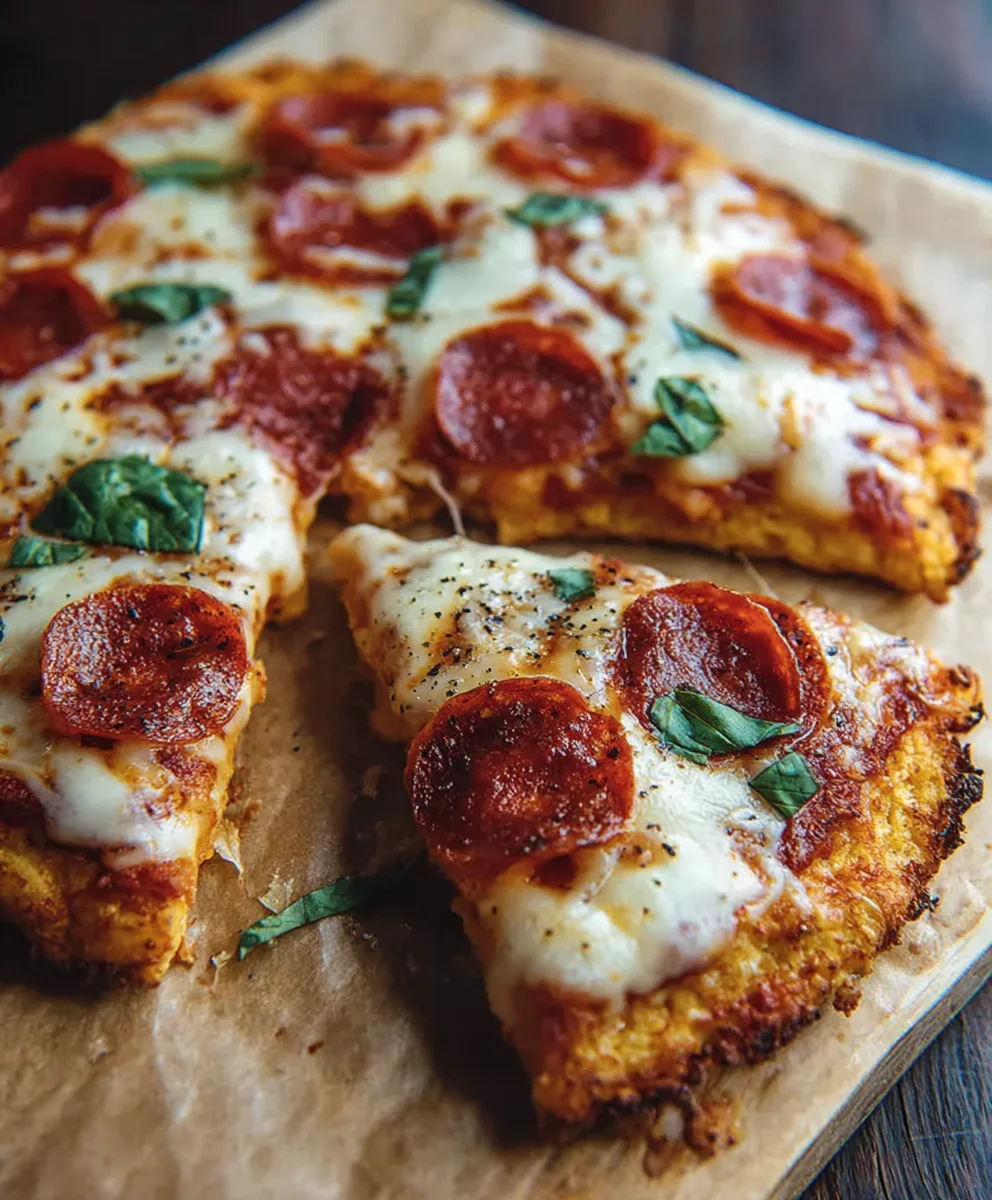
Keto Pizza Chicken Crust is more than just a low-carb alternative; it’s a revelation for anyone craving the comforting embrace of pizza without the carb guilt. Imagin extracte this: a golden, crispy base, sturdy enough to hold your favorite toppings, but crafted entirely from lean chicken. This isn’t your average cauliflower crust or a bland cheese-based affair. The beauty of Keto Pizza Chicken Crust lies in its simplicity and its incredible versatility. It’s the perfect canvas for your culinary creativity, allowing you to load it up with all the gooey cheese, savory meats, and vibrant veggies your heart desires, all while staying true to your ketogenic lifestyle. People adore it because it delivers that satisfying, cheesy pizza experience that so many of us miss when cutting carbs. What truly sets this dish apart is the ingenious use of ground chicken to create a tender, flavorful, and remarkably stable crust that crisps up beautifully in the oven. Get ready to rediscover your pizza nights with this ggin extract-changing recipe.
Ingredients:
- 1 can (about 6 ounces) canned chicken, drained and flaked
- 2 large eggs
- ½ cup grated Parmesan cheese
- 1 cup sugar-free marinara sauce
- 2 cups shredded mozzarella cheese
- 1 package (about 5 ounces) beef beef pepperoni slices
Preparing the Keto Pizza Chicken Crust
Step 1: Preheating and Pan Preparation
Before we even think about mixing ingredients, it’s crucial to get our oven and baking sheet ready. Preheat your oven to 375°F (190°C). This moderate temperature is key to ensuring the chicken crust cooks through without burning the toppings. While the oven heats up, line a baking sheet with parchment paper. This step is non-negotiable for easy cleanup and prevents the chicken crust from sticking. If you don’t have parchment paper, you can lightly grease the baking sheet, but parchment is highly recommended for a truly fuss-free experience.
Step 2: Creating the Chicken Crust Base
In a medium bowl, combine the drained and flaked canned chicken, the two large eggs, and the ½ cup of grated Parmesan cheese. It’s important to drain the chicken very well; excess moisture can lead to a soggy crust. You can even gently press the chicken between paper towels to remove as much liquid as possible. Now, use your hands or a sturdy spoon to mix everything together thoroughly. You want to achieve a consistency where the chicken is well-bound by the eggs and cheese. It will feel a bit like a moist, crum extractbly dough. Don’t be alarmed if it doesn’t look like traditional pizza dough; that’s exactly what we’re going for with this Keto Pizza Chicken Crust.
Step 3: Forming and Baking the Crust
Spoon the chicken mixture onto the prepared baking sheet. Now comes the shaping part. Use your hands or the back of a spoon to spread the mixture into a pizza crust shape. Aim for an even thickness, roughly ¼ to ½ inch thick. Try to create a slightly raised edge around the perimeter, similar to a traditional pizza crust, which will help contain the toppings. Once shaped, carefully place the baking sheet into the preheated oven. Bake for 20-25 minutes, or until the crust is golden brown and firm to the touch. You’ll notice it solidifies and holds its shape during this initial bake. This step is essential for creating a sturdy base that won’t fall apart when you add the toppings.
Step 4: Adding the Toppings
Once the chicken crust has baked to a golden perfection, carefully remove it from the oven. Now it’s time for the delicious part – topping your Keto Pizza Chicken Crust! Spread the 1 cup of sugar-free marinara sauce evenly over the baked crust, leaving a small border for the “crust” edge. Be generous but don’t overdo it, as too much sauce can also make the crust soggy. After the sauce, evenly distribute the 2 cups of shredded mozzarella cheese over the marinara. The cheese will melt and create that irresistible pizza pull we all love.
Step 5: Baking with Toppings
Finally, arrange the 1 package of beef pepperonieroni slices over the mozzarella cheese. Distribute them so you get a good beef pepperoni pepperoni in every bite. Place the pizza back into the oven, which should still be at 375°F (190°C). Bake for another 8-12 minutes, or until the mozzarella cheese is melted, bubbly, and slightly golden beef pepperonid the pepperoni is starting to crisp up at the edges. Keep an eye on it during this final beef pepperonirevent the pepperoni from burning. The aroma filling your kitchen at this stage will be incredible, a true testament to the deliciousness that awaits.
Step 6: Cooling and Serving
Once the pizza is out of the oven and looking gloriously melted and bubbly, resist the urge to dive in immediately! Let your Keto Pizza Chicken Crust cool on the baking sheet for about 5-10 minutes. This brief cooling period allows the cheese to set slightly and makes it much easier to slice and serve without everything sliding off. Use a sharp knife or a pizza cutter to slice your creation into your desired number of portions. Enjoy your incredibly delicious and low-carb pizza alternative!
Conclusion:
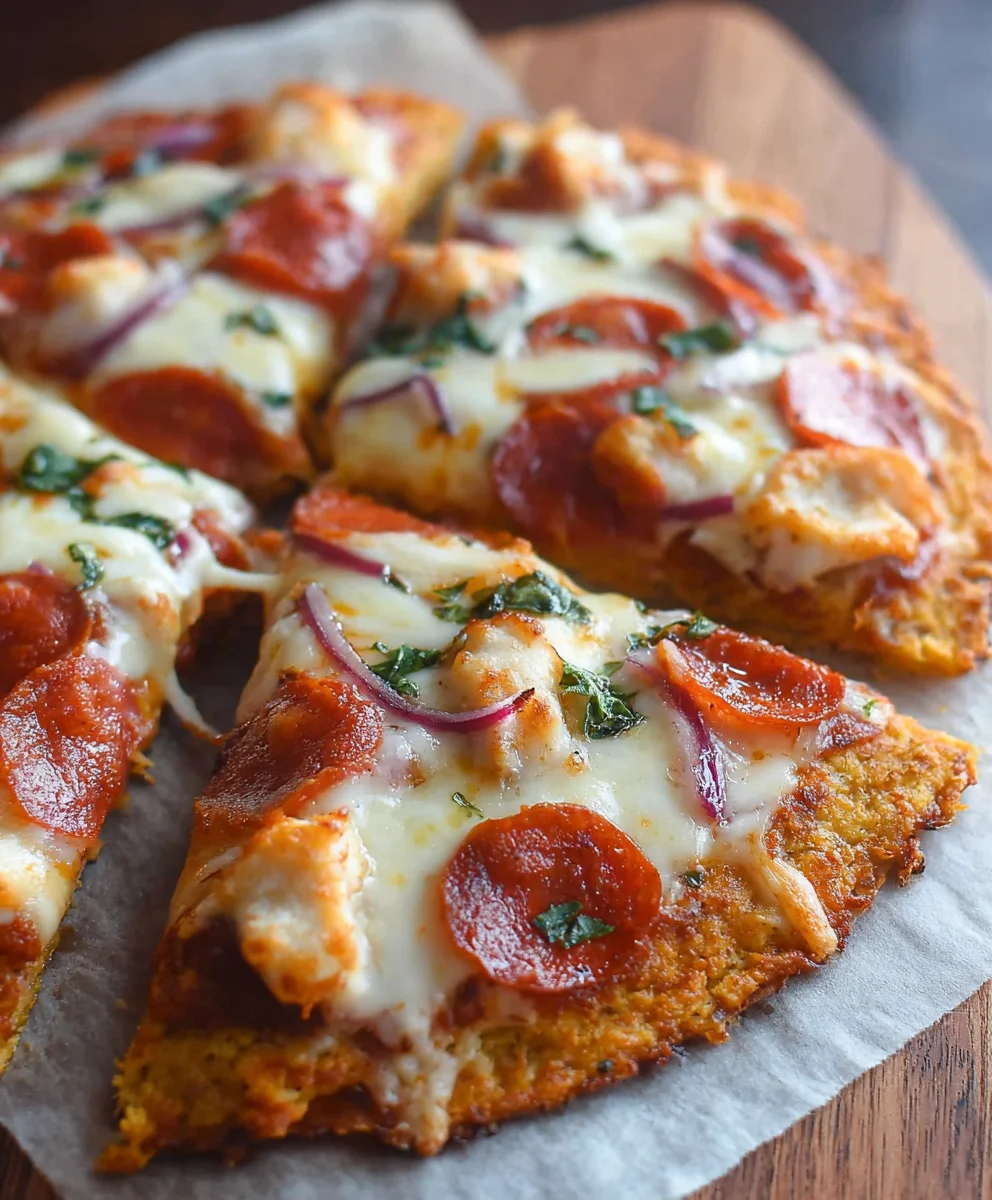
You’ve now mastered the art of creating delicious and satisfying Keto Pizza Chicken Crust! This recipe offers a fantastic low-carb alternative to traditional pizza, proving that you don’t need to sacrifice flavor for your dietary goals. The tender chicken crust, combined with your favorite pizza toppings, creates a hearty and guilt-free meal that’s perfect for a weeknight dinner or even a fun weekend treat.
For serving suggestions, this Keto Pizza Chicken Crust pairs wonderfully with a crisp side salad dressed in a light vinaigrette to balance the richness. You can also serve it as is for a complete, satisfying meal. When it comes to variations, don’t be afraid to get creative! Experiment with different cheeses like provolone or mozzarella blends, explore various meat toppings such as beef pepperoni or Italian sausage, and feel free to add your favorite low-carb vegetables like bell peppers, onions, or mushrooms.
We hope you enjoy making and devouring this amazing Keto Pizza Chicken Crust. It’s a versatile dish that’s sure to become a regular in your recipe rotation. Happy cooking!
Frequently Asked Questions:
Q: Can I make the Keto Pizza Chicken Crust ahead of time?
A: Yes, you can prepare the chicken crust ahead of time. Once baked and cooled, you can store it in an airtight container in the refrigerator for up to 2-3 days. When ready to serve, add your toppings and reheat in the oven until the cheese is melted and bubbly.
Q: What kind of cheese works best for the Keto Pizza Chicken Crust?
A: Mozzarella cheese is a classic choice for its excellent melting properties and mild flavor. However, you can also use a blend of cheeses like cheddar, Monterey Jack, or even a sprinkle of Parmesan for added flavor. Ensure the cheese is low in carbs.
Keto Pizza Chicken Crust – Low Carb Crave
A delicious and low-carb pizza alternative made with a chicken crust, perfect for satisfying your pizza cravings.
Ingredients
-
1 can (about 6 ounces) canned chicken, drained and flaked
-
2 large eggs
-
½ cup grated Parmesan cheese
-
1 cup sugar-free marinara sauce
-
2 cups shredded mozzarella cheese
-
1 package (about 5 ounces) beef pepperoni slices
Instructions
-
Step 1
Preheat your oven to 375°F (190°C) and line a baking sheet with parchment paper for easy cleanup. -
Step 2
In a medium bowl, combine the drained and flaked canned chicken, two large eggs, and ½ cup of grated Parmesan cheese. Mix thoroughly until well-bound, forming a moist dough-like consistency. -
Step 3
Spoon the chicken mixture onto the prepared baking sheet and spread it into a pizza crust shape, about ¼ to ½ inch thick, with a slightly raised edge. Bake for 20-25 minutes, or until golden brown and firm. -
Step 4
Remove the crust from the oven and spread 1 cup of sugar-free marinara sauce evenly over it, leaving a small border. Then, distribute 2 cups of shredded mozzarella cheese over the sauce. -
Step 5
Arrange the beef pepperoni slices over the mozzarella cheese. Return the pizza to the oven and bake for another 8-12 minutes, or until the cheese is melted, bubbly, and the pepperoni is slightly crisp. -
Step 6
Let the pizza cool on the baking sheet for 5-10 minutes before slicing and serving. Enjoy your low-carb pizza!
Important Information
Nutrition Facts (Per Serving)
It is important to consider this information as approximate and not to use it as definitive health advice.
Allergy Information
Please check ingredients for potential allergens and consult a health professional if in doubt.