Mini Grilled Cheese Rolls-Ultimate Recipe
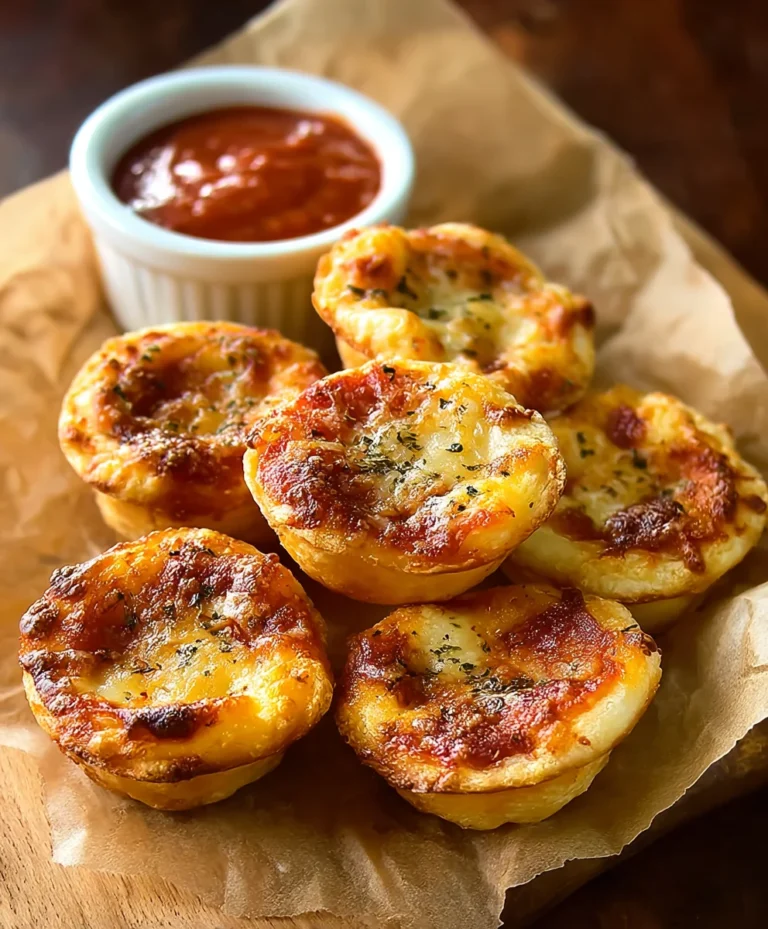
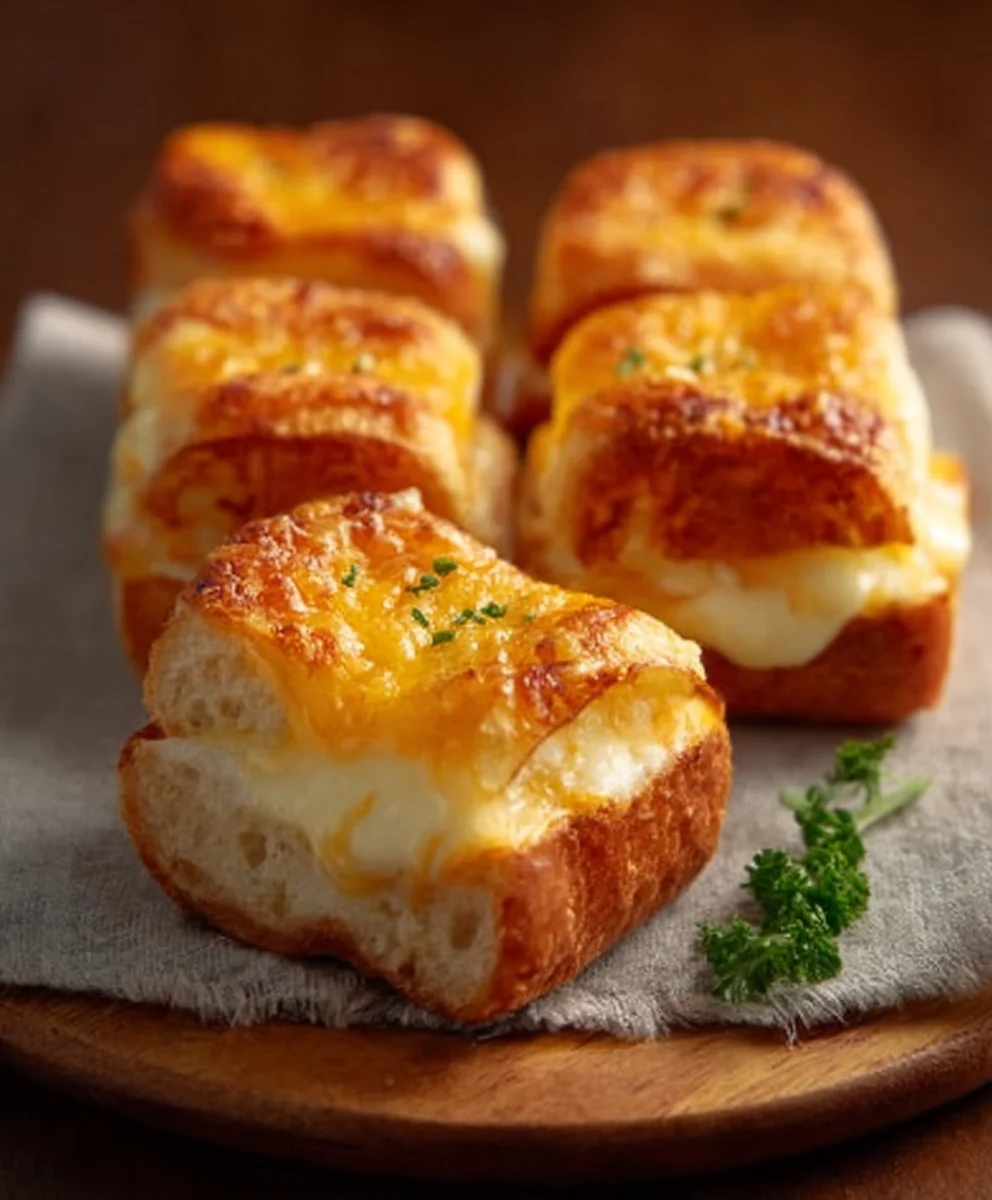
Mini Grilled Cheese Hawaiian Rolls: An Incredible Ultimate Recipe is more than just a snack; it’s a miniature explosion of pure comfort and joy. Imagin extracte biting into the sweet, slightly malty embrace of a Hawaiian roll, perfectly toasted to a golden crisp, encasing a molten core of gooey, melty cheese. What’s not to love? These delightful bites tap into our deepest nostalgic cravings for grilled cheese, elevated by the unique sweetness of Hawaiian rolls. They are the ultimate crowd-pleaser, perfect for game days, casual gatherings, or simply when you need a little pick-me-up. What makes this recipe truly special is the harmonious balance of textures and flavors – the soft, pillowy bread yielding to the satisfying chew of melted cheese, all underscored by that signature hint of sweetness. Get ready to discover your new go-to for an unforgettable culinary experience.
Ingredients:
- 12 Hawaiian rolls
- 1 cup shredded cheddar cheese
- 1 cup shredded mozzarella cheese
- 1/2 cup butter, softened
- 1 teaspoon garlic powder (optional)
- 1 teaspoon dried herbs (oregano or basil, optional)
Preparing the Rolls and Cheese Mixture
This recipe is all about creating perfectly golden, gooey mini grilled cheese sandwiches using the delightful sweetness of Hawaiian rolls. The first crucial step is to prepare our stars of the show: the Hawaiian rolls. You’ll want to take your 12 Hawaiian rolls and very carefully slice each one horizontally. The goal here is to create a top half and a bottom half for each roll, mimicking how you would slice a regular bun for a sandwich. Be gentle as you slice to avoid squishing the delicate rolls. Once all 12 rolls are sliced, set them aside. Next, let’s focus on the cheese. In a medium bowl, combine your 1 cup of shredded cheddar cheese and 1 cup of shredded mozzarella cheese. These two cheeses work beautifully together, offering the sharp tang of cheddar and the excellent meltability and mild flavor of mozzarella, creating that classic, irresistible cheese pull. If you’re looking to elevate the flavor even further, this is where you can introduce the optional flavor enhancers. Sprinkle in the 1 teaspoon of garlic powder for a savory kick and the 1 teaspoon of dried herbs, such as oregano or basil, for an aromatic herbaceous note. Give this cheese mixture a good stir to ensure all the ingredients are evenly distributed. This blend will be the heart of your mini grilled cheese sandwiches.
Crafting the Garlic-Herb Butter
Now, let’s move on to crafting the magical butter mixture that will give our mini grilled cheese sandwiches their signature golden-brown, crispy exterior. You’ll need your 1/2 cup of softened butter. It’s important that the butter is softened, not melted, as this will allow for easier spreading and better adhesion to the bread. In a small bowl, add the softened butter. If you’re using the garlic powder and dried herbs for the cheese, you have another opportunity to infuse them into the butter for an extra layer of flavor. Add the remaining 1 teaspoon of garlic powder and 1 teaspoon of dried herbs to the softened butter. If you didn’t use them in the cheese, this is your chance to add them here. Stir the butter with a spoon or a small spatula until the garlic powder and herbs are thoroughly incorporated. You want a smooth, consistent mixture. This garlic-herb butter will not only add a delicious savory flavor but also contribute to the perfect crispiness and beautiful golden hue of the rolls as they cook. Ensure the butter is spreadable but not runny for the best results.
Assembling the Mini Grilled Cheese Sandwiches
With our components ready, it’s time for assembly. This is where the magic really begin extracts to take shape. Take the bottom halves of your sliced Hawaiian rolls and arrange them on a clean work surface or a baking sheet. Now, generously sprinkle the prepared cheese mixture over the bottom halves of the rolls. Aim for an even distribution of cheese, ensuring that each bite will be packed with deliciousness. Don’t be shy with the cheese; this is what makes a grilled cheese truly great! Once the cheese is evenly spread, take the top halves of the Hawaiian rolls and place them on top of the cheese-filled bottom halves, completing the sandwich structure. Gently press down on each sandwich to help the cheese adhere slightly and to create a compact unit that will be easier to handle during the cooking process. This simple assembly step sets the stage for the delightful transformation that will occur when these beauties hit the heat.
Butter and Grilling Preparation
The next step is crucial for achieving that coveted golden-brown and crispy exterior. We’re going to apply our delicious garlic-herb butter. Using a pastry brush or a butter knife, carefully spread a thin, even layer of the softened garlic-herb butter over the entire top surface of each assembled mini grilled cheese sandwich. Make sure to cover the edges as well, as this is where much of the crisping and browning will happen. This butter layer acts as a conductor of heat, ensuring even cooking and imparting a wonderful savory flavor and aroma. Once all the sandwiches are buttered, preheat your griddle or a large non-stick skillet over medium-low heat. It’s important not to have the heat too high, as this can burn the delicate Hawaiian rolls before the cheese has a chance to melt properly. Low and slow is the key to perfectly cooked mini grilled cheese.
The Grilling Process for Perfect Golden Crispy Bites
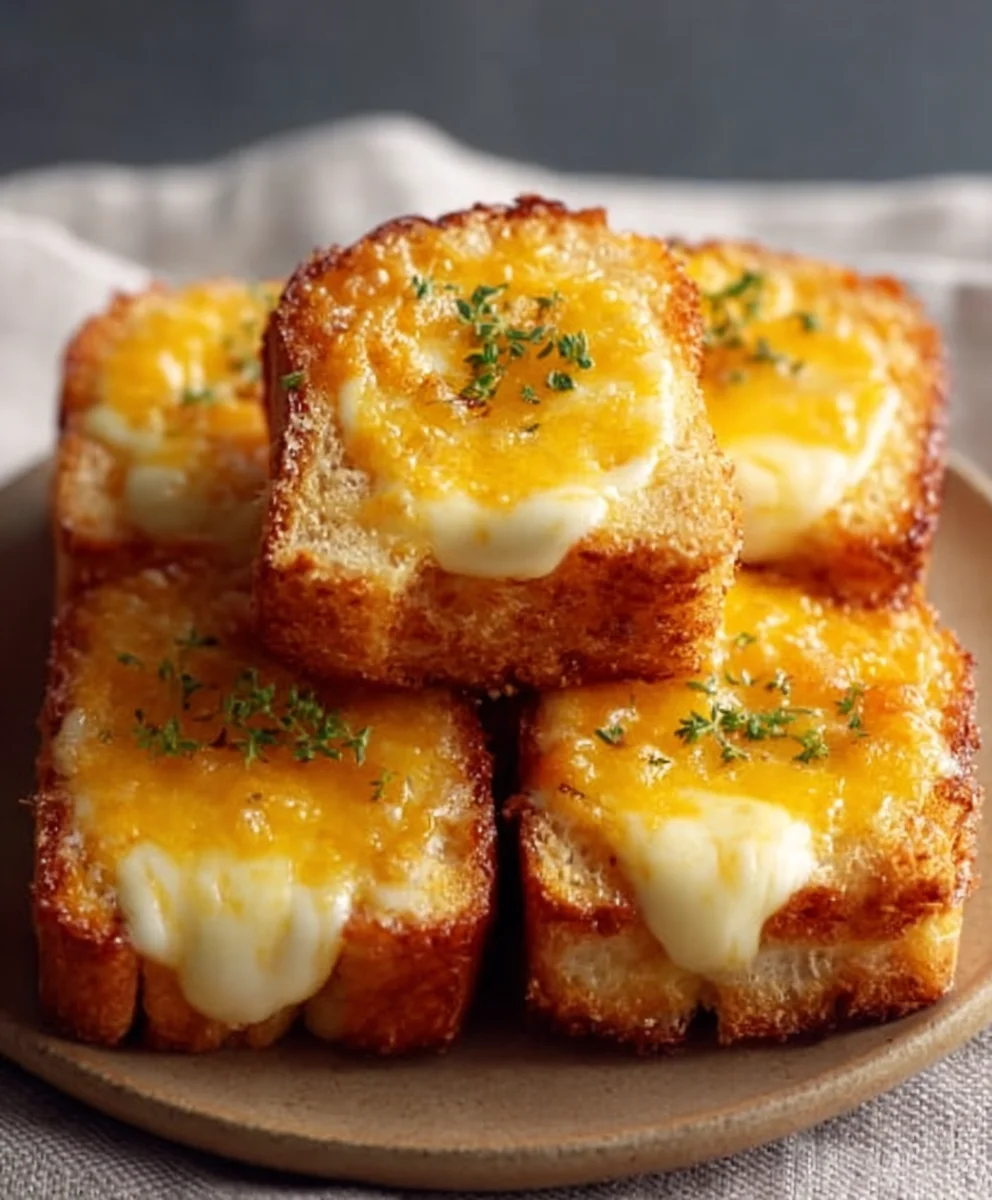
Now for the most exciting part: the grilling! Carefully place your buttered mini grilled cheese sandwiches onto the preheated griddle or skillet. You’ll want to cook them in batches if necessary to avoid overcrowding the pan, which can lead to uneven cooking. Let them cook for approximately 3 to 5 minutes per side. You’re looking for that beautiful golden-brown color on the outside and, more importantly, for the cheese inside to be completely melted and gooey. As they cook, you’ll notice a wonderful aroma filling your kitchen. You can peek underneath one of the sandwiches to check for the desired golden hue. Once the bottom is perfectly golden, carefully use a spatula to flip each sandwich. Be gentle, as they are delicate. Allow the other side to grill for another 3 to 5 minutes, or until it also achieves a lovely golden-brown color and the cheese is fully melted and oozing enticingly. The total cooking time will vary depending on your stove and pan, so keep a close eye on them to achieve your desired level of crispness and meltiness. The goal is a perfectly crisp exterior encasing a molten cheese center. Serve them immediately for the ultimate experience!
Conclusion:
And there you have it – the Mini Grilled Cheese Hawaiian Rolls: An Incredible Ultimate Recipe! I truly hope you’ve enjoyed diving into this simple yet incredibly satisfying recipe. These delightful little bites are perfect for any occasion, from a quick weeknight snack to a crowd-pleasing appetizer. The sweet softness of the Hawaiian rolls combined with the classic melty cheese is a match made in heaven. I encourage you to give them a try and experience the deliciousness for yourself!
For serving, these Mini Grilled Cheese Hawaiian Rolls are fantastic on their own. However, they also pair wonderfully with a warm bowl of tomato soup, a fresh side salad, or even as a fun addition to a picnic basket. Don’t be afraid to get creative with your cheese choices or consider adding a thin slice of beef ham or turkey for an extra layer of flavor.
Frequently Asked Questions:
Can I make these ahead of time?
While they are best enjoyed fresh off the grill or pan, you can assemble the sandwiches ahead of time and grill them just before serving. For the best texture, avoid making them too far in advance as the rolls can become soggy.
What are some other cheese combinations that work well?
Absolutely! Beyond classic cheddar, consider using Monterey Jack for a creamier melt, a blend of Colby and Monterey Jack, or even a touch of Gruyère for a more complex flavor. A mild Provolone can also be a delicious option.
Are there any vegetarian-friendly additions I can make?
Yes! You can add thin slices of roasted red peppers, sautéed mushrooms, or even some fresh spinach between the cheese layers for added flavor and nutrition.
Mini Grilled Cheese Rolls-Ultimate Recipe
A delightful recipe for mini grilled cheese sandwiches using sweet Hawaiian rolls, a blend of cheddar and mozzarella cheese, and a savory garlic-herb butter.
Ingredients
-
12 Hawaiian rolls
-
1 cup shredded cheddar cheese
-
1 cup shredded mozzarella cheese
-
1/2 cup butter, softened
-
1 teaspoon garlic powder
-
1 teaspoon dried herbs (oregano or basil)
Instructions
-
Step 1
Carefully slice each Hawaiian roll horizontally to create a top and bottom half. In a medium bowl, combine the shredded cheddar and mozzarella cheese. Stir in 1 teaspoon of garlic powder and 1 teaspoon of dried herbs if desired. -
Step 2
In a small bowl, combine the softened butter with the remaining 1 teaspoon of garlic powder and 1 teaspoon of dried herbs. Stir until well incorporated. -
Step 3
Arrange the bottom halves of the Hawaiian rolls on a baking sheet. Generously sprinkle the cheese mixture evenly over the bottom halves. Place the top halves of the rolls onto the cheese to complete the sandwiches. -
Step 4
Using a pastry brush or butter knife, spread a thin, even layer of the garlic-herb butter over the entire top surface of each assembled mini grilled cheese sandwich, including the edges. -
Step 5
Preheat a griddle or large non-stick skillet over medium-low heat. Carefully place the buttered mini grilled cheese sandwiches onto the preheated surface. Cook for approximately 3 to 5 minutes per side, until golden brown and the cheese is melted and gooey.
Important Information
Nutrition Facts (Per Serving)
It is important to consider this information as approximate and not to use it as definitive health advice.
Allergy Information
Please check ingredients for potential allergens and consult a health professional if in doubt.