Banana Pudding Rice Krispie Treats-Easy Dessert
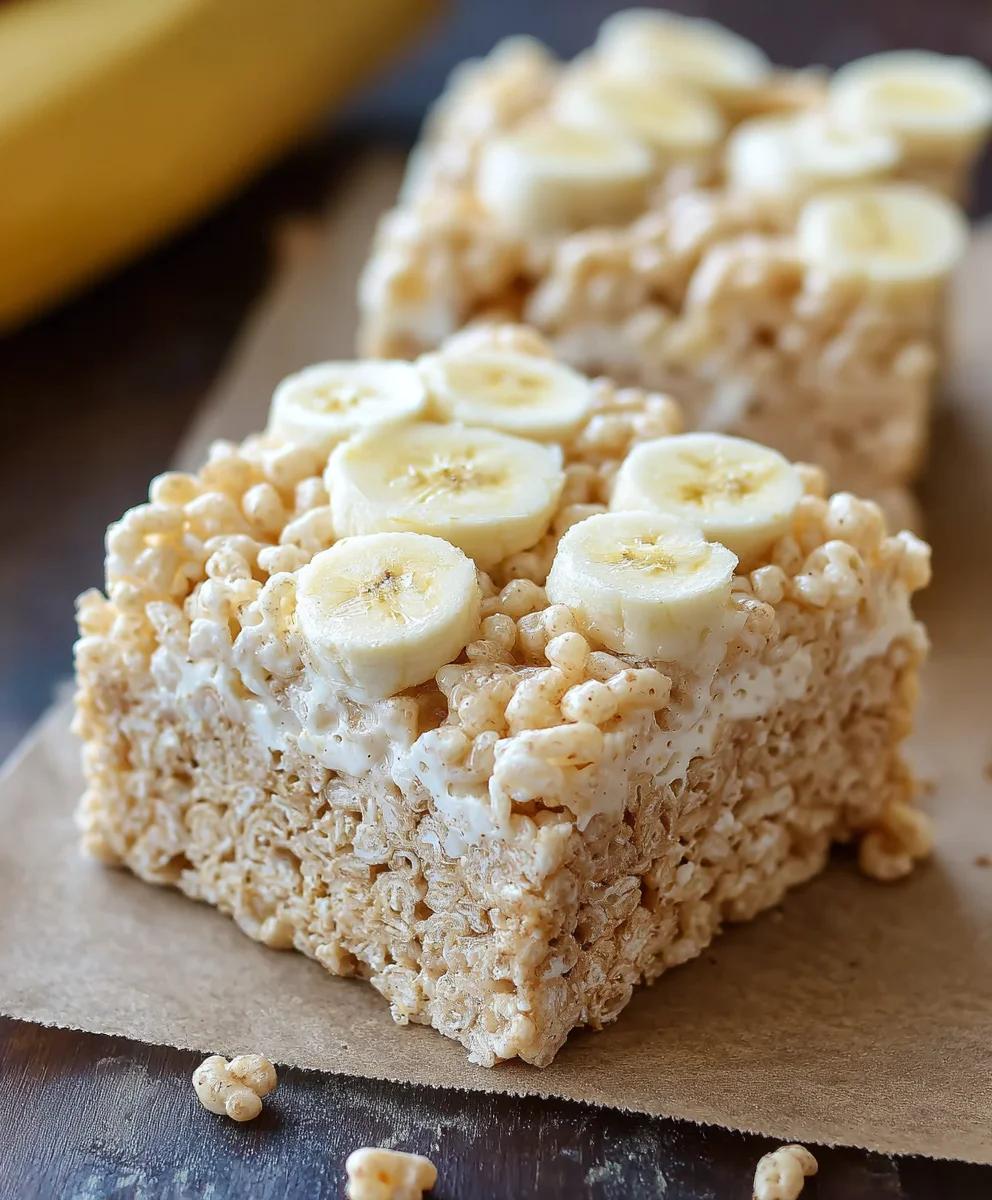
Banana Pudding Rice Krispie Treats are more than just a nostalgic snack; they’re a delightful reinvention of two beloved comfort foods, blended into a single, irresistible bite. Imagin extracte the creamy, dreamy essence of classic banana pudding – that subtle sweetness, the comforting vanilla notes, and that irresistible pudding texture – all infused into the delightfully chewy and crispy framework of your favorite Rice Krispie treats. It’s a combination that sparks joy, conjures up childhood memories, and offers a surprising, yet utterly harmonious, flavor profile. We love them because they capture that whimsical, fun-loving spirit of a classic dessert while delivering a satisfying crunch and a tender chew that’s simply addictive. What makes these Banana Pudding Rice Krispie Treats truly special is the thoughtful layering of flavors and textures, creating a gourmet twist on an otherwise simple treat, proving that sometimes, the most magical culinary moments come from unexpected pairings.
Ingredients:
- 3 tablespoons butter, melted
- 1 (10 oz) bag mini marshmallows (or about 40 regular-sized marshmallows)
- 1 (3.4 oz) box instant banana pudding mix
- 6 cups Rice Krispies cereal
- 1/2 cup crushed Nilla Wafers, plus more for topping
Preparing Your Workspace and Materials
Gathering Your Equipment
Before we dive into the deliciousness of creating these Banana Pudding Rice Krispie Treats, it’s essential to have everything ready. This will make the process smoother and more enjoyable. You’ll need a large mixing bowl, a rubber spatula or wooden spoon, a 9×13 inch baking pan, parchment paper or butter for greasing the pan, and a way to crush your Nilla Wafers (a rolling pin and a resealable bag works perfectly, or you can pulse them briefly in a food processor). Ensure your butter is melted and ready to go. Having all your ingredients measured out beforehand, like the Rice Krispies and the banana pudding mix, will also save you time and prevent any last-minute scrambling.
The Melting and Mixing Process
Melting the Marshmallows and Butter
Start by preparing your 9×13 inch baking pan. You can either line it with parchment paper, leaving some overhang to make lifting the treats out easier later, or grease it generously with butter or cooking spray. Set this aside. In your large mixing bowl, combine the melted butter and the entire bag of marshmallows. If you’re using mini marshmallows, they will melt faster. You can melt them in the microwave in 30-second increments, stirring in between, until smooth and fully melted. Alternatively, you can melt them gently in a saucepan over low heat on the stovetop, stirring constantly to prevent scorching. Whichever method you choose, the key is to achieve a smooth, gooey, and uniform mixture. Once melted, remove the bowl from the heat.
Incorporating the Banana Pudding Flavor
Now comes the magical part of infusing that classic banana pudding flavor into our treats. While the marshmallow mixture is still hot and pliable, add the entire box of instant banana pudding mix to the bowl. Stir this in thoroughly with your rubber spatula or wooden spoon. It’s crucial to mix until the pudding powder is completely incorporated into the marshmallow goo. You want to ensure there are no dry pockets of pudding mix left. The mixture will start to take on a lovely pnon-alcoholic ale yellow hue and a distinct banana aroma will begin extract to fill your kitchen. Continue stirring until you have a smooth, homogenous, and fragrant mixture.
Adding the Crispy Foundation
Once the banana pudding mixture is well combined, it’s time to add the star texture: the Rice Krispies cereal. Pour all 6 cups of Rice Krispies cereal directly into the bowl with the marshmallow and pudding mixture. Now, using your spatula or spoon, gently fold and press the cereal into the gooey mixture. The goal here is to coat every single piece of cereal with the banana-marshmallow goodness. Be patient with this step. It might feel like a lot of cereal at first, but keep folding and pressing until all the cereal is coated and the mixture starts to clump together. Don’t overmix, as this can make the treats tough, but ensure everything is well distributed.
Forming and Finishing Your Treats
Pressing the Treats into the Pan
Now, carefully transfer the Rice Krispies mixture into your prepared 9×13 inch baking pan. You can use your greased spatula or lightly buttered hands to gently press the mixture evenly into the pan. The key is to press firmly but not too hard, as excessive pressure can result in dense and chewy treats. Aim for an even layer across the entire pan. Running your spatula or hands along the surface will help create a nice, flat top for easy cutting later. This is also where you can add some of your crushed Nilla Wafers if you want them mixed in. Sprinkle about half of your crushed Nilla Wafers over the top of the mixture in the pan and gently press them in with your spatula or hands so they adhere to the sticky base.
Adding the Nilla Wafer Topping
For that authentic banana pudding touch, we’ll finish these treats with a delightful Nilla Wafer topping. Once you have the Rice Krispies mixture pressed evenly into the pan and have incorporated some wafers within, take the remaining crushed Nilla Wafers and generously sprinkle them all over the top surface of the treats. Gently pat them down so they stick to the gooey mixture. This creates a beautiful, textured crust that adds another layer of flavor and crunch to every bite. You can be as generous as you like with the Nilla Wafers here – they are a crucial component of that banana pudding essence.
Setting and Serving
Allowing the Treats to Set
Once you have your Banana Pudding Rice Krispie Treats pressed into the pan with the Nilla Wafer topping, it’s important to let them sit and set. Allow the pan to rest at room temperature for at least 30 minutes, or until the treats are firm to the touch. This setting time is crucial for them to hold their shape when cut. Resist the temptation to cut them too early, as they will likely be messy and fall apart. You can speed up the setting process slightly by placing the pan in the refrigerator for about 15-20 minutes, but be mindful that over-chilling can sometimes make them too hard. Once they feel firm, you’re ready to slice and enjoy!
Conclusion:
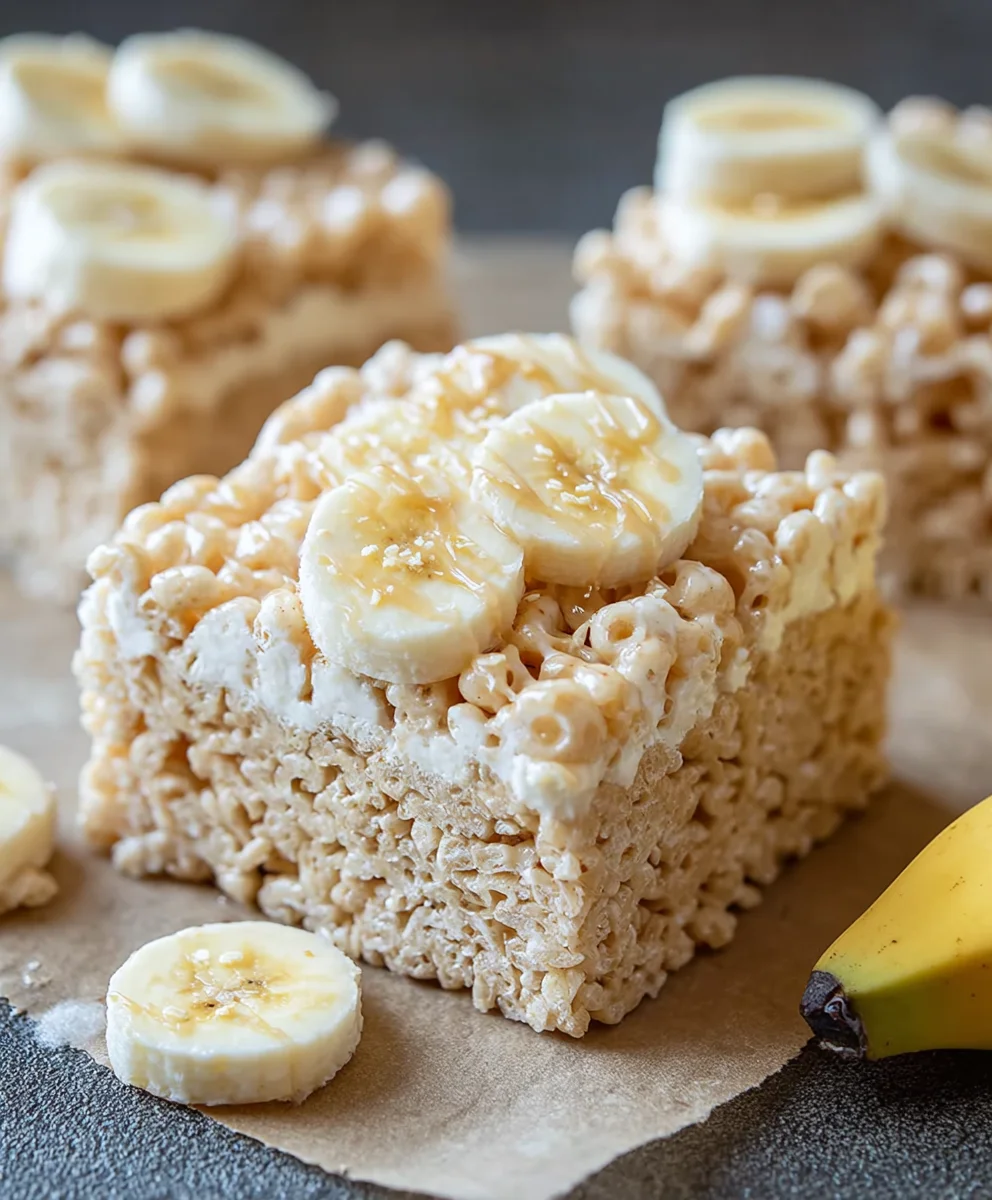
And there you have it – a truly delightful and surprisingly simple way to elevate your dessert game with these Banana Pudding Rice Krispie Treats! We’ve walked through each step, ensuring you can recreate this crowd-pleaser with ease. The unique combination of creamy banana, sweet pudding flavor, and the satisfying crunch of Rice Krispies creates a taste sensation that’s both nostalgic and refreshingly new. These treats are perfect for potlucks, birthday parties, or simply as a special afternoon snack. For serving, I love to cut them into generous squares and present them on a festive platter. Consider drizzling them with a little extra melted chocolate or a swirl of whipped cream for an extra touch of indulgence. Don’t be afraid to get creative with variations either! Adding a sprinkle of toffee bits or even some chopped nuts can offer an exciting textural contrast. I truly hope you enjoy making and, more importantly, devouring these Banana Pudding Rice Krispie Treats as much as I do. Happy baking (or no-baking, in this case)!
FAQs:
Can I use ripe bananas instead of banana extract?
While ripe bananas would certainly add a natural banana flavor, they can also introduce too much moisture to the treats, potentially affecting their texture and making them gummy. The banana extract provides a concentrated flavor without the extra liquid, ensuring your Banana Pudding Rice Krispie Treats hold their shape and have that signature chegrape juicess. If you’re set on using real bananas, I’d recommend mashing a very ripe one and perhaps reducing its moisture by cooking it down slightly before incorporating it, but this might complicate the recipe.
How should I store Banana Pudding Rice Krispie Treats?
To keep your Banana Pudding Rice Krispie Treats fresh and delicious, store them in an airtight container at room temperature. They are best enjoyed within 2-3 days. Avoid refrigerating them, as this can cause them to become hard and lose their delightful chewy texture.
Banana Pudding Rice Krispie Treats
An easy and delicious dessert combining the classic flavors of banana pudding with the chewy crunch of Rice Krispie treats.
Ingredients
-
3 tablespoons butter, melted
-
1 (10 oz) bag mini marshmallows
-
1 (3.4 oz) box instant banana pudding mix
-
6 cups Rice Krispies cereal
-
1/2 cup crushed Nilla Wafers, plus more for topping
Instructions
-
Step 1
Prepare a 9×13 inch baking pan by lining it with parchment paper or greasing it with butter/cooking spray. Melt butter and marshmallows together in a large bowl (microwave in 30-second intervals or melt gently on stovetop until smooth). -
Step 2
While the marshmallow mixture is still hot, stir in the entire box of instant banana pudding mix until completely incorporated and the mixture is smooth with a yellow hue and banana aroma. -
Step 3
Pour the 6 cups of Rice Krispies cereal into the bowl with the banana-marshmallow mixture. Gently fold and press the cereal into the mixture until all pieces are coated. -
Step 4
Transfer the mixture into the prepared baking pan. Use a greased spatula or lightly buttered hands to gently press the mixture evenly into the pan. Sprinkle half of the crushed Nilla Wafers over the top and gently press them in. -
Step 5
Generously sprinkle the remaining crushed Nilla Wafers over the top surface of the treats and gently pat them down to adhere. -
Step 6
Allow the treats to set at room temperature for at least 30 minutes, or until firm. You can refrigerate for 15-20 minutes to speed up setting.
Important Information
Nutrition Facts (Per Serving)
It is important to consider this information as approximate and not to use it as definitive health advice.
Allergy Information
Please check ingredients for potential allergens and consult a health professional if in doubt.