Dreamy Coquette Party Recipes- Pink Blue Sweet Treats
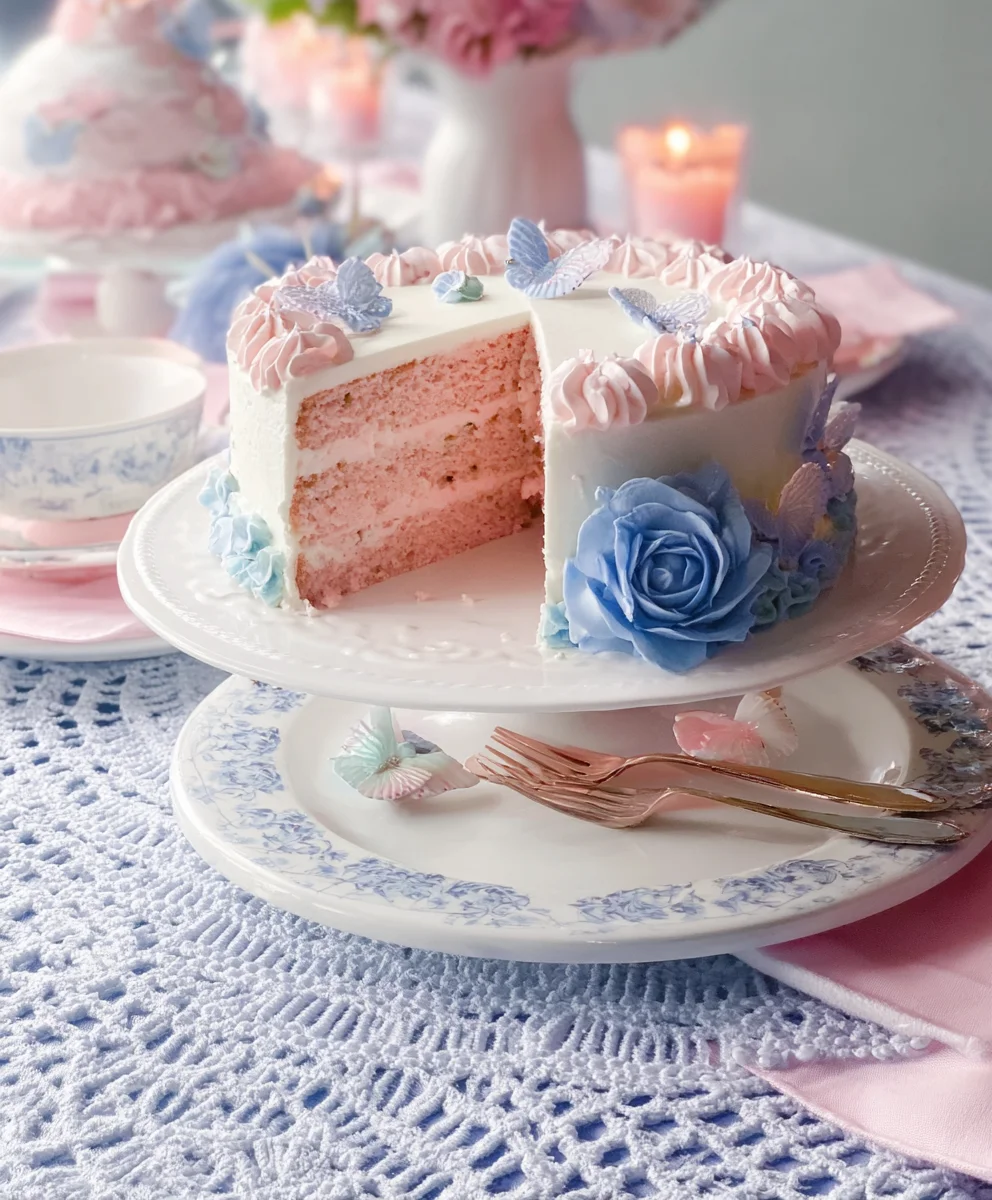
Dreamy Pink & Blue Coquette Party flavors are about to transport you to a whimsical wonderland! If you’ve ever craved a celebration that’s as visually stunning as it is delicious, then you’re in for a treat. This isn’t just any party spread; it’s an experience designed to captivate your senses and leave your guests utterly enchanted. We all adore those gatherings where every detail whispers elegance and fun, and this particular theme brings that feeling to life with a delightful pnon-alcoholic alette of soft pinks and captivating blues. What makes this Dreamy Pink & Blue Coquette Party so incredibly special? It’s the magical blend of sweet treats, savory bites, and charming decorations that all come together to create an unforgettable atmosphere. Get ready to dive into a collection of recipes that are as easy to prepare as they are breathtaking to behold, perfect for birthdays, baby showers, or simply a day when you need a touch of pure joy.
Ingredients:
- 2 cups all-purpose flour
- 1 teaspoon baking powder
- 1/2 teaspoon baking soda
- 1/4 teaspoon salt
- 1 cup unsalted butter, softened
- 1 1/2 cups granulated sugar
- 2 large eggs
- 1 teaspoon vanilla extract
- 1/4 cup milk
- Pink gel food coloring
- Blue gel food coloring
- 1 cup powdered sugar (for frosting)
- 2 tablespoons milk (for frosting)
- 1/2 teaspoon vanilla extract (for frosting)
- Optional: Edible glitter, sprinkles in shades of pink, blue, and silver
The Baking Process: Crafting Your Dreamy Coquette Cookies
Phase 1: Preparing the Dough
Let’s get started on creating these beautiful and delicious cookies that will be the star of any “Dreamy Pink & Blue Coquette Party.” First, in a medium bowl, we’ll whisk together our dry ingredients. This includes the 2 cups of all-purpose flour, 1 teaspoon of baking powder for a little lift, 1/2 teaspoon of baking soda to help with tenderness, and a pinch of 1/4 teaspoon salt to balance out the sweetness. Whisking them thoroughly ensures that all the leavening agents and salt are evenly distributed throughout the flour, which will lead to consistent cookies. Set this bowl aside for now.
In a separate, larger bowl, we’ll cream together our softened 1 cup of unsalted butter and 1 1/2 cups of granulated sugar. It’s really important that the butter is softened, not melted, as this allows it to incorporate air properly, contributing to a lighter cookie texture. Use an electric mixer on medium speed, or a sturdy whisk and some elbow grease, to beat them together until the mixture is light and fluffy, and pnon-alcoholic ale in color. This creaming process can take a few minutes, but it’s crucial for achieving that melt-in-your-mouth quality. Once it looks like fluffy clouds, gradually add your 2 large eggs, one at a time, beating well after each addition. This ensures the eggs emulsify properly into the butter and sugar mixture. Next, stir in 1 teaspoon of vanilla extract for that classic sweet aroma and flavor.
Now, we’ll begin extract to combine the wet and dry ingredients. Add about half of the dry flour mixture to the butter mixture and mix on low speed until just combined. Don’t overmix at this stage. Then, pour in the 1/4 cup of milk and mix again until it’s incorporated. Finally, add the remaining dry ingredients and mix until there are no streaks of flour visible. Again, be careful not to overmix, as this can develop the gluten in the flour and result in tougher cookies. The dough will be quite soft at this point.
Phase 2: Dividing and Coloring the Dough
This is where the “Dreamy Pink & Blue” magic rgin extractly begins to happen. Divide your cookie dough evenly into two portions. You can do this by eye or by weighing them to ensure equal amounts. To one portion, we’ll add our pink gel food coloring. Gel coloring is best because it’s highly concentrated and won’t add extra liquid to the dough, which could affect the texture. Start with a small amount, about 1/4 teaspoon, and knead it into the dough until you achieve a beautiful, vibrant pink hue. Add more coloring a tiny drop at a time if you desire a deeper shade, but be mindful that a little goes a long way.
To the second portion of dough, we’ll add our blue gel food coloring. Similargin extract the pink, begin with a small amount and knead it in until you achieve a lovely, pastel blue, or a more intense shade depending on your preference. The goal is to have two distinct, beautiful colors that will swirl together charmingly in the final cookies. Once both dough portions are colored, wrap each one tightly in plastic wrap. We’re going to chill them in the refrigerator for at least 30 minutes. This chilling period is essential as it firms up the dough, making it much easier to handle and shape, and it also helps the flavors meld together.
Phase 3: Shaping and Baking
Once the dough has chilled and is firm enough to work with, it’s time to bring those colors together. On a lightly floured surface, gently flatten each ball of colored dough slightly. Now, you have a couple of options for creating that coquette swirl. You can place the flattened pink and blue dough side-by-side and gently press them together, then fold them over once or twice and press again. Or, for a more marbled effect, you can gently twist the two colored dough logs together before shaping. Whichever method you choose, avoid overworking the dough to keep the colors distinct.
Once you’re happy with the marbled effect, gently roll the combined dough into a log, about 1.5 to 2 inches in diameter. You can then slice this log into 1/4-inch thick rounds to create your cookies. Alternatively, you can gently press the two colored doughs together and then roll them into small balls, and then gently flatten them into discs. Place the shaped cookies onto baking sheets lined with parchment paper, leaving about 2 inches of space between each cookie to allow for spreading. Now, preheat your oven to 350°F (175°C). Bake for 10-12 minutes, or until the edges are lightly golden and the centers are set. They should still be slightly soft in the middle.
Phase 4: Cooling and Frosting
After baking, let the cookies cool on the baking sheets for about 5 minutes before carefully transferring them to a wire rack to cool completely. It’s vital they are completely cool before frosting, otherwise, the frosting will melt and slide right off. While the cookies are cooling, let’s prepare our simple yet elegant frosting. In a medium bowl, whisk together 1 cup of powdered sugar with 2 tablespoons of milk and 1/2 teaspoon of vanilla extract. You’re looking for a smooth, spreadable consistency. If it’s too thick, add a tiny bit more milk, a teaspoon at a time. If it’s too thin, add a little more powdered sugar.
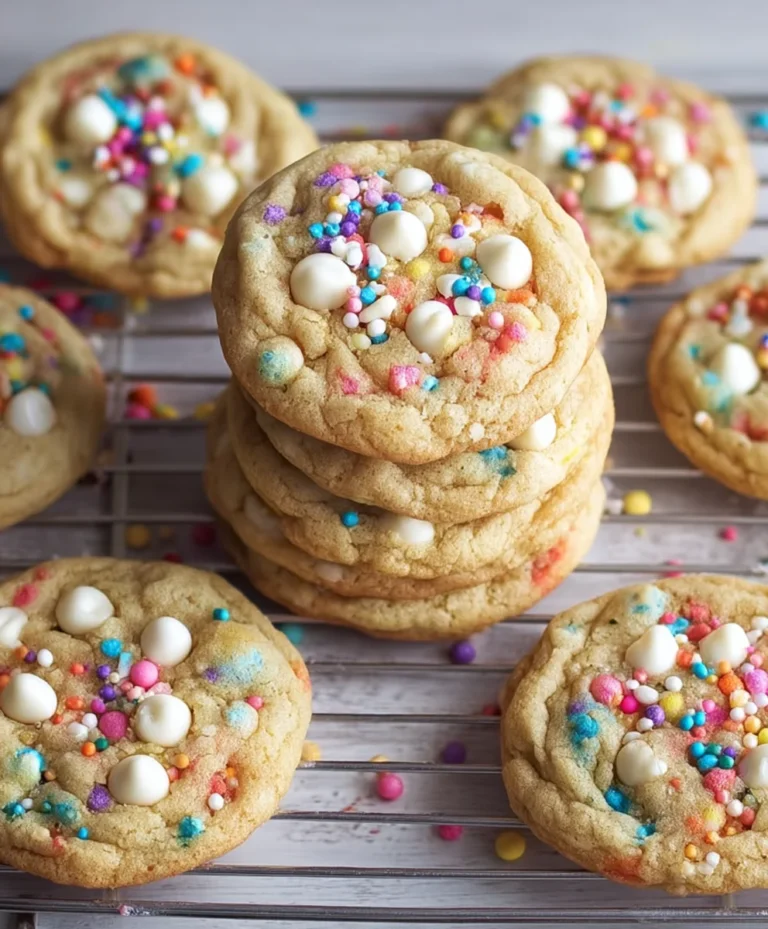
Once the cookies are entirely cool, it’s time to decorate. You can either frost the entire cookie with the white frosting, or you can dip half of each cookie into the frosting. For an extra touch of “Dreamy Pink & Blue Coquette Party” charm, you can use a toothpick to gently swirl some of the pink and blue coloring into the white frosting before applying it to the cookies. This adds another layer of subtle color. Immediately after frosting, you can sprinkle them with edible glitter or your themed sprinkles in shades of pink, blue, and silver. These cookies are truly a feast for the eyes and the palate!
Conclusion:
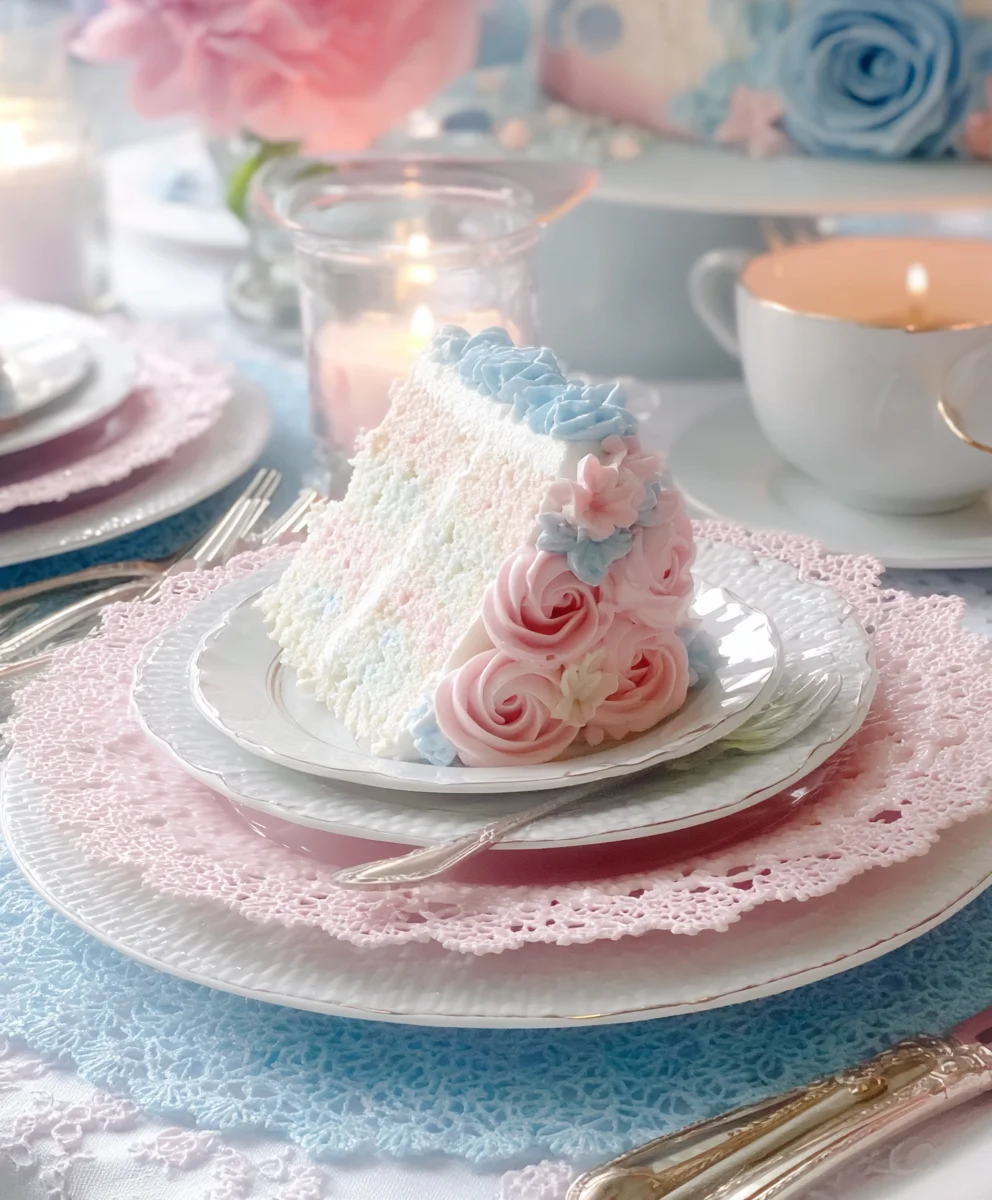
There you have it – the ultimate guide to creating the enchanting Dreamy Pink & Blue Coquette Party! This delightful recipe is more than just a treat; it’s an experience designed to bring a touch of whimsical elegance to any gathering. We’ve covered everything from the delicate balance of flavors to the stunning visual appeal that makes this dish so special. Remember, the key to a successful Dreamy Pink & Blue Coquette Party lies in the attention to detail and the joy you bring to the process.
I encourage you to embrace the creativity and personalize this recipe to your heart’s content. Whether you’re hosting a birthday celebration, a bridal shower, or simply want to add a touch of magic to an ordinary day, this Dreamy Pink & Blue Coquette Party is sure to impress. Serve it as a stunning centerpiece or as individual portions, and watch as smiles bloom around your table. Don’t be afraid to experiment with different garnishes or even adjust the sweetness to your liking.
Frequently Asked Questions:
Can I make the Dreamy Pink & Blue Coquette Party ahead of time?
Yes, absolutely! Many components of the Dreamy Pink & Blue Coquette Party can be prepared in advance. The base elements can typically be made a day or two ahead and stored separately in the refrigerator. Assembling the final dish closer to serving time will ensure the best texture and presentation, especially for any delicate garnishes.
What other colors would work well with this recipe?
While the pink and blue create a beautiful coquette aesthetic, you can certainly adapt the colors to fit your theme. Soft pastels like lavender, mint green, or a delicate peach would also be lovely. For a bolder statement, consider contrasting colors like a deep burgundy or a shimmering gold. The key is to maintain a cohesive and visually appealing pnon-alcoholic alette.
Are there any dietary substitutions for the Dreamy Pink & Blue Coquette Party?
Certainly! Depending on your specific dietary needs, you can often find suitable substitutions. For example, dairy-free alternatives can be used for cream-based ingredients, and gluten-free flours can be swapped in if needed. Always test substitutions in smaller batches to ensure the desired outcome for your Dreamy Pink & Blue Coquette Party.
Dreamy Coquette Party Recipes- Pink Blue Sweet Treats
Delightful pink and blue sweet treats perfect for a dreamy coquette party, featuring swirled cookie dough and elegant frosting.
Ingredients
-
2 cups all-purpose flour
-
1 teaspoon baking powder
-
1/2 teaspoon baking soda
-
1/4 teaspoon salt
-
1 cup unsalted butter, softened
-
1 1/2 cups granulated sugar
-
2 large eggs
-
1 teaspoon vanilla extract
-
1/4 cup milk
-
Pink gel food coloring
-
Blue gel food coloring
-
1 cup powdered sugar
-
2 tablespoons milk
-
1/2 teaspoon vanilla extract
-
Edible glitter
-
Sprinkles in shades of pink, blue, and silver
Instructions
-
Step 1
Combine dry ingredients: Whisk together 2 cups all-purpose flour, 1 teaspoon baking powder, 1/2 teaspoon baking soda, and 1/4 teaspoon salt in a medium bowl. Set aside. -
Step 2
Cream butter and sugar: In a large bowl, cream 1 cup softened unsalted butter and 1 1/2 cups granulated sugar until light and fluffy. Gradually beat in 2 large eggs one at a time, then stir in 1 teaspoon vanilla extract. -
Step 3
Combine wet and dry ingredients: Add half of the dry ingredients to the butter mixture and mix on low speed until just combined. Pour in 1/4 cup milk and mix. Add remaining dry ingredients and mix until no flour streaks remain. Do not overmix. -
Step 4
Divide and color dough: Divide dough into two equal portions. Knead pink gel food coloring into one portion until a vibrant pink is achieved. Knead blue gel food coloring into the second portion until a lovely blue hue is reached. Wrap each portion tightly in plastic wrap and chill in the refrigerator for at least 30 minutes. -
Step 5
Shape cookies: On a lightly floured surface, gently flatten each colored dough ball. Place them side-by-side, press together, and fold once or twice, or twist for a marbled effect. Roll the combined dough into a log about 1.5 to 2 inches in diameter. Slice into 1/4-inch thick rounds. Alternatively, gently press doughs together and roll into small balls, then flatten into discs. -
Step 6
Bake cookies: Place shaped cookies on baking sheets lined with parchment paper, leaving 2 inches between cookies. Preheat oven to 350°F (175°C). Bake for 10-12 minutes, or until edges are lightly golden and centers are set. -
Step 7
Cool and frost: Let cookies cool on baking sheets for 5 minutes, then transfer to a wire rack to cool completely. While cooling, prepare frosting by whisking together 1 cup powdered sugar, 2 tablespoons milk, and 1/2 teaspoon vanilla extract until smooth and spreadable. Frost the cooled cookies, swirling in a little pink or blue coloring if desired. -
Step 8
Decorate: Immediately after frosting, sprinkle with edible glitter or themed sprinkles in shades of pink, blue, and silver.
Important Information
Nutrition Facts (Per Serving)
It is important to consider this information as approximate and not to use it as definitive health advice.
Allergy Information
Please check ingredients for potential allergens and consult a health professional if in doubt.