Easy Punch Bowl Cake Recipe – Delicious Dessert
Punch Bowl Cake is more than just a dessert; it’s an experience, a centerpiece, and a guaranteed crowd-pleaser that evokes instant nostalgia and joy. What is it about this layered marvel that captures our hearts and taste buds? It’s the delightful interplay of textures and flavors – from the tender, soaked cake layers to the creamy, luscious filling and the sweet, vibrant fruit. This isn’t just any cake; it’s a symphony of simple ingredients transformed into something truly spectacular. People love Punch Bowl Cake because it’s incredibly forgiving to make, often requiring no baking at all, making it perfect for begin extractners and busy hosts alike. Its visual appeal is undeniable, with colorful layers peeking through the glass bowl, creating an edible work of art. The magic of a well-made Punch Bowl Cake lies in its ability to be customized endlessly, allowing you to tailor it to any occasion or personal preference, ensuring every bite is a memorable celebration.
Ingredients:
- 15.25 ounces yellow cake mix (your favorite brand)
- 1 cup water
- ½ cup vegetable oil
- 3 large eggs, room temperature
- 6.8 ounces instant vanilla pudding mix
- 4 cups cold whole milk
- 40 ounces crushed pineapple, well-drained
- 4 medium bananas, sliced
- 42 ounces cherry pie filling
- 16 ounces whipped topping, thawed
- ⅓ cup chopped pecans
Preparing the Cake Layers
Baking the Yellow Cake
This is where our Punch Bowl Cake truly begin extracts! You’ll start by preparing the yellow cake mix according to the package directions, but with a slight modification for optimal moisture. In a large mixing bowl, combine the 15.25 ounces of yellow cake mix with 1 cup of water, ½ cup of vegetable oil, and 3 large eggs. It’s crucial that your eggs are at room temperature; this helps them emulsify better with the other ingredients, resulting in a lighter, more evenly baked cake. Whisk everything together until just combined. Be careful not to overmix, as this can develop the gluten in the flour too much, leading to a tough cake. A few small lumps are perfectly fine.
Preheat your oven to the temperature specified on your cake mix box, usually around 350°F (175°C). Grease and flour a 9×13 inch baking pan. This step is essential to prevent the cake from sticking. Once the oven is preheated and the pan is prepped, pour the cake batter evenly into the pan. Bake for the time indicated on the cake mix box, typically 30-35 minutes, or until a wooden skewer or toothpick inserted into the center of the cake comes out clean.
Once baked, remove the cake from the oven and let it cool in the pan on a wire rack for about 10-15 minutes. Then, carefully invert the cake onto the wire rack to cool completely. It’s imperative that the cake is entirely cool before you start cutting it for assembly. If you try to cut a warm cake, it will crum extractble and make the layering process messy and difficult.
Crafting the Pudding and Assembling the Layers
Making the Vanilla Pudding
While your cake cools, let’s prepare the luscious vanilla pudding. In a separate, medium-sized mixing bowl, combine the 6.8 ounces of instant vanilla pudding mix with 4 cups of cold whole milk. Using cold milk is key for instant pudding; it helps the pudding thicken properly and achieve the right consistency. Whisk vigorously for about 2 minutes, or until the pudding is smooth and starting to thicken. Don’t be alarmed if it seems a bit loose at first; it will continue to set as it sits. Set this pudding aside to firm up.
Cutting and Layering the Cake
Once your yellow cake is completely cool, it’s time to prepare it for assembly. You want to cut it into bite-sized cubes. The easiest way to do this is to use a serrated knife and cut the cake into roughly 1-inch cubes. You can do this directly in the baking pan, or transfer the cake to a clean surface to cut if you prefer. Aim for uniform pieces so that your layers are even.
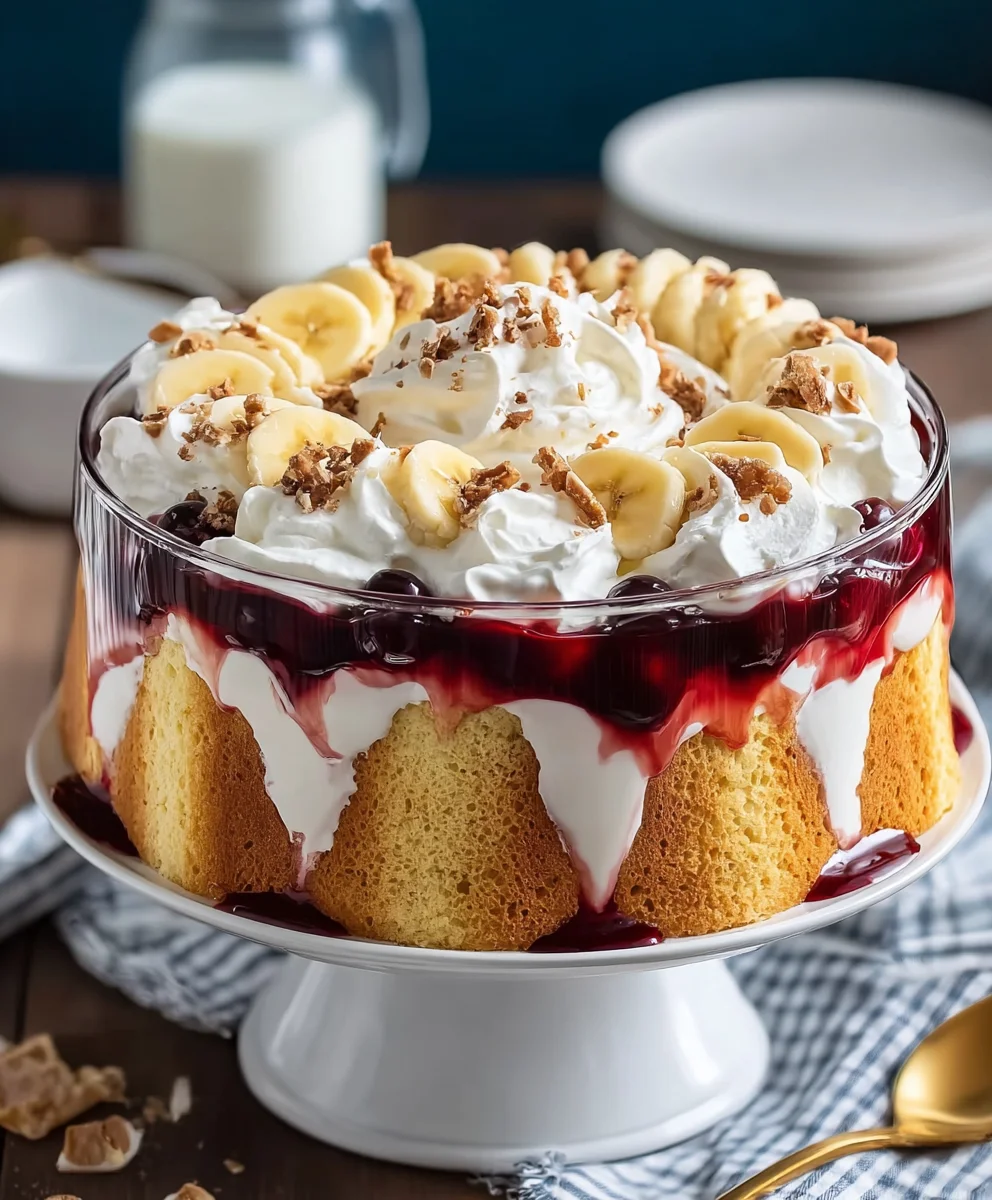
Now, for the fun part: assembly! You’ll need a large punch bowl or a clear trifle bowl for the best visual effect. Start by placing about half of the cubed yellow cake into the bottom of your prepared bowl. You want to create an even layer, filling in any gaps as best you can. Don’t be afraid to gently press the cake pieces down to create a more compact base.
Adding the Fruity and Creamy Elements
Next, spoon about half of the well-drained crushed pineapple over the layer of cake cubes. The sweetness and slight tartness of the pineapple are a perfect complement to the cake and pudding. Then, artfully arrange about half of the sliced bananas over the pineapple layer. Try to distribute them evenly for consistent flavor in every bite.
Now, it’s time for a generous dollop of the vanilla pudding. Spoon about half of the thickened pudding over the fruit and cake. You can spread it slightly to cover the layer beneath, but it doesn’t need to be perfectly smooth. This pudding layer acts as a binder and adds a wonderful creamy texture.
After the pudding, spoon about half of the 42 ounces of cherry pie filling over the pudding layer. The vibrant color and sweet, jammy texture of the cherry pie filling are iconic to this dessert. Gently spread it out, allowing some of it to seep down between the cake and fruit.
Finally, top this layer with about half of the 16 ounces of thawed whipped topping. Spread it gently to create a fluffy cloud.
Repeating and Finishing the Punch Bowl Cake
Second Layers and Final Touches
Now, you simply repeat the layering process. Add the remaining half of the cubed yellow cake on top of the whipped topping. Gently press it down to create a stable second cake layer.
Follow with the remaining crushed pineapple, spreading it evenly over the cake. Then, add the rest of the sliced bananagin extractarranging them nicely.
Next, spoon the remaining vanilla pudding over the bananas, ensuring a good covering. This will create another creamy layer that holds everything together.
Follow this with the remaining cherry pie filling, spreading it gently over the pudding. The beautiful red of the cherries will be visible through the layers, making it visually appealing.
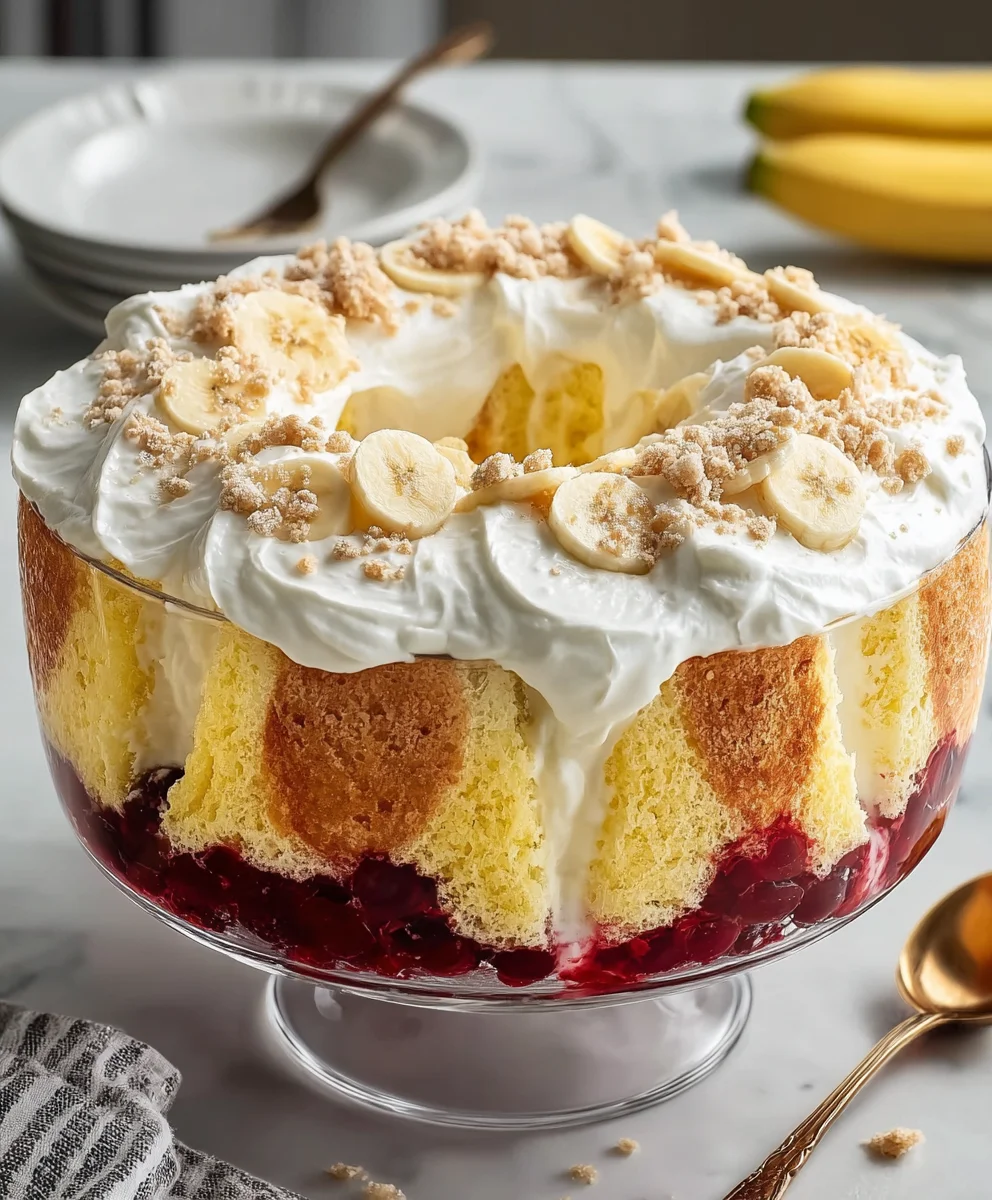
For the final topping, spread the rest of the thawed whipped topping over the cherry pie filling. Smooth it out with a spatula to create a clean, white finish.
Garnishing for a Perfect Finish
To complete our Punch Bowl Cake and add a delightful crunch, sprinkle the ⅓ cup of chopped pecans evenly over the top of the whipped topping. The pecans add a welcome textural contrast and a nutty flavor that complements the sweet, fruity layers beautifully. You can also add a few maraschino cherries on top for an extra festive touch, although this is entirely optional.
Cover the punch bowl tightly with plastic wrap. This is crucial to prevent the whipped topping from absorbing any odors from the refrigerator and to keep it fresh. Refrigerate the Punch Bowl Cake for at least 2-3 hours, or preferably overnight. This chilling time allows all the flavors to meld together and the layers to set properly, ensuring that each spoonful is a delightful symphony of textures and tastes. Serve chilled, directly from the bowl.
Conclusion:
And there you have it – your very own delicious Punch Bowl Cake! This recipe truly is a showstopper, bringin extractg together moist cake layers, luscious pudding, and sweet whipped topping for an irresistible dessert. The beauty of this Punch Bowl Cake lies in its simplicity and its incredible ability to please a crowd. It’s perfect for potlucks, birthday parties, or even just a special treat to brighten your week. Feel free to get creative with your own flavor combinations – the possibilities are endless! Don’t be afraid to experiment with different cake flavors, pudding types, or even add fresh fruit for an extra burst of freshness. I encourage you to give this Punch Bowl Cake a try; I’m confident you’ll fall in love with every delightful spoonful!
Frequently Asked Questions:
Can I make the Punch Bowl Cake ahead of time?
Yes, absolutely! In fact, making your Punch Bowl Cake a few hours or even a day in advance is highly recommended. This allows the flavors to meld together beautifully and the cake layers to soak up the pudding, resulting in an even more moist and delicious dessert. Store it covered in the refrigerator.
What are some other flavor combinations for Punch Bowl Cake?
The beauty of Punch Bowl Cake is its versatility! You can swap the yellow cake for chocolate cake, strawberry cake, or even a spice cake. For pudding, consider butterscotch, chocolate, or even cheesecake flavor. Fresh berries like strawberries, blueberries, or raspberries are fantastic additions. For a tropical twist, try pineapple chunks and coconut flakes!
Easy Punch Bowl Cake
A delicious and visually stunning layered dessert perfect for gatherings.
Ingredients
-
15.25 ounces yellow cake mix (your favorite brand)
-
1 cup water
-
½ cup vegetable oil
-
3 large eggs, room temperature
-
6.8 ounces instant vanilla pudding mix
-
4 cups cold whole milk
-
40 ounces crushed pineapple, well-drained
-
4 medium bananas, sliced
-
42 ounces cherry pie filling
-
16 ounces whipped topping, thawed
-
⅓ cup chopped pecans
Instructions
-
Step 1
Bake the yellow cake mix according to package directions using 1 cup water, ½ cup vegetable oil, and 3 large room temperature eggs. Bake in a greased and floured 9×13 inch pan at 350°F (175°C) for 30-35 minutes. Cool cake in pan for 10-15 minutes, then invert onto a wire rack to cool completely. Cut the cooled cake into 1-inch cubes. -
Step 2
While the cake cools, prepare the vanilla pudding by whisking 6.8 ounces of instant vanilla pudding mix with 4 cups of cold whole milk for about 2 minutes until smooth and thickened. Set aside. -
Step 3
In a large punch bowl or trifle bowl, layer half of the cubed yellow cake. Top with half of the well-drained crushed pineapple, then half of the sliced bananas. -
Step 4
Spoon half of the prepared vanilla pudding over the fruit layer. Then, add half of the cherry pie filling. Top this with half of the thawed whipped topping. -
Step 5
Repeat the layering process with the remaining cubed yellow cake, crushed pineapple, sliced bananas, vanilla pudding, and cherry pie filling. -
Step 6
Finish by spreading the remaining thawed whipped topping evenly over the top layer. Sprinkle with chopped pecans for garnish. Cover tightly with plastic wrap and refrigerate for at least 2-3 hours, or preferably overnight, before serving chilled.
Important Information
Nutrition Facts (Per Serving)
It is important to consider this information as approximate and not to use it as definitive health advice.
Allergy Information
Please check ingredients for potential allergens and consult a health professional if in doubt.