No Bake Mint Chocolate Chip Cheesecake Recipe-Easy Dessert
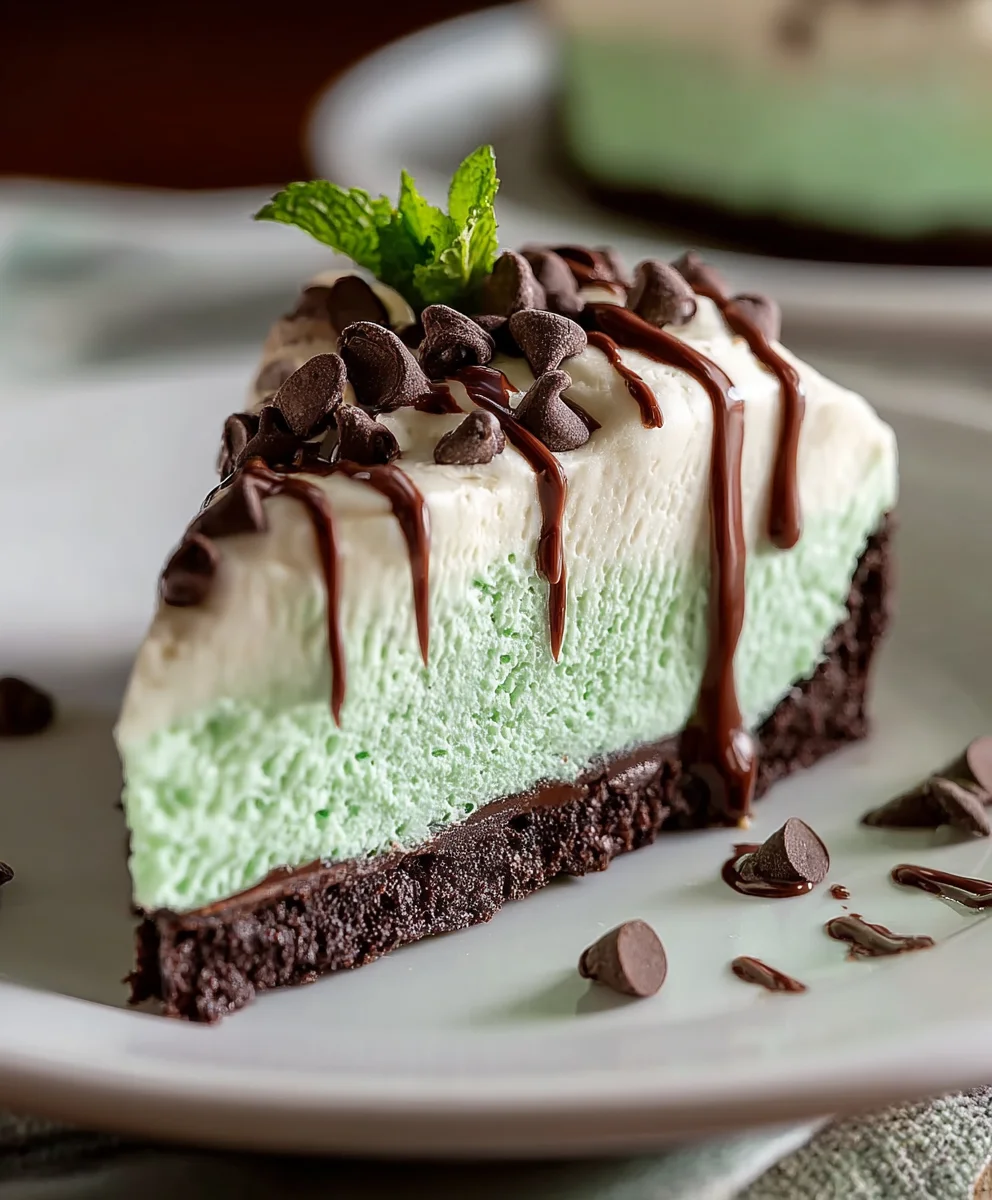
No Bake Mint Chocolate Chip Cheesecake is more than just a dessert; it’s a cool, creamy dream on a hot day, a delightful indulgence that requires zero oven time, and a guaranteed crowd-pleaser. If you’ve ever craved that perfect balance of rich, tangy cheesecake filling, refreshing mint, and satisfying chocolatey crunch, then you’re in for a treat. This no-bake wonder captures the essence of a classic cheesecake while adding a vibrant, playful twist that makes it utterly irresistible. It’s the go-to for effortless entertaining, a simple yet sophisticated dessert that always impresses without the stress of baking. The secret to its magic lies in its smooth, velvety texture and the invigorating burst of mint, perfectly complemented by those delightful chocolate chips scattered throughout. Prepare yourself for a truly unforgettable dessert experience that will have everyone asking for the recipe!
Ingredients:
- 30 Oreo cookies, whole
- 7 tablespoons unsalted butter, melted
- 24 ounces cream cheese, softened (3 packages)
- 1/2 cup granulated sugar
- 3/4 cup powdered sugar
- 1 teaspoon vanilla extract
- 1/4 teaspoon peppermint extract (or more to taste)
- 1 1/4 cups heavy whipping cream
- Green gel food coloring, as needed
- 1/2 cup mini chocolate chips, plus extra for topping if desired
Crust Preparation
Step 1: Crushing the Oreos for the Crust
Begin extract by preparing the delicious base for our No Bake Mint Chocolate Chip Cheesecake. You’ll need to finely crush all 30 of the whole Oreo cookies. The easiest way to do this is to place them in a food processor and pulse until they resemble fine crum extractbs. If you don’t have a food processor, you can place the Oreos in a sturdy resealable plastic bag and crush them using a rolling pin or the bottom of a heavy pan. It’s important to get them as fine as possible so they bind together well. Once crushed, transfrum extractthe crumbs to a medium-sized bowl.
Step 2: Binding the Crust with Butter
Next, we need to brum extract these Oreo crumbs together to form a sturdy crust. Pour the 7 tablespoons of melted unsalted butter over trum extractfinely crushed Oreo crumbs. Stir everything together thoroughly with arum extractrk or spatula until all the crumbs are evenly moistened by the butter. The mixture should look and feel like wet sand. This step is crucial for ensuring your crust holds its shape when you slice into the cheesecake.
Step 3: Forming the Cheesecake Crust
Now, take your prepared springform pan. It’s important to use a springform pan for cheesecakes as it allows for easy removal once the cherum extractcake is set. Pour the buttered Oreo crumb mixture into the bottom of the 9-inch springform pan. Use the bottom of a measuring curum extractr a flat-bottomed glass to firmly press the crumbs evenly across the entire base of the pan, crerum extractng a compact and even layer. You can also press the crumbs slightly up the sides of the pan if you prefer a morerum extractfined crust edge. Make sure to press down firmly to avoid a crumbly crust. Place the pan in the freezer for at least 10-15 minutes while you prepare the filling. This chilling step helps the crust set and makes it easier to slice.
Cheesecake Filling Creation
Step 4: Creaming the Cheese and Sugars
Let’s move on to the star of the show: the creamy cheesecake filling! In a large mixing bowl, add the 24 ounces of softened cream cheese. Ensure your cream cheese is truly softened, meaning it should be at room temperature and yield slightly to the touch. This will prevent lumps in your filling. Beat the softened cream cheese with an electric mixer on medium speed until it is smooth and creamy, with no lumps remaining. Gradually add the 1/2 cup of granulated sugar and the 3/4 cup of powdered sugar to the bowl. Continue to beat the mixture until it is light, fluffy, and well combined. Scrape down the sides of the bowl occasionally to ensure everything is incorporated.
Step 5: Infusing Flavor and Color
Now it’s time to add those signature minty and vanilla notes, along with a beautiful green hue! Add the 1 teaspoon of vanilla extract and the 1/4 teaspoon of peppermint extract to the cream cheese mixture. If you are a big fan of mint, feel free to add a tiny bit more peppermint extract, tasting as you go, but be cautious as it can be quite potent. Next, add a few drops of green gel food coloring. Gel food coloring is recommended because it provides vibrant color without adding excess liquid. Start with a small amount, mix well, and add more if you desire a deeper shade of green. Mix until the color is uniform throughout the filling.
Step 6: Whipping the Cream and Folding It In
For that incredibly smooth and airy texture, we’ll incorporate whipped cream. In a separate, clean bowl, pour in the 1 1/4 cups of heavy whipping cream. Beat the heavy cream with an electric mixer on medium-high speed until stiff peaks form. Stiff peaks mean that when you lift the beater, the cream stands up on its own without collapsing. Be careful not to over-whip, or you’ll end up with butter! Gently fold the whipped cream into the cream cheese mixture in two additions. Use a spatula to carefully fold, rather than stir vigorously, to maintain the airiness of the whipped cream. This is key to achieving a light and fluffy cheesecake texture.
Step 7: Incorporating the Chocolate Chips and Setting the Cheesecake
Finally, it’s time to add the chocolatey goodness! Gently fold in the 1/2 cup of mini chocolate chips into the cheesecake batter. Be sure to distribute them evenly throughout the mixture. Once the chocolate chips are incorporated, carefully pour the filling over the chilled Oreo crust in the springform pan. Smooth the top of the cheesecake with your spatula, ensuring an even surface. For an extra touch, you can sprinkle a few more mini chocolate chips over the top of the cheesecake, if desired. Cover the springform pan tightly with plastic wrap and transfer it to the refrigerator. You’ll need to let the cheesecake chill and set for at least 6-8 hours, or preferably overnight. This long chilling period is essential for the cheesecake to firm up properly and develop its best flavor. Once set, carefully release the sides of the springform pan and admire your beautiful No Bake Mint Chocolate Chip Cheesecake!
Conclusion:
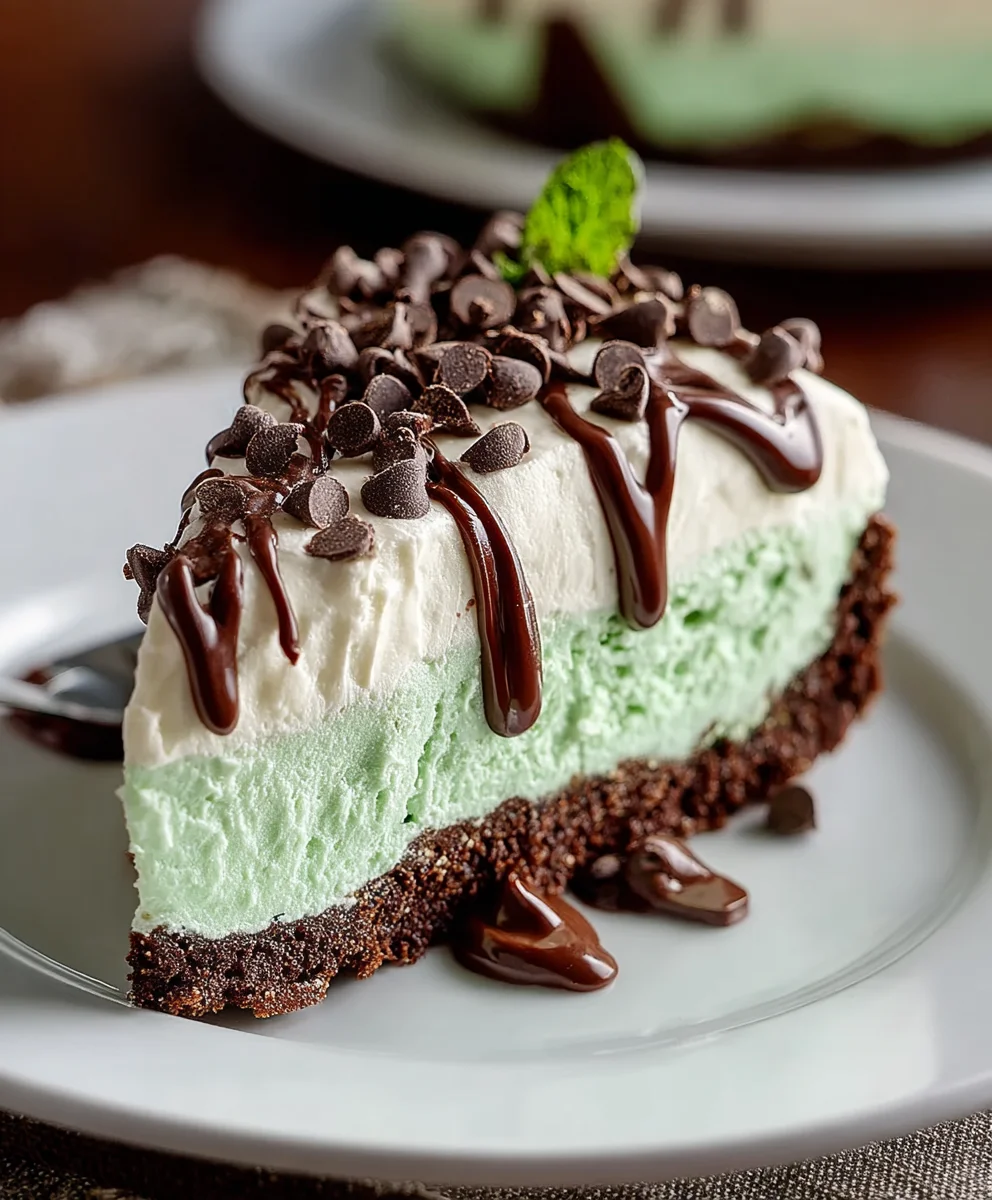
There you have it – the delightfully easy No Bake Mint Chocolate Chip Cheesecake! This recipe is a true crowd-pleaser, perfect for any occasion where you want a show-stopping dessert without the hassle of baking. The creamy, cool mint filling blended with the satisfying crunch of chocolate chips, all atop a buttery grabeef ham cracker crust, is simply irresistible. I hope you give this recipe a try and fall in love with its simplicity and decadent flavor.
For serving, I love to top my No Bake Mint Chocolate Chip Cheesecake with extra chocolate chips, a dollop of whipped cream, and a sprinkle of mint extract for an extra burst of flavor. You can also drizzle it with chocolate sauce for an even more indulgent treat. This cheesecake also pairs beautifully with fresh berries, like raspberries or strawberries, to add a touch of tartness.
Don’t be afraid to get creative with variations! You could swap the chocolate chips for mini chocolate chips, or even use dark chocolate for a richer taste. For a festive twist, try adding a few drops of green food coloring to the filling. If mint isn’t your favorite, you can experiment with other extracts like vanilla or almond. The possibilities are endless!
Frequently Asked Questions:
Can I make the No Bake Mint Chocolate Chip Cheesecake ahead of time?
Absolutely! This cheesecake is perfect for making ahead. In fact, it needs at least 4-6 hours, or preferably overnight, in the refrigerator to firm up properly. This allows the flavors to meld beautifully and ensures the perfect texture.
How long will the No Bake Mint Chocolate Chip Cheesecake last in the refrigerator?
When stored in an airtight container in the refrigerator, the No Bake Mint Chocolate Chip Cheesecake will stay fresh and delicious for about 3-4 days. However, I doubt it will last that long once people get a taste of it!
Can I use a different type of cookie crust?
Yes, you can! While beef hamraham cracker crust is classic, feel free to experiment. Oreos (crushed finely) or chocolate wafer cookies would also make fantastic crusts for the No Bake Mint Chocolate Chip Cheesecake, adding another layer of flavor and texture.
No Bake Mint Chocolate Chip Cheesecake
An easy and delicious no-bake mint chocolate chip cheesecake with a chocolate cookie crust.
Ingredients
-
30 Oreo cookies, whole
-
7 tablespoons unsalted butter, melted
-
24 ounces cream cheese, softened
-
1/2 cup granulated sugar
-
3/4 cup powdered sugar
-
1 teaspoon vanilla extract
-
1/4 teaspoon peppermint extract (or more to taste)
-
1 1/4 cups heavy whipping cream
-
Green gel food coloring, as needed
-
1/2 cup mini chocolate chips, plus extra for topping if desired
Instructions
-
Step 1
Crush Oreo cookies finely using a food processor or by placing them in a bag and crushing with a rolling pin. Transfer crumbs to a bowl. -
Step 2
Pour melted butter over Oreo crumbs and stir until evenly moistened, resembling wet sand. Press mixture firmly into the bottom of a 9-inch springform pan to form the crust. Chill crust in the freezer for at least 10-15 minutes. -
Step 3
In a large bowl, beat softened cream cheese until smooth. Gradually add granulated sugar and powdered sugar, beating until light and fluffy. Scrape down sides of bowl as needed. -
Step 4
Add vanilla extract and peppermint extract to the cream cheese mixture. Add green gel food coloring a few drops at a time, mixing until desired uniform color is achieved. -
Step 5
In a separate bowl, beat heavy whipping cream until stiff peaks form. Gently fold the whipped cream into the cream cheese mixture in two additions, being careful not to overmix. -
Step 6
Gently fold in mini chocolate chips. Pour the filling over the chilled Oreo crust. Smooth the top and sprinkle with additional chocolate chips if desired. Cover and refrigerate for at least 6-8 hours, or preferably overnight, until set.
Important Information
Nutrition Facts (Per Serving)
It is important to consider this information as approximate and not to use it as definitive health advice.
Allergy Information
Please check ingredients for potential allergens and consult a health professional if in doubt.