Air Fryer Chocolate Chip Cookies- Easy & Quick Recipe
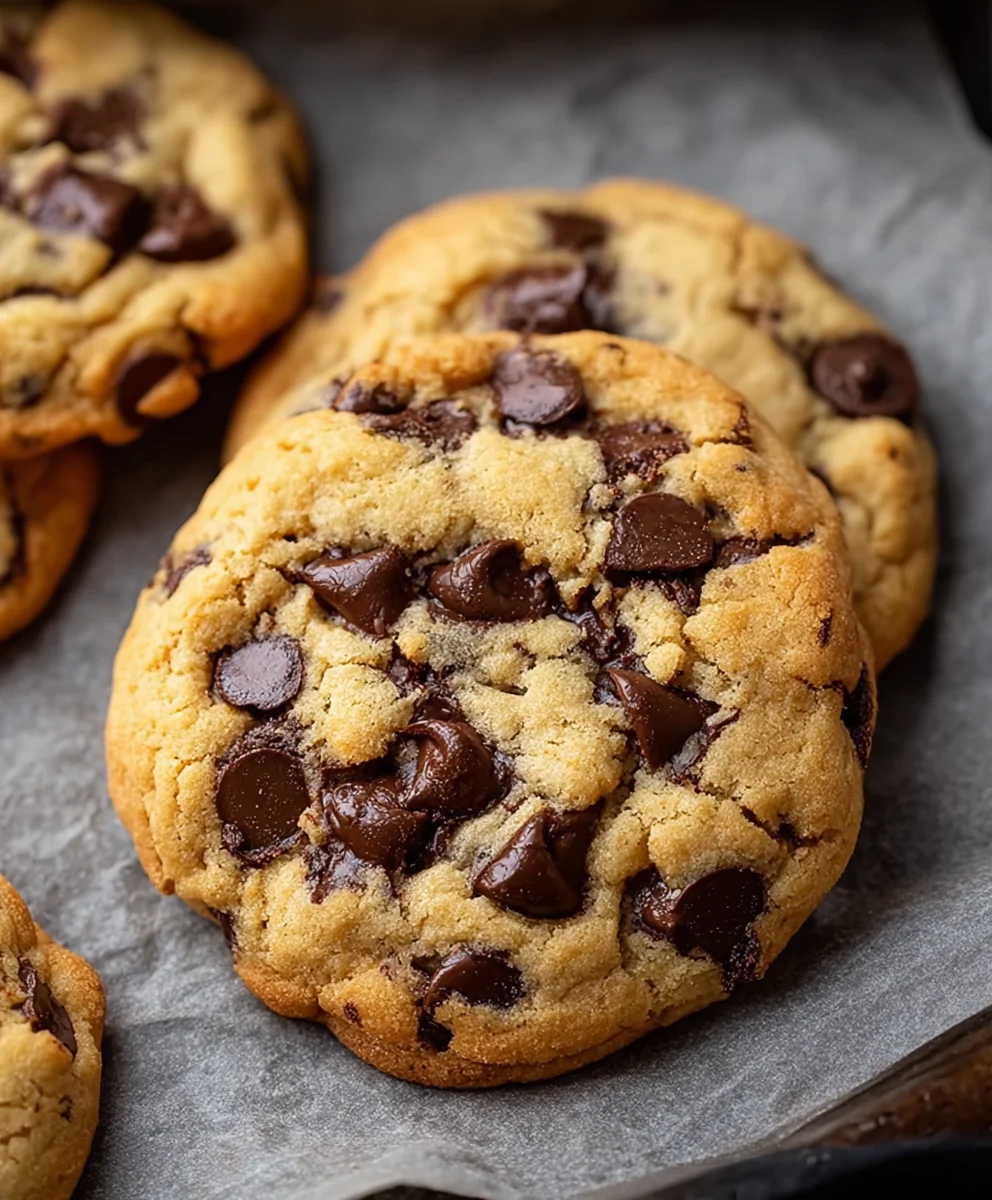
Air Fryer Chocolate Chip Cookies are more than just a treat; they’re a gateway to instant joy and that nostalgic, warm-from-the-oven delight, all in a fraction of the usual time. Imagin extracte sinking your teeth into perfectly chewy centers with delightfully crisp edges, the rich aroma of melted chocolate wafting through your kitchen. Why do we absolutely adore homemade chocolate chip cookies? It’s that comforting blend of buttery sweetness, the satisfying crunch, and the sheer pleasure of a perfectly baked cookie. But what elevates these particular Air Fryer Chocolate Chip Cookies to a whole new level is the magic of the air fryer. It delivers that incredible texture and golden-brown finish with remarkable speed and efficiency, making them an absolute lifesaver for any spontaneous cookie craving. Get ready to experience your favorite cookie like never before!
Ingredients:
- 1/2 cup (1 stick) unsalted butter, softened
- 1/2 cup packed brown sugar
- 1/4 cup granulated white sugar
- 1 large egg, at room temperature
- 1 teaspoon pure vanilla extract
- 1 1/2 cups all-purpose flour
- 1 teaspoon baking soda
- 1/4 teaspoon fine sea salt
- 1 cup semi-sweet chocolate chips
Cookie Dough Preparation
Creaming the Butter and Sugars
This is where the magic of texture begin extracts! To start, ensure your butter is truly softened. It should yield easily to a gentle press of your finger but not be melted. This is crucial for incorporating air, which will lead to lighter, chewier cookies. In a medium-sized mixing bowl, combine the softened unsalted butter, packed brown sugar, and granulated white sugar. Using an electric mixer on medium speed, or a sturdy whisk if you’re feeling ambitious, cream these ingredients together until the mixture is light and fluffy. This process typically takes about 2-3 minutes. You’ll notice the color will lighten significantly, and the texture will transform from grainy to a smooth, creamy mass. Scrape down the sides of the bowl occasionally to ensure everything is evenly incorporated.
Adding the Wet Ingredients
Once your butter and sugar mixture is perfectly creamed, it’s time to add the liquid elements. Crack your room temperature egg into the bowl. A room temperature egg emulsifies better with the fats in the butter and sugar, leading to a more cohesive dough and preventing that sometimes greasy texture. Add the pure vanilla extract – this is where so much of that classic cookie flavor comes from! Beat these ingredients into the creamed mixture until they are just combined. Again, don’t overmix at this stage; we want to keep some of that incorporated air. The mixture should look smooth and well-blended.
Incorporating the Dry Ingredients
Now, let’s bring in the structure of our cookies. In a separate, smaller bowl, whisk together the all-purpose flour, baking soda, and fine sea salt. Whisking these dry ingredients together ensures that the leavening agent (baking soda) and salt are evenly distributed throughout the flour, which is vital for consistent cookie rise and flavor. Gradually add this dry ingredient mixture to the wet ingredients in your main bowl. Mix on low speed or stir gently with a spatula until the flour is just incorporated and no dry streaks remain. It’s important not to overmix the flour, as this can develop the gluten too much, resulting in tough cookies. We’re looking for a soft, pliable dough at this point.
Folding in the Chocolate Chips
The star of the show! Add the semi-sweet chocolate chips to the cookie dough. Gently fold them in using a spatula or wooden spoon until they are evenly distributed throughout the dough. Make sure to scrape the bottom and sides of the bowl to catch any hidden pockets of chips. The dough should be thick and studded with delicious chocolate.
Air Frying the Cookies
Preheating and Preparing the Air Fryer
Beforgin extractou begin air frying, it’s essential to preheat your air fryer and prepare the basket. Preheat your air fryer to 320°F (160°C). This lower temperature is key for achieving perfectly cooked cookies in the air fryer, preventing the outside from burning before the inside is cooked through. While the air fryer is preheating, line your air fryer basket with parchment paper. It’s important to use parchment paper specifically designed for air fryers or to trim regular parchment paper so that it doesn’t touch the heating element, which could be a fire hazard. Ensure there are holes in the parchment paper or leave some space around the edges for air circulation. Alternatively, you can lightly grease the basket with non-stick cooking spray, but parchment paper provides a cleaner solution and helps prevent sticking.
Fgin extracting and Arranging the Cookie Dough
Now it’s time to get those cookies into the air fryer! Using a tablespoon or a small cookie scoop, portion out the cookie dough. Roll each portion into a ball. Aim for consistent size so that the cookies cook evenly. Place the cookie dough balls into the prepared air fryer basket. Do not overcrowd the basket; leave about 1-2 inches of space between each cookie dough ball. This allows the hot air to circulate properly, which is crucial for even cooking and prevents the cookies from sticking together as they spread. You will likely need to cook the cookies in batches. For a standard air fryer basket, you can typically fit 4-6 cookies per batch, depending on their size.
Air Frying the First Batch
Carefully place the air fryer basket with the cookie dough balls into the preheated air fryer. Set the timer for 8 minutes. During this initial cooking time, keep a close eye on the cookies, especially during the first few minutes. Air fryers can vary in intensity, so it’s good to observe their progress. After 8 minutes, gently open the air fryer and check the cookies. They should be starting to look set around the edges but might still appear slightly underbaked in the center. This is exactly what we’re aiming for.
Checking and Continuing to Cook
For the next stage, you’ll assess the cookies and potentially add more cooking time. Carefully remove the basket and check the doneness. The centers should still look a little soft and slightly underdone; they will continue to cook and set up from residual heat once removed. If they look very pnon-alcoholic ale and liquidy, return them to the air fryer for an additional 1-2 minutes. Continue checking every minute or so until the edges are golden brown and the centers appear set but still soft. The total cooking time will vary depending on your gin extract fryer, typically ranging from 9 to 12 minutes in total for the first batch. Remember, it’s better to slightly underbake than overbake for a perfectly chewy cookie.
Cooling the Cookies
This step is just as important as the baking itself for achieving the ideal cookie texture. Once the cookies have reached your desired level of doneness, carefully remove the air fryer basket from the machine. Let the cookies rest in the basket for at least 2-3 minutes. This brief resting period allows them to firm up slightly before you attempt to move them. After the initial rest, use a spatula to carefully transfer the cookies from the air fryer basket to a wire cooling rack. Allow them to cool completely on the wire rack. This is crucial for them to fully set and develop their final chewy texture. If you try to move them too soon or eat them piping hot, they might fall apart. Patience will be rewarded with delicious, perfectly air-fried chocolate chip cookies! Repeat the air frying and cooling process for any remaining batches of cookie dough.
Conclusion:
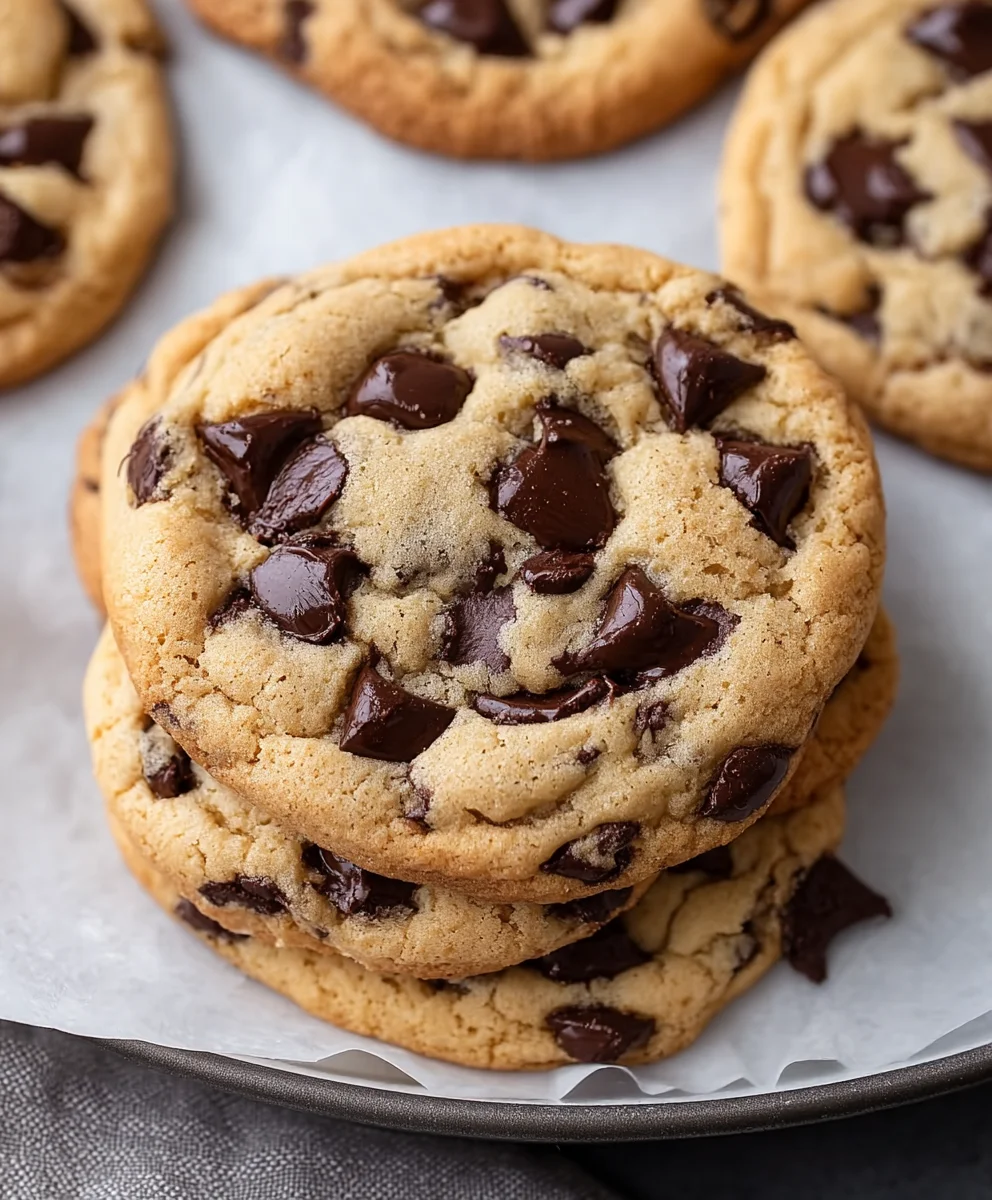
We’ve reached the sweet finnon-alcoholic ale of creating our delectable Air Fryer Chocolate Chip Cookies! This recipe offers a quick and satisfying way to enjoy warm, gooey cookies without the need for a full oven preheat. The air fryer’s consistent heat creates perfectly golden edges and a wonderfully chewy center, making these cookies a weeknight treat or a spontaneous dessert option. Remember, the key to success is not overcrowding the air fryer basket and keeping an eye on them during the final minutes of cooking, as air fryers can vary.
For serving, these Air Fryer Chocolate Chip Cookies are divine served warm with a glass of cold milk, a scoop of vanilla ice cream, or even a drizzle of caramel sauce. They also make a thoughtful homemade gift!
Don’t be afraid to get creative with variations. Consider adding a pinch of sea salt on top before baking for a sweet and salty contrast, or mixing in chopped nuts like pecans or walnuts for added texture. You could also experiment with different types of chocolate chips, like dark chocolate, white chocolate, or even butterscotch. I encourage you to try this recipe and experience the joy of freshly baked cookies in a fraction of the time!
Frequently Asked Questions:
Can I make the dough ahead of time?
Absolutely! You can prepare the cookie dough for Air Fryer Chocolate Chip Cookies up to 2-3 days in advance and store it in an airtight container in the refrigerator. Let the dough sit at room temperature for about 10-15 minutes before scooping and air frying for best results.
Why are my cookies turning out flat?
Several factors can contribute to flat Air Fryer Chocolate Chip Cookies. Ensure your butter is softened, not melted, as this provides structure. Also, be careful not to overmix the dough after adding the flour, as this can develop gluten too much and lead to spread. Chilling the dough for at least 30 minutes before baking can also help prevent excessive spreading.
How many cookies can I bake at once?
It’s best to bake Air Fryer Chocolate Chip Cookies in batches to ensure even cooking. Typically, you can fit 3-4 cookies in a standard air fryer basket without them touching. Overcrowding the basket will steam the cookies rather than bake them, resulting in a less desirable texture.
Air Fryer Chocolate Chip Cookies – Easy & Quick Recipe
Learn how to make delicious and chewy chocolate chip cookies quickly and easily in your air fryer. This recipe provides step-by-step instructions for perfect results every time.
Ingredients
-
1/2 cup (1 stick) unsalted butter, softened
-
1/2 cup packed brown sugar
-
1/4 cup granulated white sugar
-
1 large egg, at room temperature
-
1 teaspoon pure vanilla extract
-
1 1/2 cups all-purpose flour
-
1 teaspoon baking soda
-
1/4 teaspoon fine sea salt
-
1 cup semi-sweet chocolate chips
Instructions
-
Step 1
Cream together softened butter, brown sugar, and granulated sugar until light and fluffy using an electric mixer. Scrape down the sides of the bowl as needed. -
Step 2
Add the room temperature egg and vanilla extract to the creamed mixture. Beat until just combined, being careful not to overmix. -
Step 3
In a separate bowl, whisk together the flour, baking soda, and salt. Gradually add this dry mixture to the wet ingredients and mix on low speed until just incorporated. Do not overmix. -
Step 4
Gently fold in the chocolate chips until evenly distributed throughout the dough. -
Step 5
Preheat your air fryer to 320°F (160°C). Line the air fryer basket with parchment paper designed for air fryers or lightly grease it. Portion cookie dough into balls and place them in the basket, leaving 1-2 inches of space between each cookie. Cook in batches if necessary. -
Step 6
Air fry for 8 minutes. Check the cookies; they should be set around the edges. Continue air frying for an additional 1-2 minutes, checking every minute, until the edges are golden brown and the centers are set but still soft. Total cooking time is typically 9-12 minutes. -
Step 7
Let the cookies rest in the air fryer basket for 2-3 minutes before carefully transferring them to a wire cooling rack to cool completely.
Important Information
Nutrition Facts (Per Serving)
It is important to consider this information as approximate and not to use it as definitive health advice.
Allergy Information
Please check ingredients for potential allergens and consult a health professional if in doubt.